Durva grass (Cynodon dactylon, also called bermudagrass or doob/darbha in South Asian contexts) grows best from vegetative starts like stolons or sprigs, but seed also works well if your soil temperature is at least 65°F and you keep the surface consistently moist for the first two to three weeks. Get either method right and you can have a dense, low carpet of durva covering a bed or container within four to eight weeks of planting.
How to Grow Durva Grass at Home From Seed or Clumps
Marcus Tillwell
15 May 2026
What durva grass actually is and why people grow it
Durva grass is Cynodon dactylon, a warm-season perennial that most Western lawn care folks know as bermudagrass or couch grass. In South Asian households, the same plant is sacred: it is used in Hindu rituals, puja offerings, and festival preparations, which is why you will find searches for 'how to grow durva grass at home' alongside searches for lawn establishment. Both uses lead to the same plant and mostly the same growing approach. If you are looking at broader options like how to grow mondo grass, keep in mind the main overlap is choosing the right warm-season conditions and planting method that matches your start type.
The grass is naturally low-growing (10 to 30 cm tall when left unmowed) and spreads aggressively through both stolons (above-ground runners) and rhizomes (underground stems). That spreading habit is exactly what makes it useful: once it gets going, it fills in bare spots on its own. It is a true warm-season grass, actively growing when soil temps are above 15°C (about 60°F) and going dormant and turning light brown after frost or through a dry cold winter.
If you are growing it for ritual use, you want fresh, vivid green cuttings on demand, so a small container or raised bed near a sunny window or outdoors works perfectly. If you want it as a ground cover or lawn patch, you are working at a slightly larger scale but the same rules apply. If you want a full yard-style carpet, you can apply the same sunlight and watering rules to a larger bed or lawn area how to grow carpet grass.
Where to get durva grass: seeds vs. live starts
You have two main sourcing options, and honestly the vegetative route (live starts) is faster and more reliable for most home setups. Here is how to think about each one.
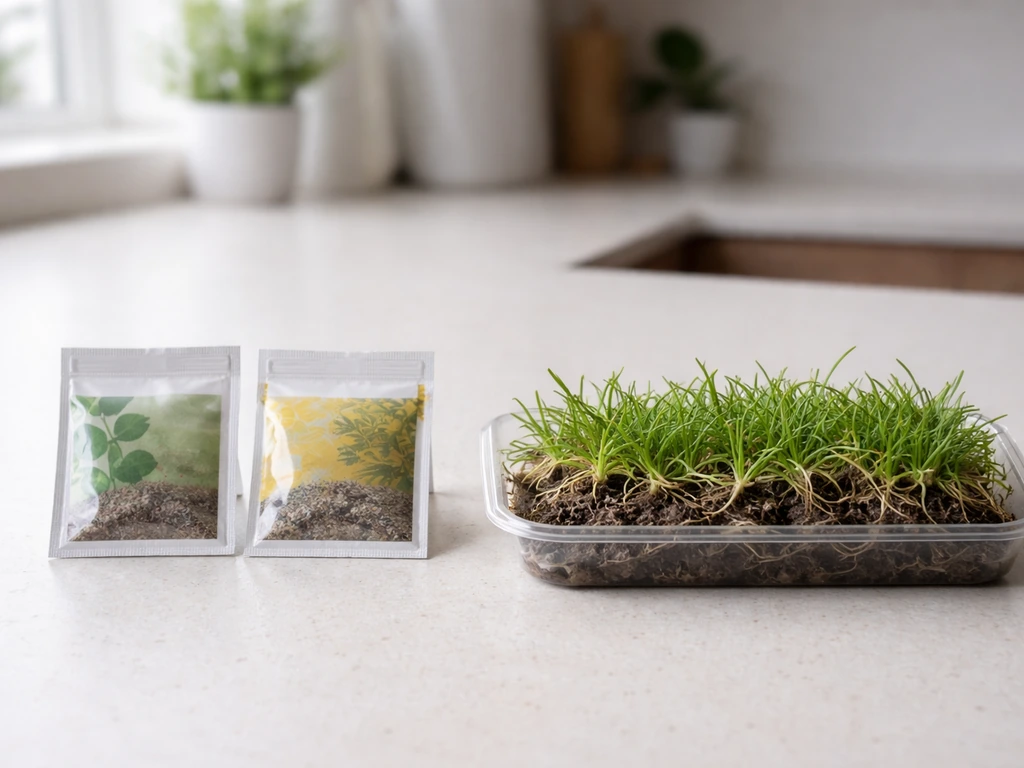
Starting from seed
Bermudagrass/durva seed is widely available online and at Indian grocery stores or garden centers that serve South Asian communities. Look for unhulled or hulled bermudagrass seed. Hulled seed (with the outer coat removed) germinates faster and more evenly, so if you have the choice, go hulled. A small packet of 50 to 100 grams is more than enough for a container or a 2 to 4 square foot ritual planting bed. Seeding rates for larger areas run around 5 to 10 lb per acre, but for a home pot or small bed, a light, even dusting is all you need.
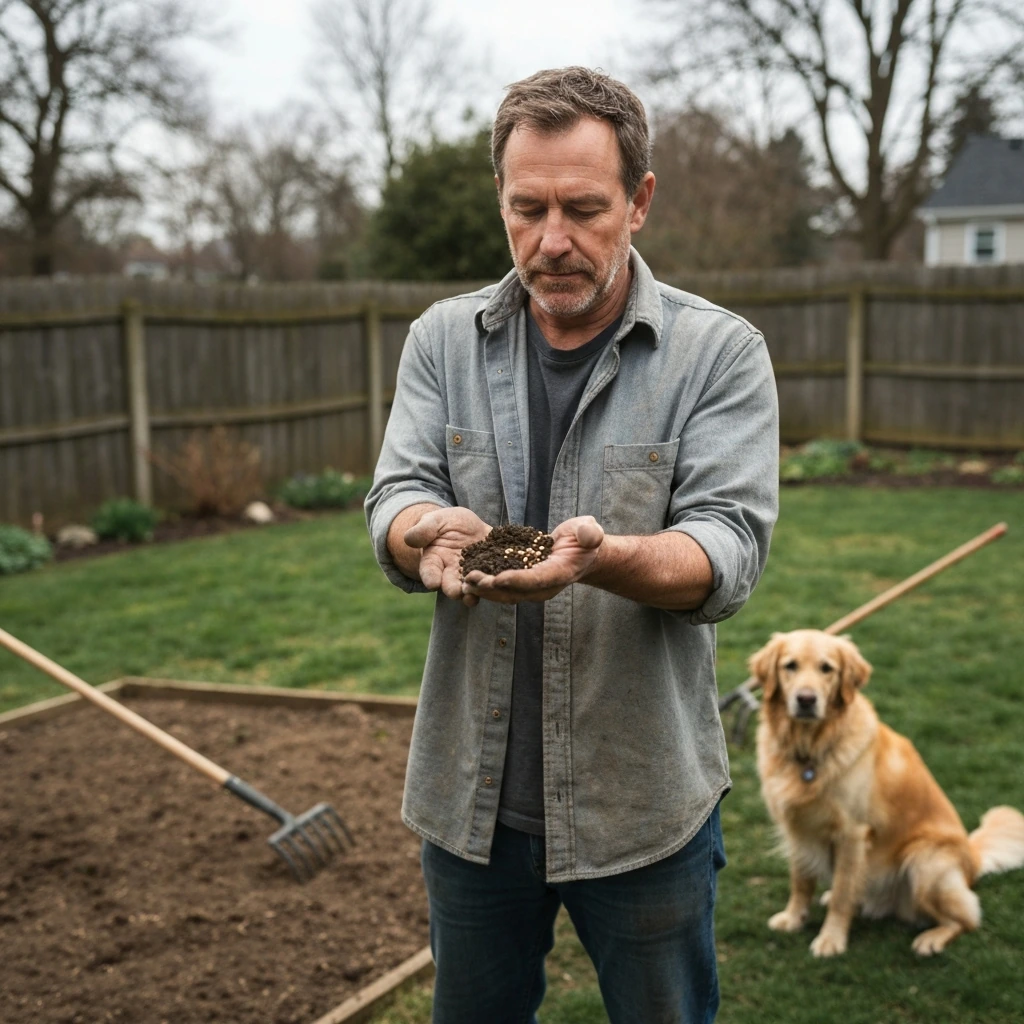
Starting from live clumps or sprigs
If you or a neighbor already have durva or bermudagrass growing somewhere, this is your fastest path. Pull or cut small clumps with attached roots and runners. Indian neighborhoods often have durva growing wild along sidewalks or in garden borders, and most people are happy to share a handful. You can also buy live plugs or sprigs from online nurseries that ship warm-season grass. Live starts skip the germination waiting period entirely and can fill in a small container in as little as two to three weeks under good conditions.
Setting up the right home growing conditions
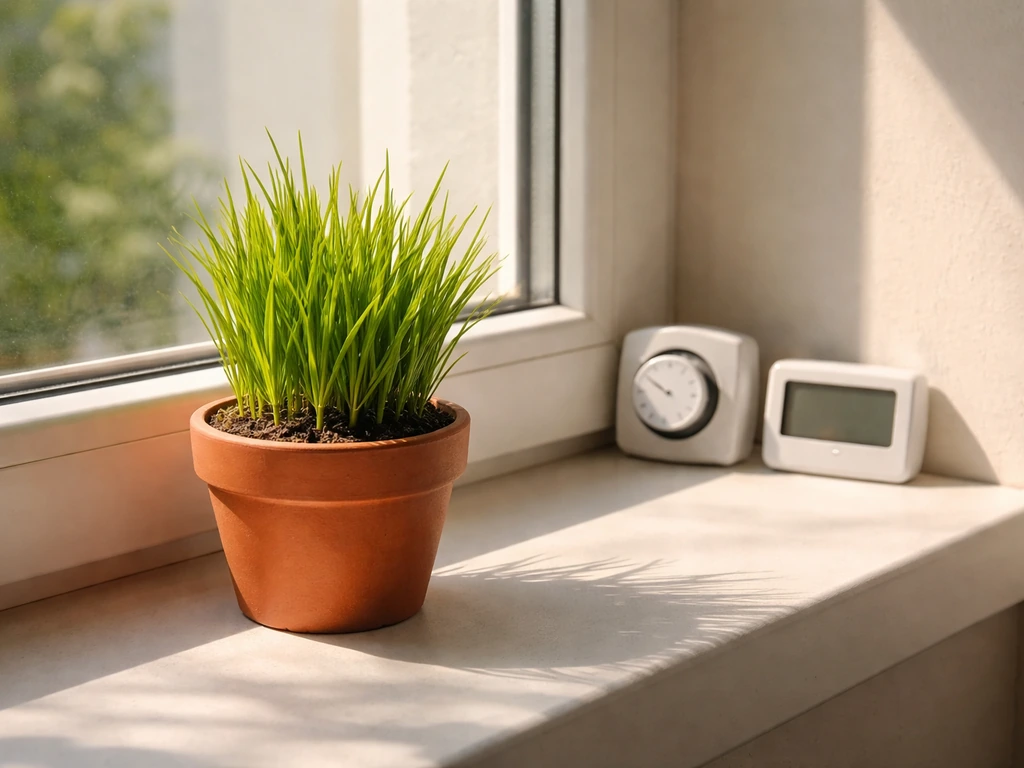
Sunlight
Durva grass needs at least six hours of direct sunlight daily. It is not shade-tolerant. If you are growing it indoors, place the container on a south- or west-facing windowsill or use a basic grow light for at least six hours. Outdoors, pick the sunniest spot in your yard or balcony. Anything less than four to five hours of direct sun and you will get thin, yellowing growth that does not fill in properly.
Soil
Durva grass is not picky about soil fertility, but it does care about drainage and structure. It tolerates sandy soils well and even moderate clay, but sitting in waterlogged soil will rot the roots. For containers, use a standard potting mix cut with 20 to 30 percent coarse sand or perlite for fast drainage. For an outdoor bed, if your soil is heavy clay, loosen it 4 to 6 inches deep and mix in a couple of inches of coarse sand or compost before planting. If your soil is sandy and drains too fast, a thin layer of compost mixed into the top 2 inches helps retain just enough moisture for germination.
Drainage and containers
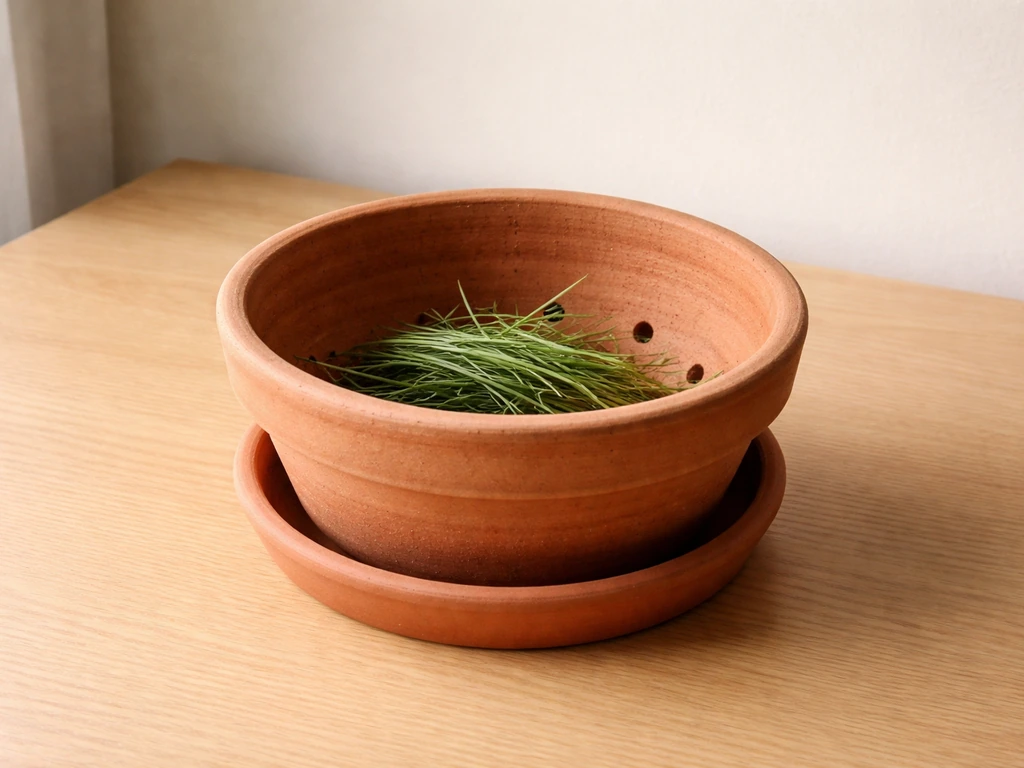
For ritual use, a wide, shallow tray or pot (at least 4 to 6 inches deep) works well. Terracotta pots are great because they breathe. Whatever container you use, it must have drainage holes. A tray without holes will kill the planting within a week or two from root rot. If you are setting up an outdoor bed, make sure the area does not pool water after rain. Even a gentle slope away from the planting is enough.
How to grow durva grass from seed: step by step
- Check your soil temperature first. Do not sow until the soil at 1 to 2 inches deep is consistently at or above 65°F (18°C). In most of the US, that means late April through July depending on your region. Sowing into cold soil is the number one reason seeds sit there and do nothing.
- Prepare the surface. Loosen the top 2 to 3 inches of soil or potting mix. Remove any debris, old roots, or clumps. Rake it level and firm it lightly with your hand or a flat board so the surface is smooth but not packed hard.
- Scatter the seed. Spread seed thinly and evenly over the surface. For a container, just a pinch distributed evenly is enough. Do not bury the seed: bermudagrass/durva seed germinates best within the top 1/4 inch of soil. Press seed lightly into the surface with your palm or a flat piece of cardboard. You want seed-to-soil contact, not burial.
- Water gently and immediately. Use a fine-mist setting on a spray bottle or watering wand. You want the top 1/2 inch moist but not soaked. Avoid blasting water directly onto the surface or the seed will wash away or clump.
- Keep the surface consistently moist. This is the critical part. For the first 10 to 14 days, water lightly once or twice a day (morning and late afternoon if it dries quickly in heat). Never let the surface crust or dry out during germination. A thin layer of peat moss or fine mulch over the seeds helps hold moisture, but keep it very light so it does not block light.
- Expect first sprouts in 7 to 21 days. Germination time depends heavily on temperature. At 65°F to 70°F expect the slower end of that range. At 80°F to 85°F you may see sprouts in a week. Do not panic if nothing appears in the first 10 days as long as conditions are right.
- Reduce watering frequency once sprouts are 1/2 inch tall. Shift to deeper, less frequent watering (once daily or every other day) to encourage roots to grow down.
Growing durva grass without seeds: stolons, splits, and transplants
This is the method I recommend if you want results quickly or if seed germination has failed on you before. Durva grass spreads naturally through stolons and rhizomes, so it transplants easily and the success rate is much higher than seed, even under imperfect conditions.
Transplanting live clumps
- Source live clumps from an existing planting, a neighbor's garden, or an online plant nursery. You want clumps that are green with visible roots and several runners attached.
- Prepare your container or bed the same way as for seed: loosen the soil, add sand or compost if needed, and water it before planting so the soil is damp but not muddy.
- Separate the clump into small plugs about 2 to 3 inches wide. Each plug should have some roots and at least one or two green stems.
- Press each plug firmly into the soil so the roots are in full contact with the soil and the crown (where stem meets root) is at or just below the soil surface. Space plugs 3 to 4 inches apart for a container or small bed; they will fill the gaps within a few weeks.
- Water thoroughly right after planting. Keep the soil consistently moist for the first week while the roots settle in.
- Within 7 to 14 days you should see new runners starting to extend from the plugs. By three to four weeks the runners will knit together into a mat if your spacing was reasonable.
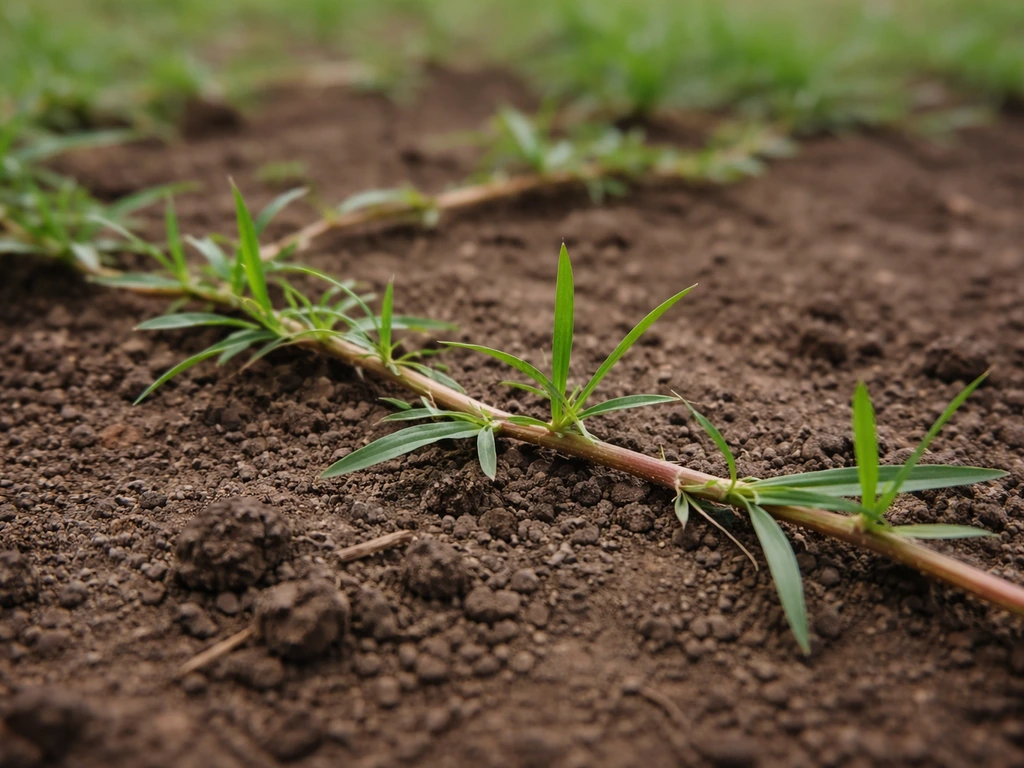
Sprouting from runners (stolon cuttings)
If you have access to long, healthy stolons (the horizontal stems that run along the surface), you can root these directly without a full plug. Cut 3 to 4 inch lengths of runner that have at least two nodes on them. Lay them horizontally on the surface of moist soil or press them lightly into the top 1/2 inch of soil. Keep them moist and in direct sun. Roots will sprout from the nodes within a week to 10 days at warm temperatures. This is a great way to multiply a small amount of starting material into a larger planting quickly.
Caring for durva grass during germination and early growth
Watering schedule to follow
The biggest mistake people make is either underwatering (letting the surface crust dry between sessions) or overwatering (keeping the soil soaked all day). Here is a realistic schedule for the first month.
| Phase | Watering Frequency | Goal |
|---|---|---|
| Days 1 to 14 (germination / root-in) | Once or twice daily, light misting | Keep top 1/2 inch consistently moist, never dry |
| Days 15 to 28 (early sprout / runner extension) | Once daily or every other day | Deeper moisture 1 to 2 inches down, surface can dry briefly |
| Day 29 onward (established) | Every 2 to 3 days or as needed | Water when top inch is dry; let soil breathe between sessions |
In very hot weather (above 90°F) you may need to stay at once-daily watering longer. In cooler weather, once every two days during germination may be enough to avoid root rot. Stick your finger 1 inch into the soil before watering: if it still feels damp, skip that session.
Trimming and harvesting
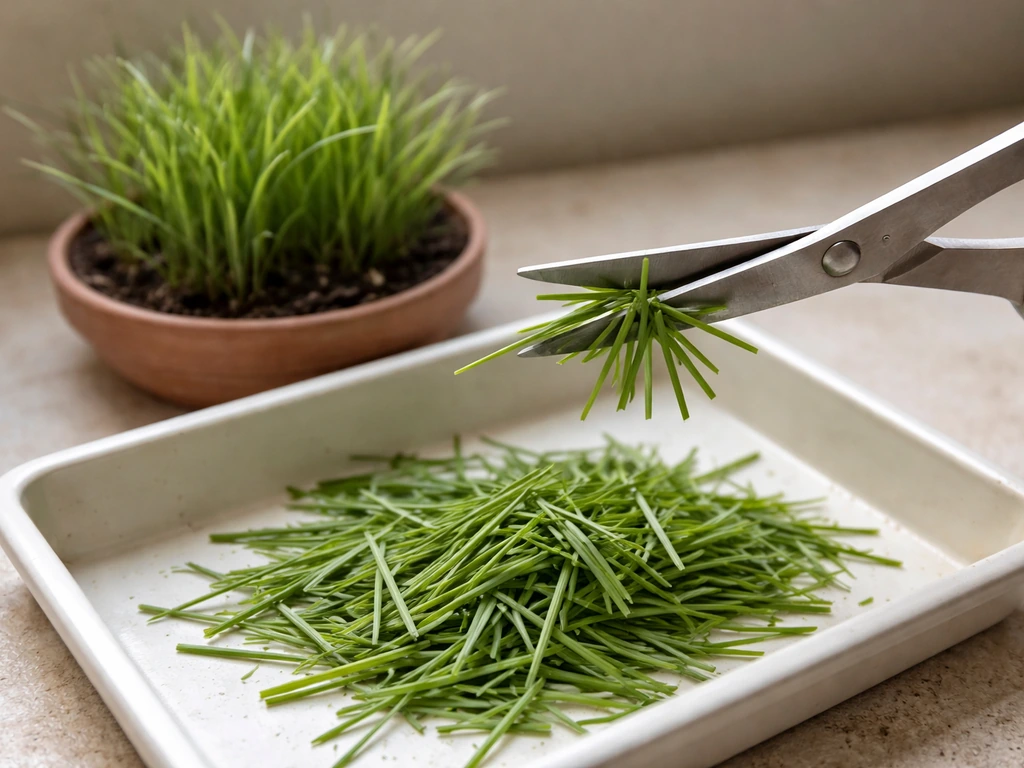
For ritual use, you want fresh, green cuttings about 2 to 3 inches long. Once your planting is 3 to 4 inches tall (usually by week three to four), you can begin harvesting by snipping or pulling small bunches from the edges, leaving the center to keep growing. Never cut more than one-third of the growth at a time, or the plant will stall while it recovers. For lawn-style plantings, first mowing can happen once the grass is about 3 inches tall and runners are actively spreading, typically three to five weeks in depending on temperatures.
Weed control from the start
Weeds are the most underestimated threat during early establishment. In the seedling stage, weed competition can genuinely choke out young durva before it has a chance to spread. For containers, hand-pull anything that is not durva as soon as you see it. For outdoor beds, avoid pre-emergent herbicides during active seeding or transplanting because they will stop your grass too. Instead, manually remove weeds every two to three days for the first month. Once the durva starts running and fills in, it becomes competitive enough to crowd most weeds out on its own. If you want step-by-step guidance, use the same watering and weed-control focus when learning how to grow vetiver grass too durva grass.
Fixing problems as they come up
Seeds are not germinating after two weeks
Check soil temperature first. If your soil is below 65°F, nothing will happen no matter how well you water. Move the container to a warmer spot or wait for outdoor temperatures to rise. If temperature is fine, check whether the surface is crusting and drying between waterings. Even one dry period during germination can break the process. Also check that seed is not buried more than 1/4 inch: bermudagrass seed needs light to germinate and seeds buried too deep simply will not sprout.
Uneven or patchy emergence
This usually comes down to uneven soil contact or uneven watering. Thin, bare patches in a seeded area can be spot-overseeded, but you can also just wait: durva's spreading runners will fill most gaps within three to four weeks once the established areas are growing well. For transplanted plugs, bare patches between plugs will close on their own as long as you are maintaining soil moisture and the plugs are actively sending out runners.
Yellowing or pale growth
Yellow durva usually means one of three things: not enough sun, overwatering with waterlogged roots, or a nitrogen deficiency. Run through the checklist in order. First, is it getting six or more hours of direct sun? If indoors or in a shaded spot, move it. Second, is the soil staying soggy for hours after watering? Check drainage holes and ease off on watering frequency. Third, if sun and drainage are both fine and growth is just pale and slow after four to five weeks, apply a dilute balanced liquid fertilizer (10-10-10 at half strength) once. Durva does not need heavy fertilizing, but a light feed can green it up noticeably.
Damping off (seedling collapse)
Damping off is a fungal disease that kills seedlings at or just below the soil surface. You will see young sprouts that suddenly wilt, topple, and develop a thin, pinched stem near the base. It thrives in overwatered, poorly drained soil. If you see it happening, immediately reduce watering, improve airflow around the container or bed, and remove affected seedlings. There is no saving already-affected plants, but catching it early and drying out the soil slightly will stop it spreading. This is one of the main reasons drainage matters so much from day one.
Slow growth in clay or compacted soil
If you planted into outdoor clay soil and growth is stalling, the roots are likely struggling to penetrate the compacted layer below. Top-dress around the plants with a thin layer (about 1/4 inch) of compost and water it in. For future beds in clay, loosen the soil 6 inches deep before planting. Durva's rhizomes can eventually break through compaction on their own, but it takes much longer and the establishment period is more stressful for the plants.
Pests to watch for
Durva is a tough plant and rarely has serious pest problems in home setups. The most common issues are aphids or mealybugs on container plantings, which show up as sticky residue or small white cottony spots. A spray of diluted neem oil or insecticidal soap handles both. For outdoor beds, grubs can occasionally chew through roots, especially in late summer: if clumps are dying for no obvious reason and you find white grubs when you dig, treat the soil with a basic grub control product. Other than that, once established, durva is about as low-maintenance as grass gets.
Seed vs. vegetative starts: which to choose
| Factor | Seed | Live Clumps / Stolons |
|---|---|---|
| Speed to coverage | 4 to 8 weeks minimum | 2 to 4 weeks |
| Success rate for beginners | Moderate (temperature and moisture dependent) | High (roots faster, fewer variables) |
| Cost | Very low (a small packet covers multiple pots) | Low to moderate (free if sourced from existing growth) |
| Best for | Larger outdoor areas, when live starts are not available | Containers, small ritual beds, quick results |
| Main risk | Poor germination if soil too cold or surface dries | Transplant shock if planted dry or in extreme heat |
| Availability | Online, specialty garden centers | Neighbors, Indian community gardens, online nurseries |
If you are growing durva for ritual use and want cuttings within a month, go with live clumps or stolon cuttings every time. If you want to establish a ground cover patch or cannot source live starts easily, seed works fine as long as you wait for warm soil and stay committed to the daily moisture routine during germination. If you are deciding between seed and live starts, follow the guidance in the sections below to match your timeline and growing setup how to grow monkey grass. Both paths lead to the same dense, spreading mat of grass if you get the setup right.
Durva grass rewards patience and consistent watering far more than it rewards expensive inputs or fancy setups. A terracotta pot, good drainage, six hours of sun, and a spray bottle on a warm windowsill is genuinely all you need to get started today.
FAQ
How long should I keep the surface moist when growing durva from seed?
Keep the top layer consistently moist for the first two to three weeks, but once you see steady sprouting, switch to deep, lighter waterings. If you keep the surface wet indefinitely, you increase damping off risk and you end up with weak, shallow roots.
Can I grow durva grass from seed immediately in cool weather?
You should not. If the soil temperature is below about 65°F, germination will be very slow or fail no matter how carefully you water. If you must start early, use a warmer spot (or a propagation heat mat under the container) and protect from cold nights.
Should I soak durva seed before planting to boost germination?
It can help, but only if you keep the seed from drying out during the process and you sow promptly. For small home amounts, soaking 6 to 12 hours is usually enough, avoid leaving it too long because it can encourage mold, then plant no deeper than 1/4 inch.
My durva sprouted but the seedlings keep dying, what’s the most likely cause?
Damping off or root rot is the most common reason, it usually points to overly wet, low-airflow conditions. Reduce watering frequency, improve drainage (especially in containers), and remove affected seedlings so the fungus does not spread.
How can I tell if I’m underwatering versus overwatering durva during germination?
Use a finger check at about 1 inch depth. If that layer still feels damp, skip watering (you are likely overwatering). If it feels dry or crusty, water again (underwatering). Yellowing with soggy soil is overwatering, yellowing with dry soil plus stunted growth is more likely stress from lack of moisture or sun.
Is durva grass safe to keep indoors long term?
It can survive indoors temporarily for ritual cuttings, but it needs strong light to thrive. Aim for at least six hours of direct sun or run a grow light on a timer, and be sure the pot has drainage holes. For long-term vigor, plan to move it outdoors when temperatures stay warm.
How deep should I plant or bury durva starts, plugs, and stolon pieces?
For seed, keep it shallow (no deeper than 1/4 inch) so light reaches the surface. For runner pieces, press nodes lightly into the top 1/2 inch of moist soil, do not bury deeper because nodes can rot before they root, and keep direct sun on the top runners.
Can I plant durva in a container and still harvest for ritual use?
Yes. Use a wide container or shallow tray with good drainage, and harvest from the outer edges once the grass reaches about 3 to 4 inches tall. Leave the center growing because durva spreads from the active growing points, cutting too much at once can stall regrowth.
Will durva spread into other parts of my yard or grow where I do not want it?
Yes, it spreads aggressively through stolons above ground and rhizomes underground. If you are growing it in a border or container-adjacent area, use physical barriers or isolate the patch so runners cannot escape into turf or garden beds.
What should I do if my container durva smells bad or the soil stays wet for days?
That’s a drainage problem. Check for blocked drainage holes, move to a lighter mix with extra perlite or coarse sand, and water only after the top layer dries slightly. If roots are already rotting, you may need to remove unhealthy sections and restart from healthy nodes.
When is it too late to seed or establish durva for the season?
If you plant near the end of warm-season weather, it may not have enough time to build a strong running mat before cooler temperatures slow growth. A practical rule is to start early enough that you complete establishment (about 3 to 8 weeks) while conditions remain warm, otherwise expect slower fill-in and patchiness.
Do I need fertilizer to grow durva grass from seed or clumps?
Usually no. Durva establishes well without heavy feeding, but if color looks pale after several weeks and sun and drainage are correct, a single light feed (like a dilute balanced fertilizer) can help. Avoid frequent feeding because it can produce weaker, less dense growth compared to consistent watering and sun.
How do I control weeds without harming newly planted durva?
Avoid pre-emergent herbicides during seeding or early transplanting, because they can also stop durva. Stick to frequent hand pulling every two to three days during the first month. Once runners fill in, durva becomes competitive and weed pressure typically drops.
Can I mow durva right away to help it thicken?
Do not mow until it is actively spreading and about 3 inches tall, typically three to five weeks depending on temperature. Early mowing can slow runner development, and thinning at that stage often turns into longer-term bare patches.
Next Article
How to Grow Mondo Grass: Fast, Dense Coverage Guide
Step-by-step guide to grow dense mondo grass fast: planting, spacing, soil prep, watering, fertilizing, and troubleshoot
