Growing grass at home from seed is genuinely straightforward once you nail three things: picking the right grass for your climate, getting your soil ready to actually hold and feed seed, and watering consistently through germination. Most lawns fail not because homeowners did anything dramatically wrong, but because they used the wrong seed for their region, skipped soil prep, or watered too little in the first two weeks.
How to Grow Grass at Home From Seed Step by Step
Marcus Tillwell
4 Jun 2026
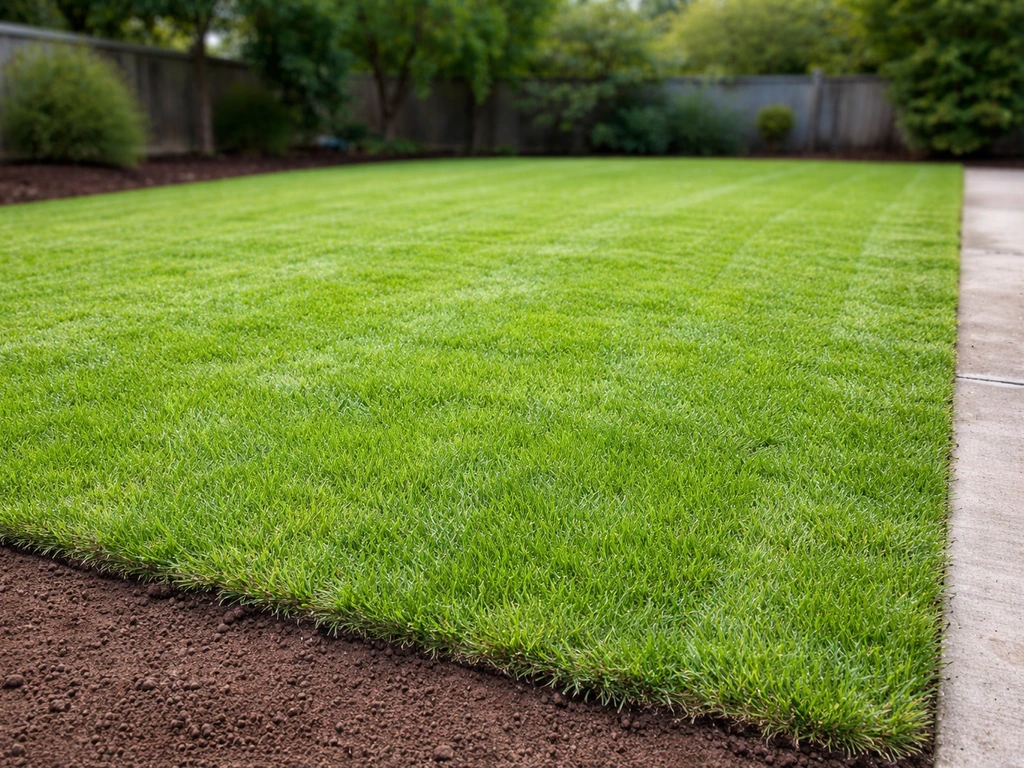
Get those three things right and you will have green grass growing in your yard within 7 to 21 days depending on the species. If you want a fairway-like lawn, focus on choosing a turfgrass that fits your climate and then seed, water, and fertilize with consistent timing how to grow fairway grass.
If you want the best results, focus on choosing the right grass for your climate, prepping the soil, and following a consistent watering schedule during germination green grass growing in your yard. If you want a truly natural-looking lawn, focus on local seed selection, healthy soil, and consistent early watering rather than heavy inputs how to grow natural grass.
Pick the Right Grass for Your Climate and Sun Situation
This is the single biggest mistake homeowners make. They buy whatever seed bag is on sale without checking whether it actually grows in their region or tolerates their yard's sun conditions. There are two broad categories you need to know: cool-season grasses and warm-season grasses.
Cool-season grasses thrive in the North, the Pacific Northwest, and higher elevations. They grow best when air temperatures are between 60 and 75°F, which is why fall and early spring are their prime planting windows. If you live in roughly the northern two-thirds of the country, these are your main options: tall fescue, fine fescue, Kentucky bluegrass, and perennial ryegrass.
Warm-season grasses dominate the South, the Gulf Coast, and the Southwest. Bermudagrass and zoysiagrass are the heavy hitters here. They go dormant and turn brown in winter but come back strong in summer heat. If your summers regularly hit 90°F or above and your winters are mild, a warm-season grass will almost always outperform a cool-season one.
Shade is the other major variable. Most grasses want full sun, meaning at least 6 hours of direct sunlight per day. If your yard has significant tree coverage or is on the north side of a building, fine fescue (particularly creeping red fescue) is your best bet for cool climates. Zoysiagrass handles partial shade better than bermudagrass in warm climates, though neither thrives in deep shade. If you have areas that get fewer than 3 hours of direct sun, you are probably better served by ground cover than grass.
| Grass Type | Best Region | Sun Needs | Best For |
|---|---|---|---|
| Tall Fescue | Transition zone and North | Full sun to partial shade | Tough all-purpose lawns, clay soil tolerance |
| Fine Fescue | North, cool climates | Shade to partial sun | Shady yards, low-maintenance areas |
| Kentucky Bluegrass | Northern US | Full sun | Dense, lush lawn appearance |
| Perennial Ryegrass | North, also overseeding South | Full sun to light shade | Fast establishment, renovation projects |
| Bermudagrass | South, Southeast, Southwest | Full sun | High-traffic yards, heat and drought tolerance |
| Zoysiagrass | South, transition zone | Full sun to partial shade | Dense, weed-suppressing, moderate shade |
Seed Rates and Which Seed Type to Buy
Seed rate matters more than most people realize. Too little seed and you get a patchy lawn with plenty of room for weeds to move in. Too much and seedlings compete with each other and thin out anyway. The rates below are for new lawn establishment, meaning you are seeding into bare or mostly bare soil. If you are overseeding into an existing lawn to fill thin spots, cut the rate roughly in half.
| Grass Species | Establishment Rate (lb per 1,000 sq ft) | Overseeding Rate (lb per 1,000 sq ft) |
|---|---|---|
| Tall Fescue | 6–8 | 4 |
| Fine Fescue | 4–5 | 2–3 |
| Kentucky Bluegrass | 2–3 | 1–1.5 |
| Perennial Ryegrass | 6–8 | 3–4 |
| Bermudagrass (hulled seed) | 1–2 | 0.5–1 |
| Zoysiagrass | 1–2 | 0.5–1 |
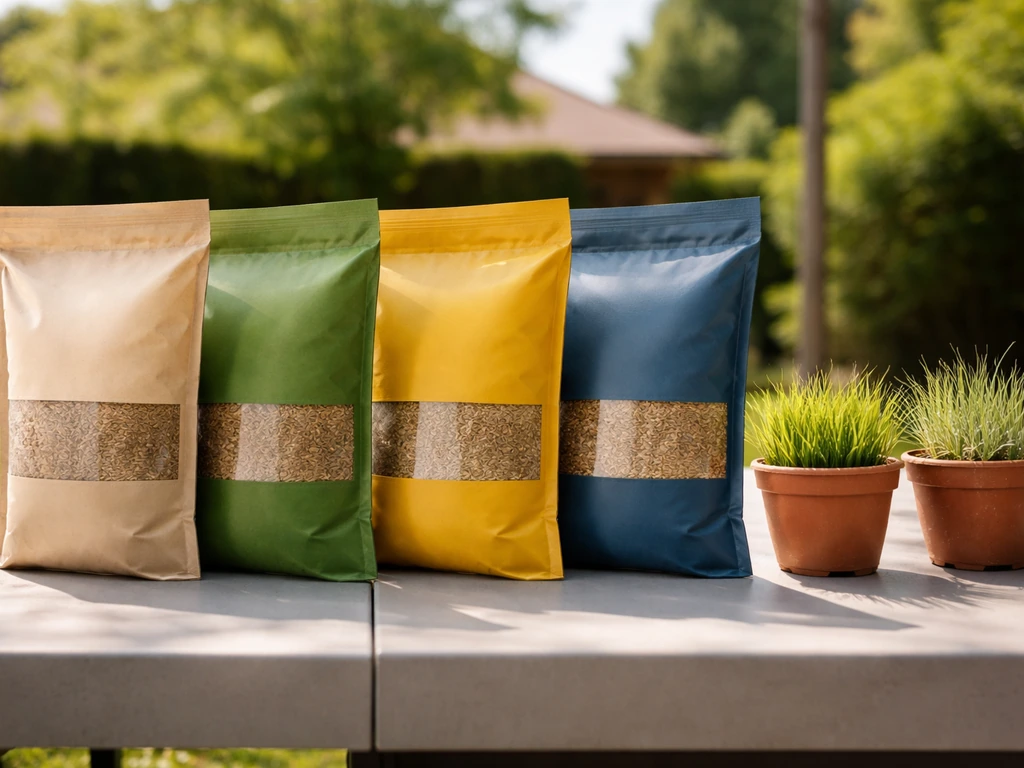
When you buy seed, look at the label for two numbers: purity and germination rate. Multiply those together and divide by 100 to get the pure live seed (PLS) percentage. A bag that is 90% pure and has an 85% germination rate has a PLS of about 76.5%. If you want to be precise, divide the recommended seeding rate by the PLS decimal (0.765 in that example) to know how much actual seed to apply. In practice, buying a reputable brand with germination above 80% and seeding at the higher end of the range covers most situations.
A quick note on bermudagrass: buy hulled seed, not unhulled. Hulled bermuda germinates far faster because the outer coating has been removed. Unhulled seed can take weeks longer to show results and is not worth the hassle for a home lawn.
Soil Prep at Home: Test It, Fix It, Then Seed It
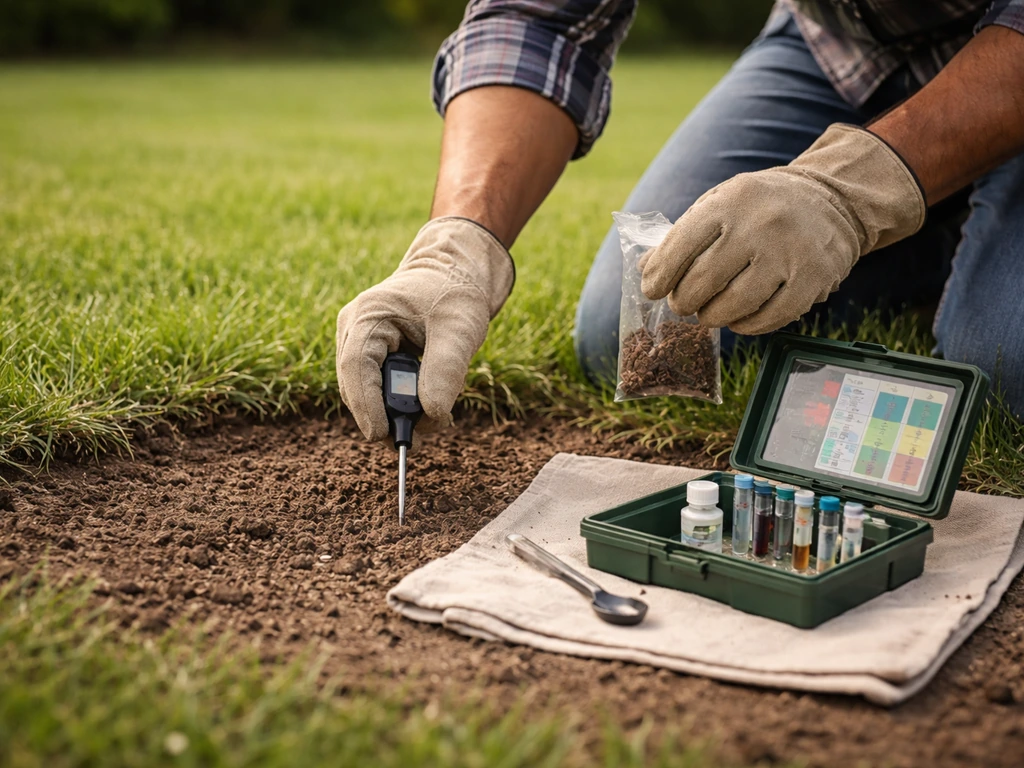
Skipping soil prep is how most DIY lawn projects end up with patchy, yellow, struggling grass. You do not need expensive equipment. A basic soil test from your county extension office costs about $15 to $20 and tells you your pH and major nutrient levels. Most grasses want a soil pH between 6.0 and 7.0. If you are below that, add lime. If you are above it, sulfur brings it down. Do this before you seed because fixing pH after the fact is slow.
Clay Soil
Clay holds water and nutrients well but compacts easily and drains slowly, which can drown seedlings or cause seed rot. Before seeding, core aerate if the soil is hard and compacted. Mix in a 2 to 3 inch layer of compost and till or rake it into the top 4 to 6 inches. This breaks up compaction and improves drainage without having to haul in topsoil. Tall fescue and perennial ryegrass handle clay reasonably well once established. Perennial ryegrass roots are particularly good at pushing through slightly compacted ground.
Sandy Soil
Sandy soil drains so fast that seeds dry out between waterings, which kills germination. Incorporate several inches of compost to improve water retention and add organic matter. You will also need to water more frequently during germination than you would in a loam or clay soil. Bermudagrass actually tolerates sandy conditions better than most grasses once it is established.
General Soil Prep Steps
- Get a soil test and address pH issues at least 2 to 4 weeks before seeding if possible
- Kill existing weeds with a non-selective herbicide or by solarizing (covering with clear plastic for 4 to 6 weeks in summer) — wait at least 1 week after herbicide application before seeding
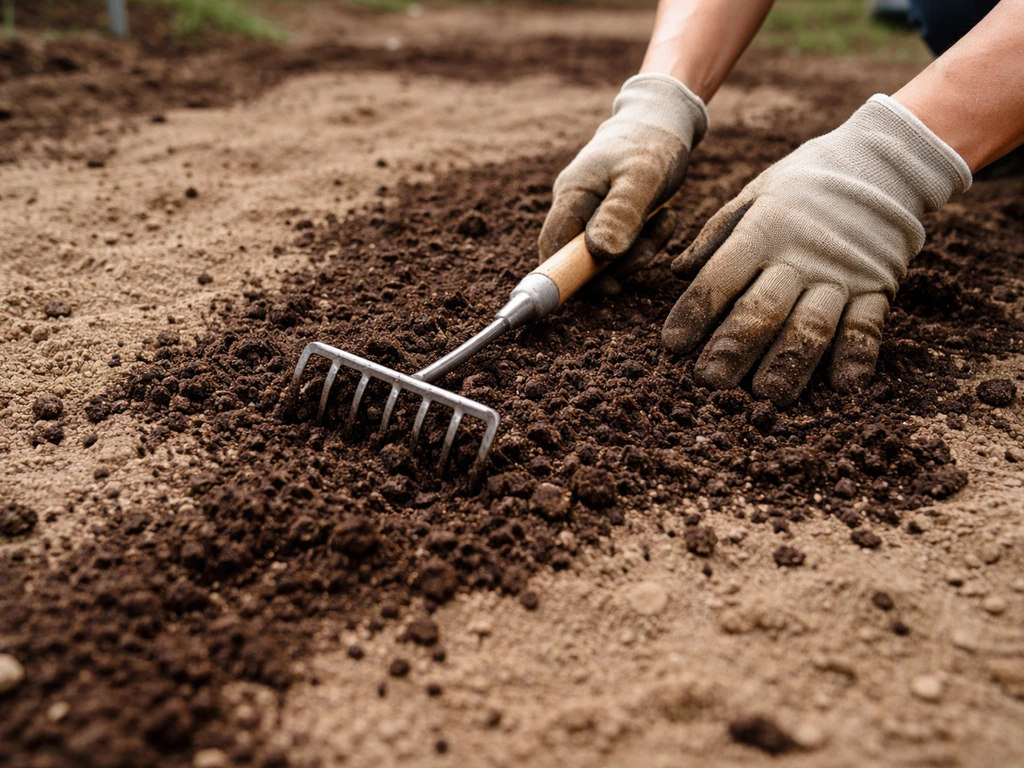
- Mow or scalp existing vegetation as short as possible, then rake out dead material
- Till the top 4 to 6 inches of soil if you are doing a full renovation, or simply loosen and scratch the surface for small bare spots
- Work in 1 to 2 inches of compost and a starter fertilizer (high in phosphorus, like a 10-20-10 formula) at the same time
- Rake to a smooth, level surface with no clods larger than a marble — seeds need good soil contact to germinate
Step-by-Step Seeding: From Prepping the Area to Covering the Seed
Timing is everything before you even open the seed bag. For cool-season grasses, late summer to early fall (late August through September in most of the country) is your best window. Soil is warm enough to drive germination but cooling air temperatures give seedlings relief from heat stress. Spring works too but the window is shorter before summer heat arrives.
For warm-season grasses like bermudagrass, plant after soil temperatures hit 65°F, which typically falls between May 1 and June 15 in most warm-climate states. Football field grass can be grown using the same approach, but you may want to choose a durable grass type and seed at a rate suited for heavy wear how to grow football field grass.
[Planting bermudagrass early in that window gives it the longest possible growing season to develop the root system it needs to survive winter. ](https://extension. uga. edu/publications/detail.
html? number=B911)
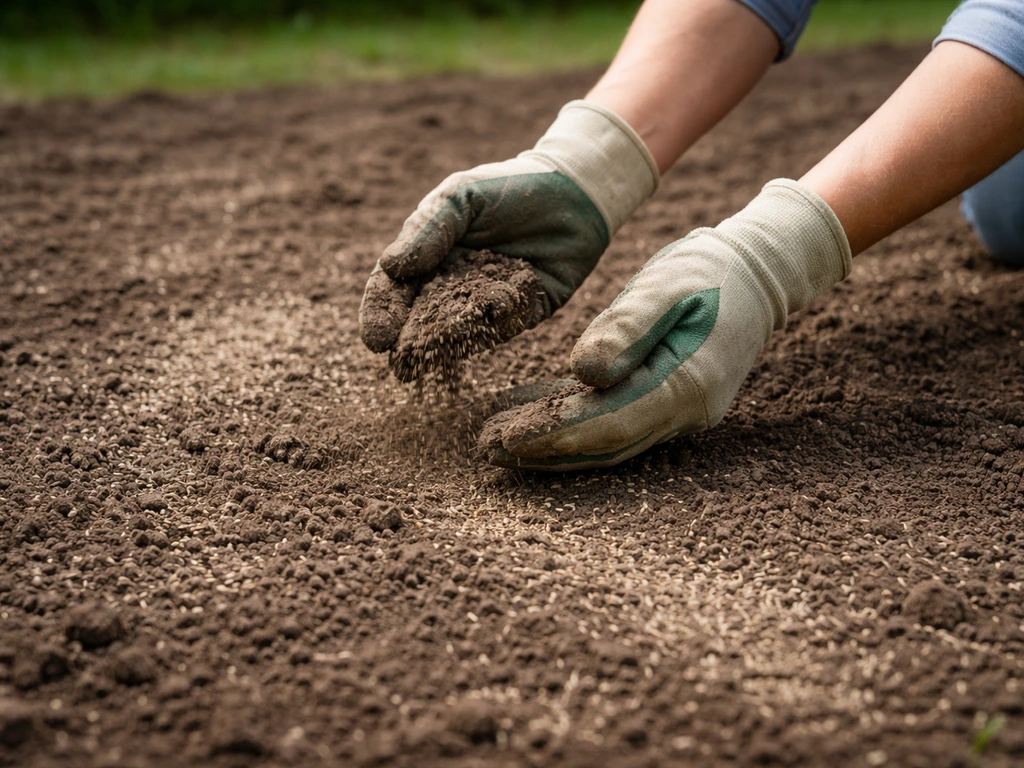
- Divide your seed into two equal portions — you will spread half in one direction and the other half perpendicular to ensure even coverage
- Use a broadcast spreader for large areas or a hand spreader for small patches; spreading by hand works in a pinch but is harder to control
- Apply the first half of seed in parallel passes across the area, then apply the second half in passes at a 90-degree angle
- Rake very lightly after spreading to work seed into the top quarter-inch of soil — you want seed covered by soil, not buried deep
- Roll the area with a lawn roller if you have access to one; this improves soil-seed contact dramatically and is worth renting for a full lawn project
- Cover the seeded area with a thin layer of straw (about one bale per 1,000 sq ft) — the straw holds moisture, protects seed from birds, and does not need to be removed; it breaks down as you mow
- Water immediately and thoroughly after seeding
If you are just filling bare spots rather than seeding a whole new lawn, the process is the same but smaller scale. Scratch the bare area with a garden rake or hand cultivator, apply seed, press it down with your hand or foot, and cover lightly with compost or straw. Keep it moist until the patch fills in.
Watering for Fast Germination: A Realistic Timeline
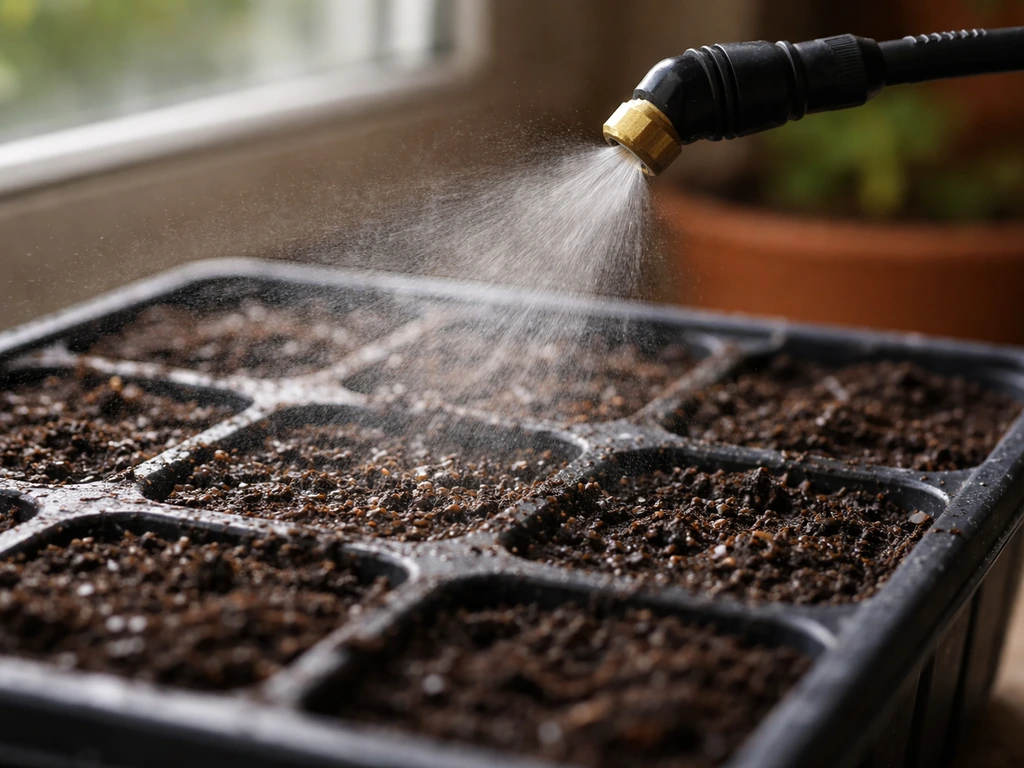
Watering is where most people either overdo it or quit too early. The goal during germination is to keep the top 1 inch of soil consistently moist without creating standing water or puddles. Seeds that dry out even once during germination can die before they sprout. After germination starts, you shift to encouraging roots to go deeper.
Phase 1: Germination (Days 1 through 14 for most species)
Apply about a quarter inch of water per session. On a hot, sunny, windy day that may mean watering two to three times per day because the soil surface dries out quickly. Early morning is ideal, but do not let seeds dry out waiting for the right time of day. The objective is constant moisture at the surface. For bermudagrass specifically, Missouri Extension research confirms you need to keep the top inch of soil moist for at least two to four weeks without interruption for reliable germination.
Phase 2: After Sprouts Appear (Week 2 through Week 6)
Once you see sprouts, start transitioning to less frequent but deeper watering. The target is to moisten the top 4 to 6 inches of soil. Deeper watering forces roots to chase moisture downward, which builds a more drought-resistant lawn. After about two weeks of visible growth, you can usually stretch waterings to once a day or every other day depending on conditions. Texas A&M research suggests that at around the two-week mark, homeowners can begin increasing time between waterings as plants establish.
| Grass Type | Germination Timeline | Soil Temperature Needed |
|---|---|---|
| Perennial Ryegrass | 5–10 days | 50–65°F |
| Tall Fescue | 7–14 days | 60°F+ (optimum 68–77°F air temp) |
| Fine Fescue | 7–14 days | 50–65°F |
| Kentucky Bluegrass | 14–28 days | 50–65°F |
| Bermudagrass | 10–30 days | 65°F minimum |
| Zoysiagrass | 14–21 days | 65–70°F |
If you want the fastest possible results, perennial ryegrass wins outright. It can show visible sprouts in as few as five days under good conditions and is the go-to choice for quick repairs and overseeding warm-season lawns in fall. It is not the most permanent solution in every climate, but when speed matters it is the right call.
Caring for Your Lawn After Sprouting
First Mowing
Wait until your new grass reaches about 3 to 4 inches tall before mowing for the first time. Mowing too early pulls seedlings out by the roots before they have anchored properly. When you do mow, set the blade high and remove no more than one-third of the blade height in a single pass. Keep foot traffic off the new lawn as much as possible for the first four to six weeks.
Fertilizing
You applied starter fertilizer at seeding, which handles the first six to eight weeks. After that, switch to a balanced fertilizer appropriate for your grass type. Cool-season grasses benefit most from fall fertilization. Warm-season grasses should be fertilized actively during their growing season (late spring through summer). Do not apply high-nitrogen fertilizer to brand-new seedlings; it can burn them and push top growth at the expense of root development.
Weed Control
Avoid pre-emergent herbicides for at least 8 to 12 weeks after seeding because they prevent all seed germination, including your grass seed. If weeds appear before that window closes, pull them by hand. Post-emergent broadleaf herbicides (for dandelions, clover, etc.) are generally safe once your lawn has been mowed two or three times and is clearly established, but read labels carefully for your specific grass type.
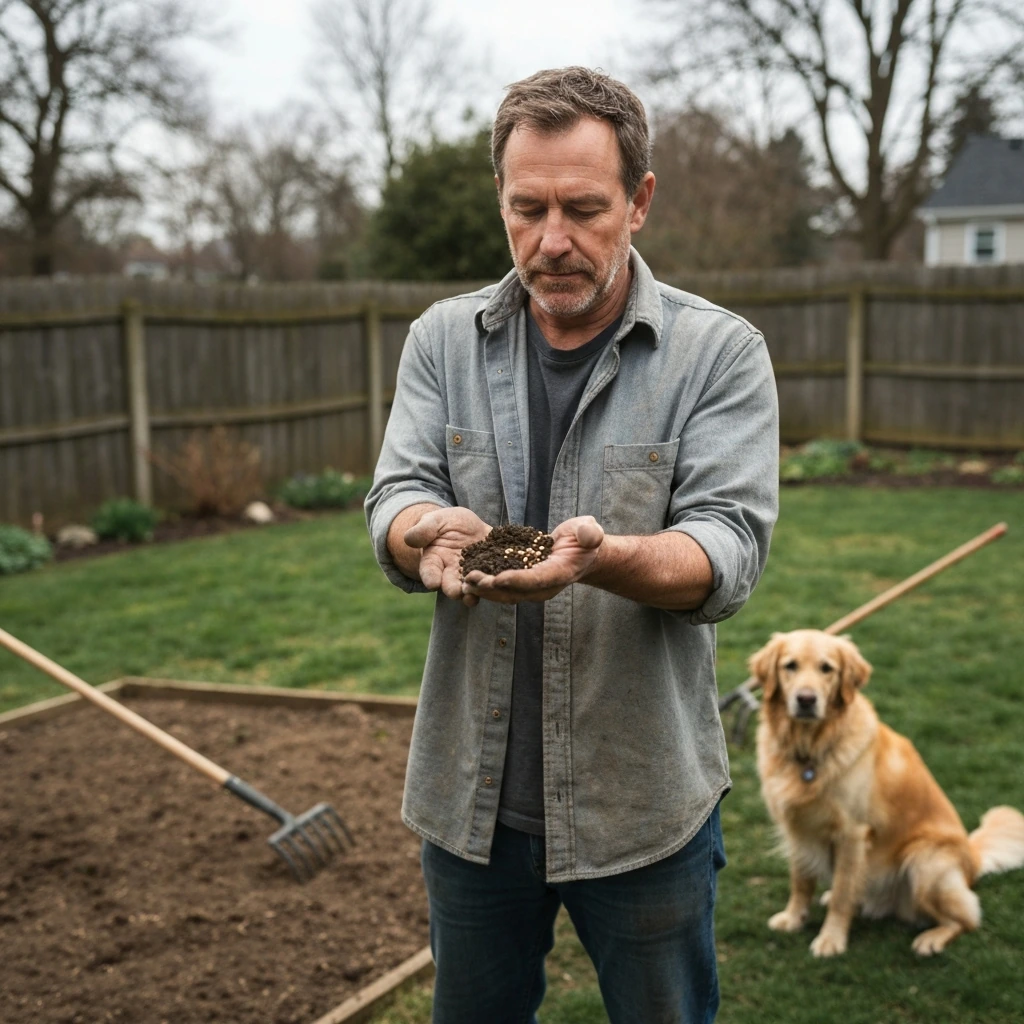
Pets
Dog urine burns grass because of the high nitrogen concentration. Keep pets off newly seeded areas until the lawn is fully established, ideally for at least six to eight weeks. If you have a dog, consider designating a gravel or mulch zone for their bathroom area to reduce damage. For existing pet-damaged brown spots, tall fescue tends to be more urine-tolerant than Kentucky bluegrass and is easier to repair.
Troubleshooting: Why Your Grass Is Not Growing
Bare Spots That Will Not Fill In
If you have persistent bare spots, the usual culprits are soil compaction, poor drainage, tree root competition, or shade. Probe the spot with a screwdriver: if it does not push in easily, you have a compaction problem. Core aerate, amend with compost, and reseed. If the spot is under a tree with aggressive surface roots, it may never grow grass well; that is a case where mulch or shade-tolerant ground cover makes more sense than repeatedly failing with grass seed.
Patchy, Uneven Germination
Patchy germination usually means inconsistent watering or uneven seed distribution. The spots that dried out at any point during germination are the ones that look bare. Reseed those areas, covering them lightly with compost to help hold moisture, and water more carefully. If you applied seed by hand without a spreader, the uneven coverage itself is the problem. Use a spreader for the repair and future seeding.
Slow or No Germination
The most common reason seeds do not germinate is soil temperature, not the seed itself. If you seeded bermudagrass when soil is below 65°F, or seeded in late fall when cool-season grass soil temps have already dropped well below 50°F, the seed is just sitting dormant and waiting. Check soil temperature with an inexpensive probe thermometer before assuming the seed is bad. If timing is the problem, the seed will often germinate on its own when conditions improve, or you can overseed again when the window opens.
Seedlings Sprouting Then Dying
Seedlings that emerge and then wilt or die within a week usually ran out of moisture, got hit by a fungal damping-off disease, or were planted too shallow and dried out. Watering too infrequently right after germination starts is the most common cause. Damping-off is more common in cool, wet conditions and shows as a pinched stem at the soil line. If you suspect disease, improve air circulation, reduce watering frequency slightly, and avoid watering in the evening. Most seedlings bounce back once conditions improve.
Yellow Grass Instead of Green
Yellow seedlings almost always mean a nitrogen deficiency or a pH problem preventing nutrient uptake. Go back to your soil test results. If pH is out of range, nutrients lock up in the soil even if they are physically present. A light application of a balanced starter fertilizer can green things up quickly if pH is already correct. Iron deficiency (which shows as yellow between green veins) is common in alkaline soils and can be temporarily addressed with a liquid iron application while you work on pH long-term.
If you are working toward something more specialized, like a very fine-bladed, dense turf, the principles here apply but the tolerances get tighter. The same fundamentals of soil prep, correct seeding rates, soil temperature awareness, and consistent moisture carry through whether you are establishing a basic backyard lawn or working toward something more refined. For putting greens, you can use these same fundamentals, but you will want to focus even more on ultra-fine texture and consistent, frequent mowing.
FAQ
What soil depth should I prepare before I start, for reliable grass germination?
Prepare to at least the top 4 to 6 inches (topsoil layer), because seedlings need moist contact with loose soil. If you’re only scratching the surface on compacted ground, roots often fail to expand and watering just runs off, causing patchy emergence.
How do I know if my yard gets enough sun before I seed?
Aim for at least 6 hours of direct sun for most grass types. If you consistently get fewer than about 3 hours, expect poor establishment and plan on shade-tolerant grass or ground cover instead, since even correct watering and soil prep can’t compensate for deep shade.
Should I rake in the seed or just spread it on top?
After seeding, press it into the soil and cover lightly, compost or straw is usually enough. If you bury seed too deep, emergence slows or fails; if you leave it too exposed, the top dries out and germination drops.
Can I seed if rain is forecast in the next day or two?
Yes, but avoid heavy downpours that create puddles or wash seed around. Your goal during germination is consistent moisture without standing water, so short light rain is fine, but if storms are likely, consider delaying or using a light topdressing to help seed stay in place.
How often should I water during the first 1 to 2 weeks, and how can I check if I’m doing it right?
Keep the top inch of soil consistently moist, that often means multiple small waterings on hot, windy days. To verify, do a quick probe with a screwdriver or small trowel after a session, the surface should feel moist but not muddy or soggy.
Why is my grass coming up in lines or stripes?
Uneven coverage from seeding method is a common cause, especially when seeding by hand. Stripes often match how you walked the yard, a spreader helps you distribute more evenly, and lightly covering with compost helps the seed stay put.
When should I apply starter fertilizer, and can I use it immediately after seeding?
Apply starter at seeding as your article notes, but wait to fertilize again until you see clear growth and the grass has had time to root. Avoid high-nitrogen products right after emergence, they can burn seedlings and shift energy away from root development.
What’s the best mowing height for newly sprouted grass, and when is it safe to mow?
Mow only when the lawn reaches about 3 to 4 inches tall. Keep the blade high and remove no more than one-third in a pass, also avoid mowing wet grass because it can tug seedlings and compact the surface.
How long should I keep people and pets off the new lawn?
Keep foot traffic to a minimum for the first four to six weeks, and for pets, stay off at least six to eight weeks if possible. A practical option is to cordon the area and direct pets to a separate mulch or gravel spot until the turf is well established.
Is it okay to use pre-emergent herbicides to stop weeds right after seeding?
Generally no for a new seed job, pre-emergents block germination. If weeds appear early, hand-pulling is the safer option until the recommended window passes, then choose an herbicide matched to your grass type per the label.
My seedlings are wilting after they sprouted, should I add more seed or just adjust care?
First adjust watering and check for damping-off signs, since wilt within about a week is usually moisture stress or disease rather than a bad seed batch. Only reseed the clearly bare patches that dried out, reseeding everything tends to waste seed and can increase weed pressure.
How do I troubleshoot yellowing in seedlings when I already fertilized?
Recheck pH and drainage from your soil test, yellow often means nutrient uptake is blocked rather than total nutrients missing. In alkaline conditions, iron deficiency is common (often yellow between veins), a liquid iron product can help temporarily while you correct pH for lasting improvement.
Bermudagrass germinated poorly, could my seed type be the issue?
Yes, unhulled bermuda seed can take much longer because the coating slows germination. If you planted unhulled seed and it’s been a short window, confirm soil temperature first, but for future repairs choose hulled seed to shorten the time to establishment.
What should I do if my lawn keeps failing under a tree?
Test the area for shade and root competition, if a core screwdriver won’t penetrate easily and the tree roots dominate the top layer, reseeding often repeats the same failure. Consider mulch, overseeding only in thinner-root areas, or switching to shade-tolerant ground cover where grass can’t form a dense rooting zone.
Next Article
How to Grow Turf Grass: Step by Step Guide for Success
Step-by-step tips to grow turf from seed or install sod, choose grass types, prep soil, time planting, fix bare spots.