Kusha grass (also called khus or vetiver, Chrysopogon zizanioides) is not grown from seed at home. The cultivars sold and used for lawns, groundcover, and erosion control are sterile or nearly sterile, which means you will not find viable seed that reliably germinates. You grow it from slips, which are small divisions of a mature clump that include 2–3 shoots and a piece of the crown. Once you get that part right, kusha grass is genuinely one of the easier plants to establish: it tolerates an enormous range of soil conditions, bounces back from drought once rooted, and once it fills in, it needs very little from you.
How to Grow Kusha Grass at Home: Step by Step Guide
Marcus Tillwell
4 Jul 2026
What kusha grass actually needs to thrive
Sunlight is the one thing kusha grass is non-negotiable about. It wants full sun, and plenty of it. It can tolerate up to about 50% shade once it is established, but if you plant it under a tree canopy or in a spot that gets fewer than 5–6 hours of direct sun, you will get poor growth and slow fill-in from the start. If your site is shaded, honestly consider a different groundcover.
Soil flexibility, on the other hand, is one of kusha grass's genuine superpowers. It handles a pH range from roughly 3 to 11, which covers basically any realistic garden soil, from very acidic clay to alkaline sandy loam. It can handle both waterlogged spots and well-drained sandy soils. It has been recorded tolerating temperatures from −15°C up to +55°C, though it will not survive permafrost. For most homeowners across warm and temperate climates, soil type is simply not a barrier.
The one area where soil really does matter is moisture at establishment time. A young slip has almost no root mass yet. It needs moisture in the surrounding soil to stay alive long enough to send out new roots. Once those deep roots develop (they can reach 3–5 meters down in mature plants), kusha grass essentially manages its own moisture needs. But in the first 2–3 months, inconsistent watering is the main reason plantings fail.
Getting your planting material and tools together
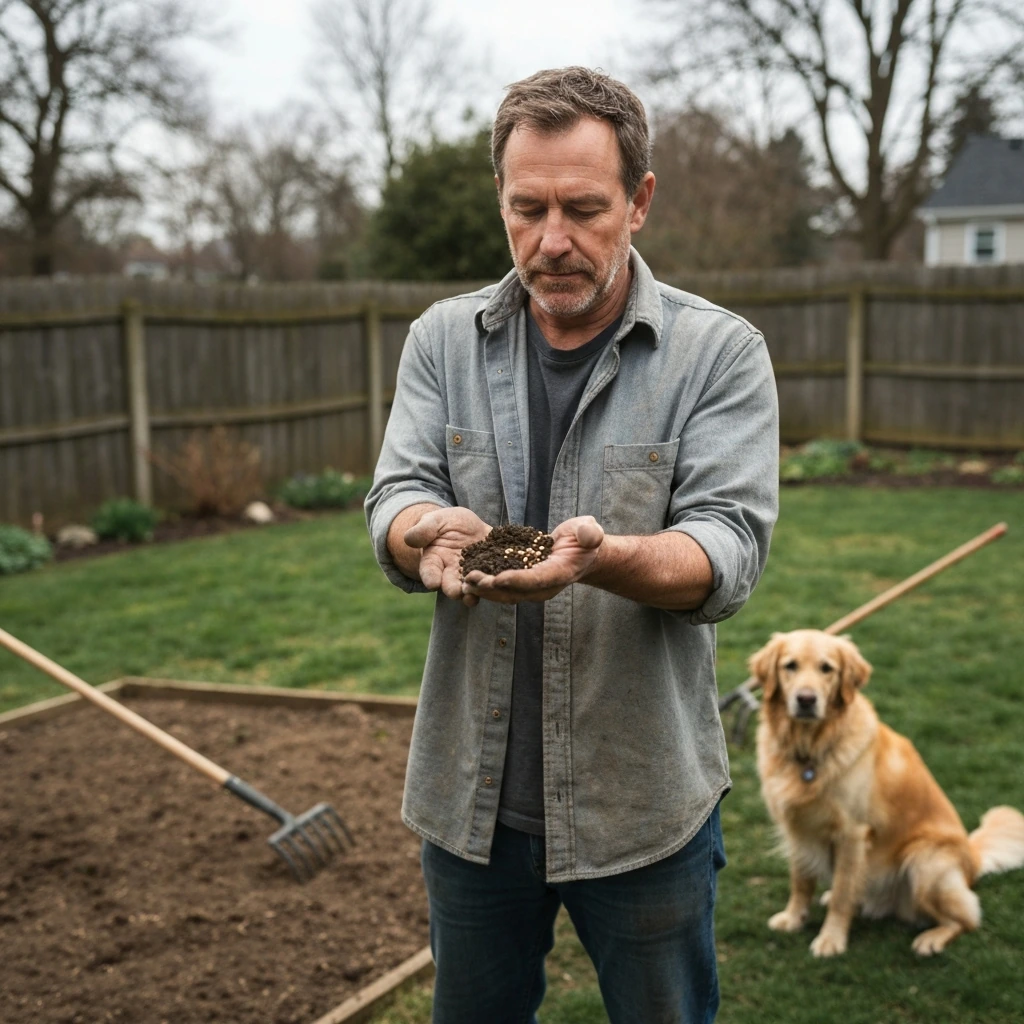
Since viable seed is not a realistic option, your first job is sourcing quality slips. You have three main routes: buy bare-root slips from a vetiver nursery or specialty grass supplier, buy potted container plants and divide them yourself, or ask someone who already has an established clump to split some off for you. The 'Sunshine' cultivar is the most commonly available NRCS-referenced non-invasive type in the US; it is sterile, clump-forming, and will not self-seed into neighboring areas.
When you receive or collect slips, each one should have at least 2–3 tillers (shoots) and a bit of the crown attached. Before planting, cut the tops back to about 20 cm (8 inches). This sounds counterintuitive, but reducing the leaf mass means the plant puts its energy into rooting rather than keeping a big canopy alive. Trim the roots back too if they are very long, leaving about 10–15 cm. If you are transporting slips before planting, keep the roots wrapped in damp cloth or newspaper.
- Bare-root slips from a reputable vetiver nursery (look for cultivars labeled sterile or non-invasive)
- Container-grown vetiver plants you can divide at home
- Slips donated or sourced from an existing planting in your area
- Sharp knife or pruning shears for dividing clumps
- Spade or garden fork for digging planting furrows
- Watering can or hose with a gentle setting
- Organic compost or well-rotted farmyard manure (FYM)
- Mulch for post-planting moisture retention
Best time to plant and how to prep your area
Plant in spring once your soil has warmed up, ideally timed so rainfall is expected in the weeks ahead. Kusha grass is a warm-season C4 grass, so it establishes fastest when soil temperatures are consistently above about 15°C (60°F). Kusha grass (kikuyu grass is often discussed alongside it) is a warm-season groundcover, but the best way to grow it depends on your sun and watering setup how to grow kikuyu grass. In most of the southern US and tropical/subtropical regions, that means late March through May. In cooler temperate climates, wait until late spring. Avoid planting right before a dry hot spell with no rain forecast unless you can commit to watering every couple of days.
Site prep is straightforward. Clear the area of weeds and large debris. Loosen the top 15–20 cm of soil with a fork or spade. If your soil is dense clay, work in a generous layer of compost (5–8 cm) to improve early drainage around the crown. If it is very sandy and drains fast, mix in some well-rotted farmyard manure to hold moisture longer. You do not need to overthink fertilizer at this stage; a basic compost amendment is enough to get slips started.
Aim to plant into moist soil if you can. If you follow these steps, you will be setting yourself up with the right conditions for how to grow khus grass successfully Aim to plant into moist soil if you can.. If you have had rain in the last day or two, your timing is ideal. If the soil is dry, water it thoroughly the evening before you plant so it has time to absorb. Planting into dry, powdery soil is the single biggest mistake people make with kusha grass establishment.
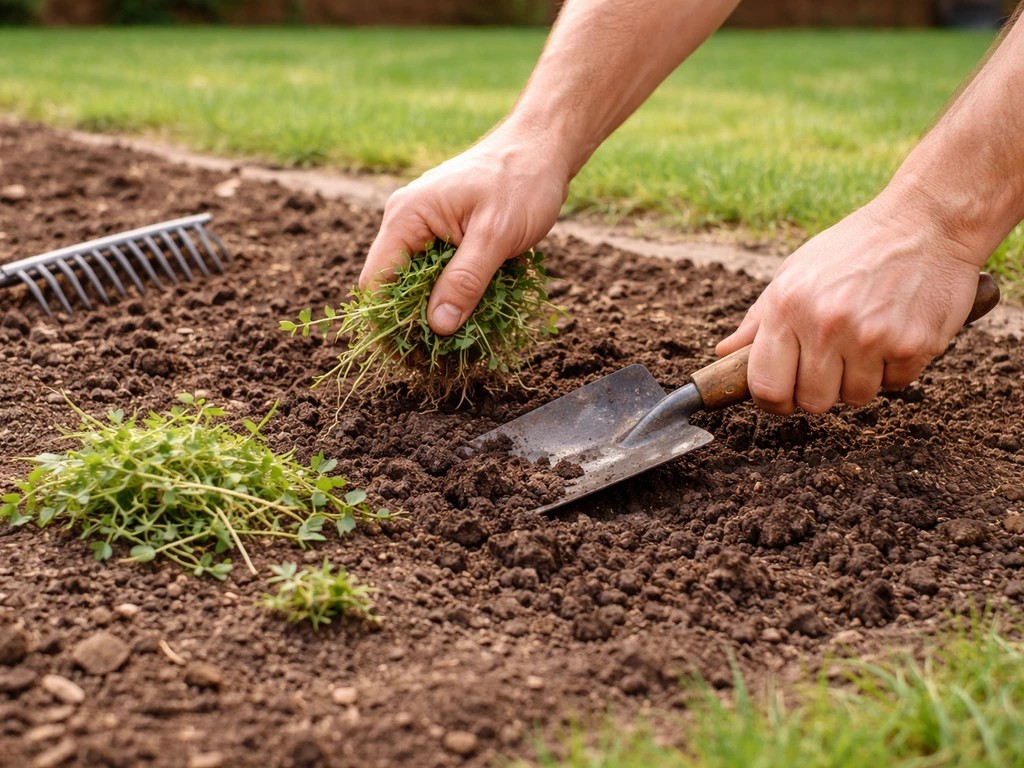
How to plant kusha grass slips step by step
- Mark out your rows or planting grid. For groundcover or lawn-style coverage, space slips 15–20 cm (6–8 inches) apart within rows, with rows about 30 cm (12 inches) apart. For erosion control hedgerows, use tighter in-row spacing of 10–15 cm.
- Dig a shallow furrow or individual holes about 10–15 cm deep, just wide enough to fit the crown of the slip without bending or cramping it.
- Place each slip upright in the hole so the crown sits at or just below soil level. The trimmed roots should point straight down.
- Firm soil around the base of each slip, pressing gently to close any air pockets. This direct soil contact around the crown is critical for root initiation.
- If you have it, pour a diluted manure-water solution (roughly 1 part manure to 10 parts water, sometimes called 'cow tea') into each hole as you plant. This boosts early establishment noticeably.
- Water the entire area immediately after planting. Even if you planted into moist soil, watering helps the soil settle around the crown and eliminates air pockets.
- Apply a light layer of mulch (3–5 cm) between slips to retain moisture and suppress weeds. Keep the mulch away from the crown itself.
Watering plan for the first 2–3 months

Water every 1–2 days for the first two weeks, especially if there is no rain. After the first two weeks, you can ease off to every 3–4 days, monitoring whether the soil is staying consistently moist about 5 cm down. From weeks 4–8, a deep watering twice a week is usually enough in warm weather. By months 2–3, your slips should have visible new leaf growth, which signals the roots have taken hold. At that point, you can reduce watering to once a week or rely more on rainfall, adjusting for your local conditions.
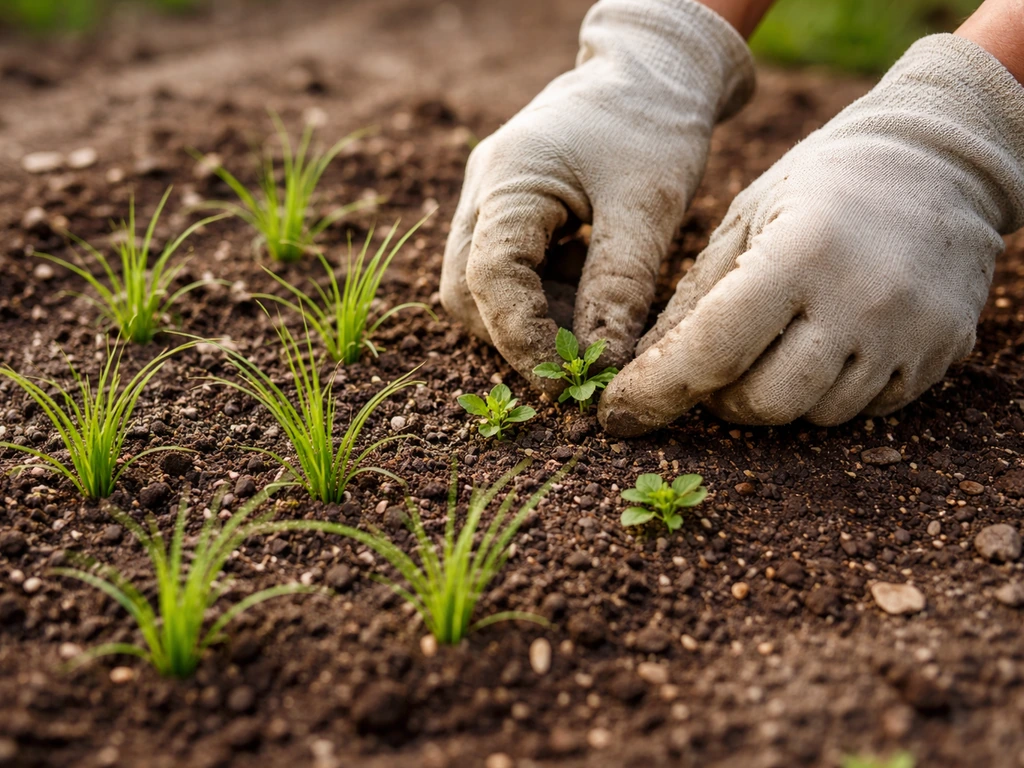
Germination timeline and troubleshooting poor emergence
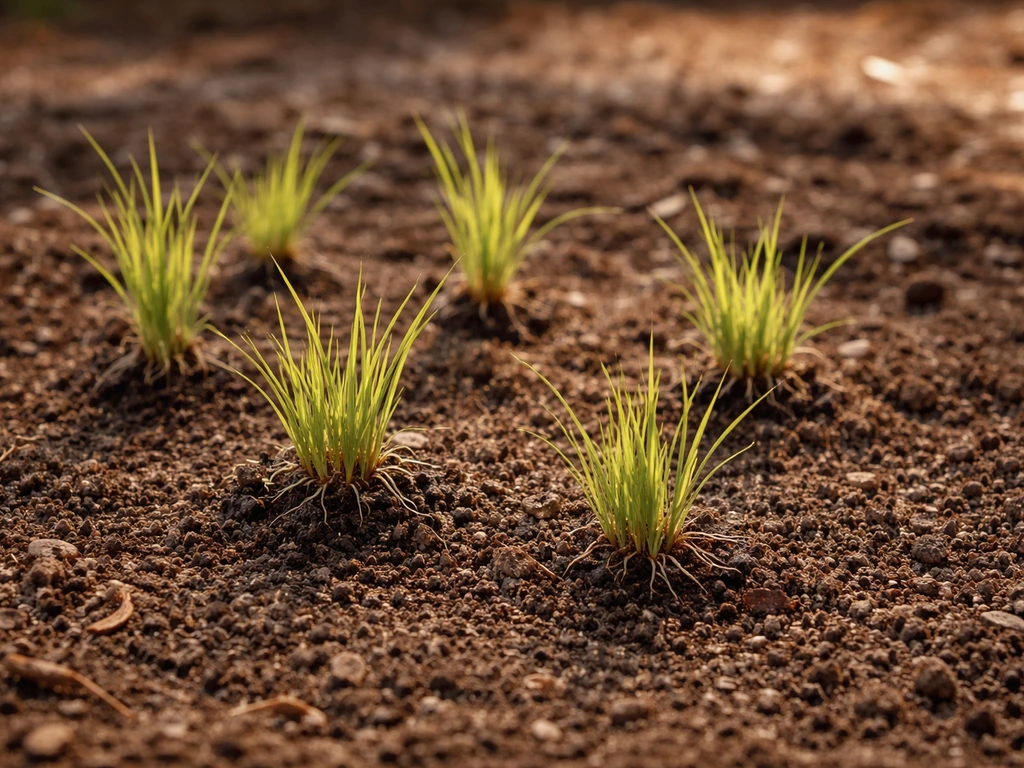
Because you are planting slips rather than seeds, 'germination' here means rooting and new shoot emergence. Expect to see the first signs of new green growth within 2–4 weeks of planting in warm conditions. Some slips may look completely dead for the first 3–4 weeks, with the cut tops yellowing. Do not pull them out yet. As long as the crown is firm and still moist underground, they are likely still alive and rooting. Veteran growers describe this waiting period as the hardest part.
If you are at week 6 with no new growth at all, gently probe around the base of a struggling slip. If the crown is soft or mushy, it has rotted (usually from overwatering in poorly draining soil, or from being planted too deep). If it is still firm but dry, it has desiccated (not enough water or the slip was weak). Replace failed slips promptly so you do not end up with patchy coverage later.
| Problem | Likely Cause | What to Do |
|---|---|---|
| No new growth by week 4 | Slow establishment in cool soil or weak slip | Be patient; check crown firmness; increase watering frequency slightly |
| Tops yellowing completely | Normal die-back after top trim | Wait; new shoots come from the crown, not the trimmed tops |
| Soft, mushy crown | Root rot from overwatering or poor drainage | Remove and replace slip; improve drainage with compost before replanting |
| Dry, shriveled crown | Desiccation from insufficient water or dry soil at planting | Replace slip; water more frequently and mulch around new planting |
| Patchy coverage after 8 weeks | Uneven slip quality or spacing too wide | Fill gaps with new slips from divisions of your strongest plants |
| Slow growth with pale leaves | Insufficient sunlight | Check if shade is blocking sun; kusha grass needs full sun to thrive |
Early growth care and keeping weeds out
The first three months are when weeds are your biggest competition. Kusha grass slips are small and slow to fill in at first, so weeds can quickly overwhelm them if you let them establish. Hand-pull weeds close to the slips rather than hoeing, since aggressive soil disturbance can dislodge newly rooting crowns. Keep that mulch layer topped up between plants. Once your kusha grass reaches about 30 cm tall and the clumps start touching, it will naturally crowd out most annual weeds on its own.
Feed lightly if your soil is very poor. A half-strength balanced fertilizer or a second application of diluted manure water at the 4–6 week mark can noticeably speed up early growth. But if you amended with compost at planting, most soils will have enough nutrients to get through the first season without extra feeding.
One of the more exciting things about kusha grass once it gets going: a single healthy slip can produce 50–100 new slips within six months in good conditions. That means any bare patches you have in month three can be filled by dividing your strongest plants, completely for free. Keep that in mind before you order extra planting material.
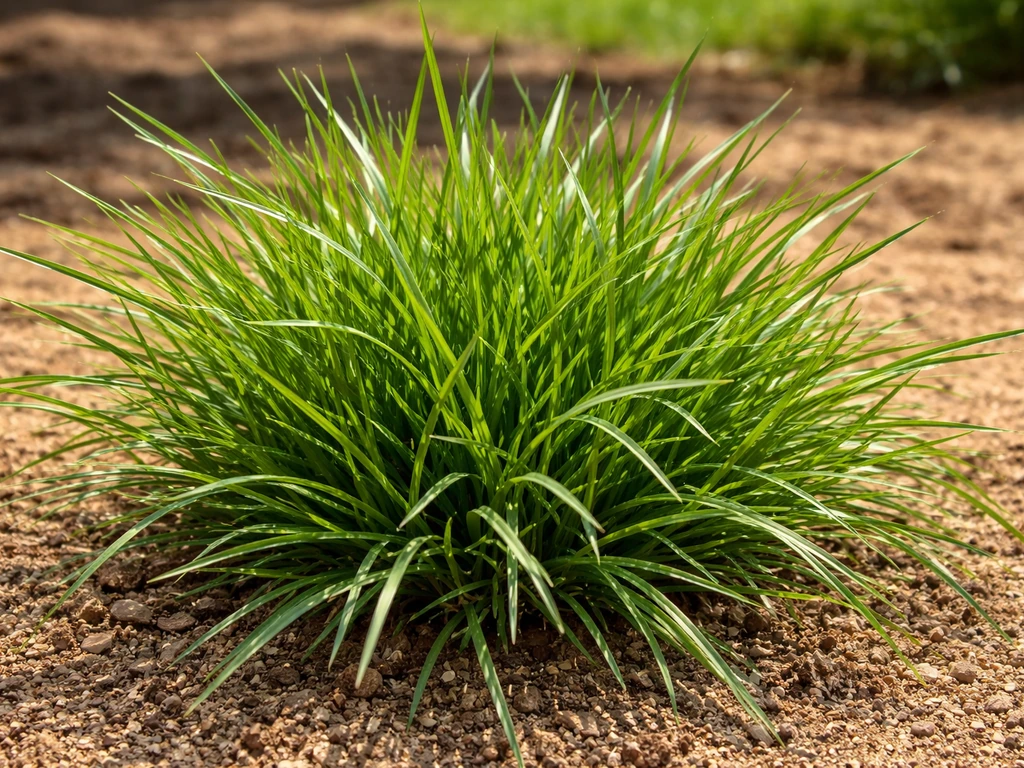
Long-term care: trimming, feeding, and keeping it healthy
Kusha grass is not a lawn you mow weekly. It is a bunchgrass that grows in clumps, so maintenance is more like trimming back a perennial than mowing turf. In the first year, the rule of thumb is: when plants reach 40–50 cm tall, cut them back to about 20 cm. This keeps growth compact and encourages tillering (more shoots from the crown, which thickens your coverage). A line trimmer or hedge shears work well for this. If you are adapting the one-third rule from standard turf mowing, do not take more than a third of the leaf height in a single cut.
After the first year, once the clumps are well established, you can trim once or twice a year rather than responding to height. The trimmings make excellent mulch; spread them between rows or around garden beds to retain moisture. If you have a large planting, the biomass from a single annual cut can be a meaningful mulch resource.
Established kusha grass is genuinely low-maintenance compared to most lawn grasses. Its deep roots (eventually reaching 3–5 meters) make it extremely drought-tolerant, so blank" rel="noopener noreferrer">supplemental watering after year one is mainly needed during extended dry periods rather than on a regular schedule. You do not need to feed it regularly either; an annual top-dressing of compost is more than enough for most home plantings.
Dividing and expanding your planting over time
One of the best aspects of growing kusha grass at home is that it multiplies itself. Every 6–12 months, mature clumps can be divided to produce new slips for bare patches, new areas, or to share with neighbors. If you want to expand your planting, the same runner-style propagation approach applies when you divide mature clumps into new slips how to grow kikuyu grass from runners. Use a sharp spade to cut through the clump, making sure each division has at least 2–3 shoots and a section of crown. Trim the tops to 20 cm before replanting, just as you did with your original slips. Spring is the best time to do this, matching the original planting timing.
Your next steps based on where you are right now
If you have not planted yet, your practical next step is sourcing slips. Search for vetiver nurseries in your region, look for the sterile Sunshine cultivar, and plan your planting for spring when soil temperatures are above 15°C and rain is in the forecast. Prep your site, amend with compost if the soil is heavy clay or very sandy, and aim to plant into moist soil.
If you planted recently and see no growth, stay patient through week 6 before concluding a slip has failed. Keep the soil moist and check crown firmness if you are worried. If you are at week 8 with patchy coverage, divide your healthiest plants now and fill the gaps before the growing season gets away from you.
If you are already established and just managing ongoing growth, trim when plants reach 40–50 cm, use the cut material as mulch, and divide clumps each spring to keep coverage dense. Kusha grass rewards consistent early attention with very little long-term work, which is a genuinely good deal for a home planting. If you are interested in other specialty grasses that suit similar warm-climate or conservation-focused planting goals, the approach for growing khus grass (another name for the same plant, vetiver) follows identical steps, while grasses like kikuyu or Korean grass take a different vegetative establishment route worth exploring depending on your coverage goals. If you are specifically trying to grow Korean grass, the best method and care details differ, so review a Korean grass starter guide before you plant.
FAQ
My kusha grass slips have no new growth yet, how long should I wait before replacing them?
Kusha grass can look “dead” for weeks because you cut the tops and the slip focuses on rooting first. If the crown (base) is still firm, not mushy, and it feels slightly moist underground, leave it alone for at least 4 to 6 weeks before deciding it has failed. At failure time, replace promptly so weeds do not move into the open space while nearby slips are still small.
What causes kusha grass slips to rot or turn mushy, and how can I prevent it?
It is usually planted too deep. A good slip setup is trimming roots if very long, then setting the crown at or near the soil surface (not buried deeply). After planting, keep the soil consistently moist for the first 2 to 3 months, but avoid waterlogging, especially in heavy clay, because mushy crowns rot.
How do I water kusha grass in clay soil without causing crown rot?
Yes. If your soil drains poorly or you see standing water after rain, you can improve establishment by adding compost into the top 15 to 20 cm and avoiding frequent light watering that keeps the crown constantly wet. For clay sites, water with fewer but deeper cycles after the first two weeks, and always check moisture 5 cm down before watering again.
Will kusha grass survive winter if I plant in a colder climate?
Snowy or very cold winters can stress young plantings, but mature kusha grass is much tougher. For fresh slips, do not rely on dormancy timing. In colder regions, plant later in spring when soil is reliably warm, and keep mulch light but present to reduce freeze-thaw heaving. Avoid late fall planting because slips may not establish roots deep enough before winter.
Can kusha grass grow in shade, and what shade level should I avoid?
If your site is truly shaded (less than about 5 to 6 hours of direct sun), you will likely get slow, thin clumps. Instead of forcing it, choose a sunnier spot or a different groundcover. If you have partial shade (morning sun or dappled light), you can still try kusha grass, but expect a slower fill-in and keep weed control extra strict during the first few months.
Can I propagate kusha grass from cut leaves or trimmings?
Use cuttings only as mulch, not as planting material. Kusha grass is established from slips (crown plus shoots), not from dried leaf blades. Even if you root leaf fragments, they typically do not form a viable crown system, so coverage will not fill in reliably.
What spacing or planting density helps kusha grass fill in faster and suppress weeds?
If you want dense coverage, you do not just space by a “pretty” distance, you space for quick canopy touch. Aim for tighter spacing than you would for a decorative clump garden so the clumps meet before weeds take over. Also, during the first year, trim to about 20 cm when plants reach 40 to 50 cm, since that encourages tillering and faster thickening.
Do I need fertilizer for kusha grass, and what is the safest timing if my soil is poor?
Most of the time, skipping fertilizer is fine if you amended with compost. When feeding, do it lightly and early, around the 4 to 6 week mark, and use half-strength balanced fertilizer or diluted manure water. Overfeeding can lead to lush top growth with weaker early rooting.
Is kusha grass invasive, and how should I manage it along a lawn or walkway edge?
Yes, and it is a common cleanup issue. Kusha grass grows in clumps, so you can “contain” it by keeping edges weed-free and trimming border growth back with shears. If you are worried about spread, make sure you are planting sterile, clump-forming types, like the commonly referenced Sunshine cultivar, and avoid introducing non-sterile planting material.
After the first year, how do I decide when to water kusha grass instead of following a calendar?
After year one, you still may need supplemental watering during prolonged drought, but you should shift from a rigid schedule to a check-based approach. A practical method is to water deeply only when the top 5 cm starts to dry out and growth slows. The goal is to avoid repeated shallow watering that encourages roots to stay near the surface.
Next Article
How to Grow Korean Grass Fast: Step-by-Step Guide
Step-by-step how to grow Korean grass fast: timing, soil prep, seeding rate, watering plan, and fixes for bare spots.