What cat grass actually is (and what seeds to use)
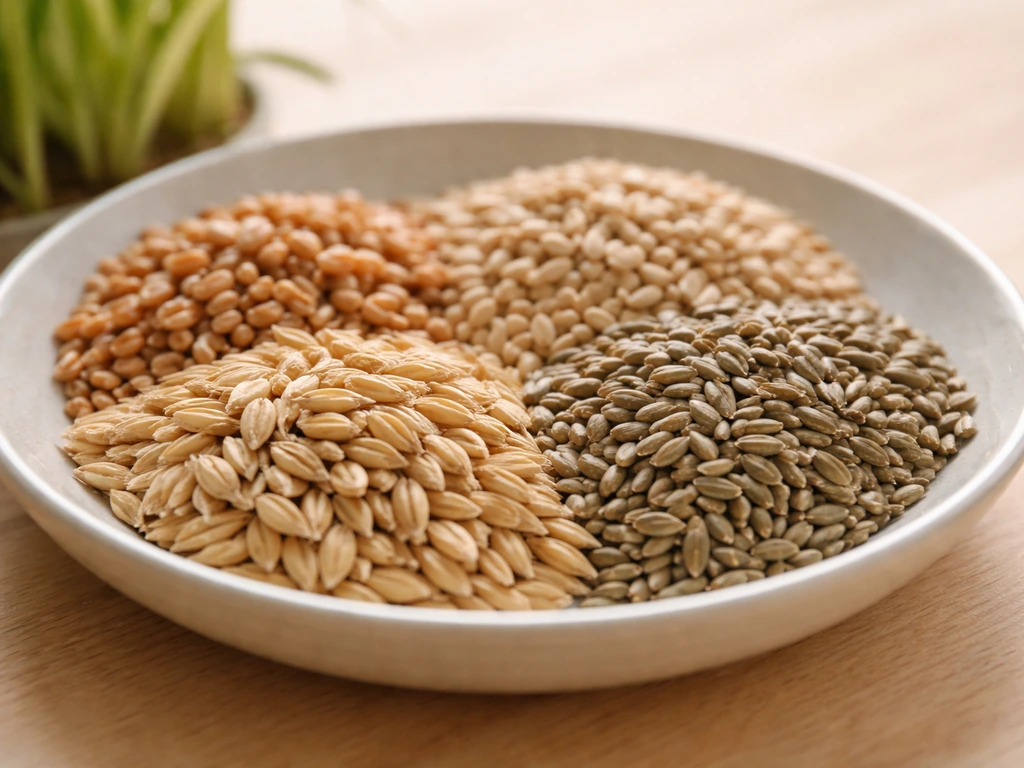
Cat grass is not a special botanical species. It's a common name for cereal grasses, typically wheat, barley, oats, and rye, grown densely and harvested young at the sprout or microgreen stage. You're essentially growing a tiny crop of grain seedlings and letting your cat graze on them before they mature. These cereal grasses are safe for cats to eat in normal amounts and give them something to chew on that aids digestion. What you're NOT growing is outdoor lawn grass like bermuda, fescue, or zoysia. Those outdoor varieties serve a completely different purpose and aren't what you want here.
For indoor growing, look for seeds labeled specifically as cat grass, wheatgrass, or a blend of wheat, oats, barley, and rye. Organic blends like those from Hume Seeds are a good choice because they're explicitly free of chemical treatments. The key safety point: never use seeds that have been treated with fungicides or pesticides. Treated seeds are common in agricultural settings and are not labeled for food or pet use. If the bag doesn't say untreated or organic, don't use it. The ASPCA has flagged pesticides broadly as a potential danger to pets, and that concern applies to anything a cat is going to put in its mouth directly.
Choose the right supplies before you start
You don't need much, but getting the right supplies upfront saves frustration. Here's what actually matters and why.
- Seeds: organic, untreated cat grass seeds (wheat, barley, oat, rye blend, or straight wheatgrass). Avoid any seed packet that doesn't clearly state untreated.
- Container: a shallow tray or pot, 2 to 4 inches deep, with drainage holes. Drainage is non-negotiable. Standing water at the roots is the fastest way to get mold.
- Growing medium: organic potting soil or a seed-starting mix. Avoid potting mixes with added chemical fertilizers or wetting agents. Plain, organic potting soil from a garden center works well and keeps things safe.
- Spray bottle: for misting during germination. You'll use this instead of pouring water directly on seeds in the early days.
- Saucer or tray: to catch drainage without letting the pot sit in pooled water.
- Optional: a clear plastic lid or plastic wrap to cover the tray during germination and hold humidity in.
You can also grow cat grass without soil using alternative media like coconut coir or even in water, which are worth exploring if mold in soil becomes a repeated issue. But for a first grow, organic potting soil is the simplest and most forgiving option.
Indoor setup: light, temperature, and container basics
Temperature matters more than most people realize. Cereal grass seeds germinate best in a range of roughly 65 to 75 degrees Fahrenheit, which is typical for most homes. If your house runs cooler (below 60F), germination will slow noticeably. A spot near a heat vent or on top of the refrigerator works well during cold months. Once the grass has sprouted and reached an inch or two, it tolerates a wider temperature range and doesn't need the extra warmth.
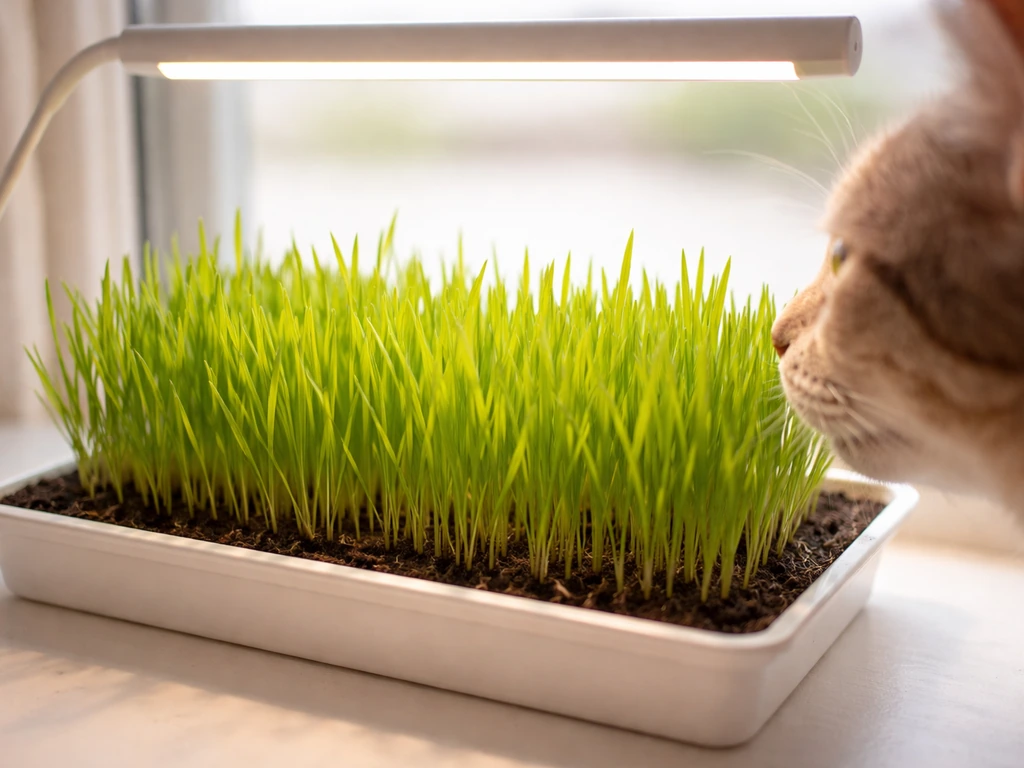
Light is the factor most people underestimate indoors. Cat grass doesn't need full outdoor sun, but it does need bright, indirect light for at least 4 to 6 hours a day. A south or east-facing windowsill is ideal. If your windows don't get enough light, a simple LED grow light set to run for 12 to 14 hours a day will get the job done without spending much money. The main symptom of inadequate light is leggy, pale, floppy grass. If your sprouts are reaching toward the window and flopping over within the first week, move the tray closer to the light source or add a supplemental light.
For containers, shallow is actually better than deep. A tray about 2 to 3 inches deep gives roots enough room while keeping the growing medium from holding too much water. If you're using a pot that's deeper, fill the bottom with extra drainage material or just don't fill it all the way with soil. Drainage holes are mandatory. If water has nowhere to go, you will get mold.
How to grow cat grass indoors, step by step
- Soak your seeds. Put your seeds in a bowl of plain, clean water for 6 to 12 hours before planting. This softens the seed coat and speeds up germination. Don't skip this step; it genuinely makes a difference in how quickly and evenly things sprout.
- Prepare your container. Fill your shallow tray or pot with about 1 to 2 inches of damp (not wet) organic potting soil or seed-starting mix. The soil should feel moist like a wrung-out sponge, not soggy.
- Sow seeds densely. Drain your soaked seeds and spread them across the surface of the soil in a single, dense layer. Cat grass is meant to be sown thick, not spaced out like garden vegetables. Press the seeds gently into the soil surface for good contact. Cover them lightly with a thin layer of soil, about 1/4 inch deep. The goal is seed contact and slight coverage, not deep burial.
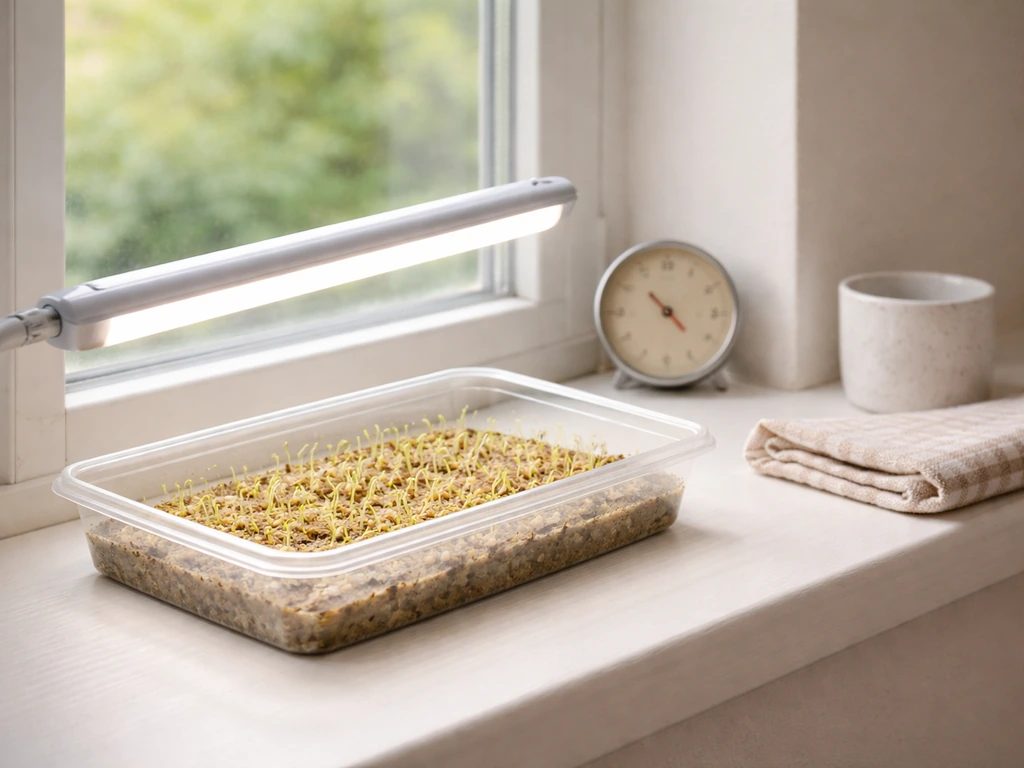
- Cover and place in a warm spot. Cover the tray loosely with a clear plastic lid or plastic wrap. This holds moisture and warmth in during the critical germination phase. Place the tray somewhere warm (65 to 75F) but out of direct sun for now.
- Mist daily, don't pour. During the first 2 to 4 days while seeds are germinating, use a spray bottle to mist the surface lightly once or twice a day. You want consistent moisture, not standing water. Pouring water directly on ungerminated seeds can displace them and creates puddles that invite mold.
- Remove the cover once sprouts appear. You'll typically see green shoots emerging within 3 to 5 days. Once sprouts are visible, remove the plastic cover and move the tray to your bright windowsill or under your grow light. Air circulation helps prevent mold now that the cover is off.
- Transition to careful bottom watering or gentle top watering. Once the grass is up and growing, you can start watering more directly, but do it carefully. Pour a small amount of water around the edges of the soil and let it drain through. Empty the saucer after 30 minutes so the pot isn't sitting in water. Water when the top of the soil feels dry to the touch, not on a fixed schedule.
- Harvest at 4 to 6 inches. Your cat grass is ready when it reaches about 4 to 6 inches tall, which typically happens between 7 and 14 days after planting. At this stage it's tender, flavorful, and at peak nutrition. Don't let it grow much taller than 6 inches. If it goes to seed, the grass becomes coarser and less appealing to cats.
When to harvest and how to keep a steady supply
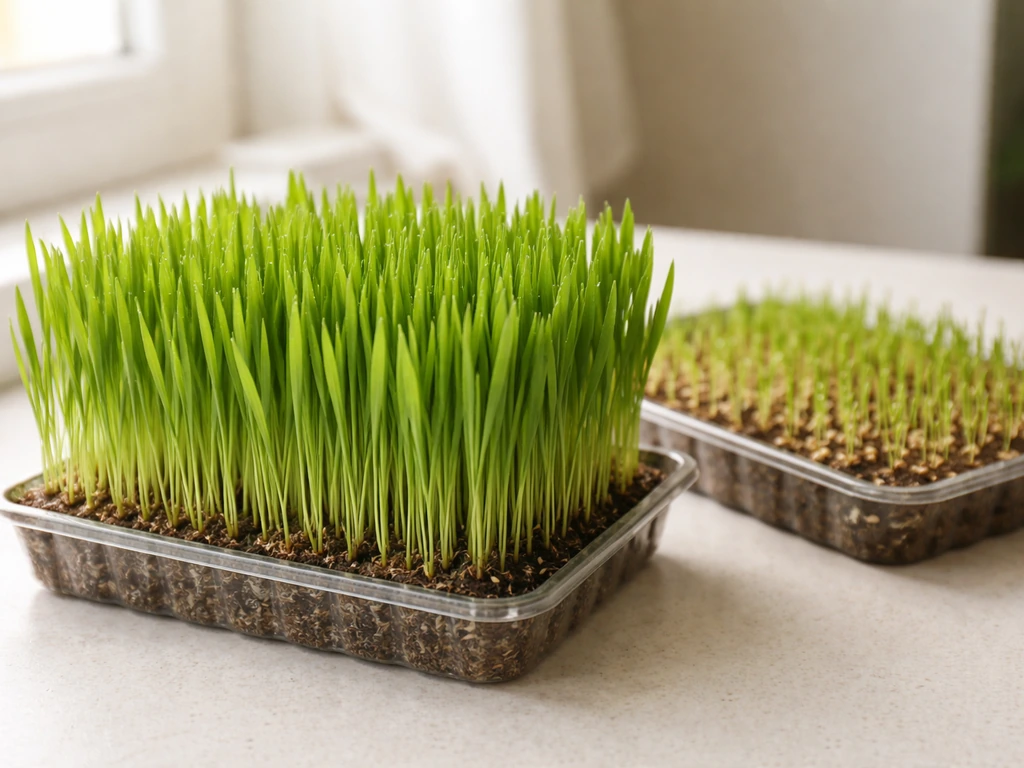
Harvest timing matters more than people expect. Most cat grass is ready somewhere between day 7 and day 14, when the blades are 4 to 6 inches tall and still bright green and tender. Some fast-sprouting blends can be snackable as early as day 6. Once it hits that window, let your cat graze directly from the tray, or cut blades with scissors and place a small bunch in a dish. If you let it keep growing past 6 inches without cat interaction, it will eventually start to look stringy, yellow at the base, or begin going to seed.
The real secret to keeping your cat in grass all year is successive planting. Start a new tray every 1 to 2 weeks so you always have one batch at the germination stage, one actively growing, and one ready to harvest. Three small trays rotating on this schedule means your cat never runs out. Both Seedphony and Seedboy specifically recommend this every-couple-of-weeks resowing approach, and it's the right call. A single tray has a short useful life of maybe 1 to 2 weeks before it declines, so the rotation is what makes indoor cat grass practical long-term rather than a one-time experiment.
Watering, light problems, and common failures
Mold on cat grass
Mold is the number one complaint with indoor cat grass, and it's almost always caused by too much water combined with poor air circulation. This is worth taking seriously because mold can produce mycotoxins that are genuinely harmful to cats. If you see fuzzy growth on the soil surface or at the base of the grass blades, don't let your cat eat from that tray. Throw it out, clean the container with a diluted vinegar rinse, let it dry completely, and start fresh.
To prevent mold from happening in the first place: use the spray bottle method during germination instead of pouring water, make sure your container drains freely, never let the tray sit in standing water, remove the plastic cover as soon as sprouts emerge, and keep the tray somewhere with decent airflow (a gentle fan nearby helps). If mold keeps coming back despite all this, try switching to a soil-free growing medium. Growing cat grass in water or with coconut coir dramatically cuts mold risk. Growing cat grass in water or with coconut coir dramatically cuts mold risk.
Slow or uneven germination
If your seeds haven't sprouted after 5 to 7 days, the most likely causes are temperature (too cold), seeds that are too old, or seeds that weren't soaked before planting. Check that your growing spot is at least 65F. Try soaking seeds for a full 12 hours next time if you only did 6. If you're using seeds from a packet that's been sitting in a drawer for more than a year, buy fresh ones. Seed viability drops over time, and cat grass seeds are cheap enough that fresh is always worth it.
Leggy, floppy, or pale grass
If your grass is growing tall but flopping over and looks pale or yellowish, it's reaching for more light than it's getting. Move the tray to a brighter spot or add a grow light. If the grass is also thin and sparse, the seeds may not have been sown densely enough. Cat grass is meant to be crowded; plant so thickly that the surface is almost completely covered in seeds before you add that thin layer of soil on top.
Grass wilting or drying out
On the flip side, if the grass wilts between waterings, it's drying out too fast. This can happen if the tray is very shallow, if it's near a heat vent, or if you're in a dry climate. Water a bit more frequently, but still let the surface dry slightly between waterings. You're trying to keep the root zone consistently moist, not the surface wet at all times.
Quick-reference troubleshooting
| Problem | Likely cause | Fix |
|---|
| Mold on soil or grass base | Overwatering, poor drainage, no airflow | Use spray bottle to mist, ensure drainage holes, add airflow, switch to soil-free media if recurring |
| No sprouts after 7 days | Cold temps, old seeds, no pre-soak | Move to warmer spot (65–75F), soak seeds 6–12 hours, use fresh seeds |
| Pale, floppy, leggy grass | Not enough light | Move to brighter window or add LED grow light for 12–14 hrs/day |
| Wilting between waterings | Drying out too quickly | Water more frequently, check tray depth and heat sources nearby |
| Sparse, patchy growth | Seeds not sown densely enough | Sow thicker next batch, almost full coverage of soil surface with seeds |
| Grass going yellow at base | Tray past its useful life | Start a new tray; replace on 1–2 week rotation schedule |
Cat safety and feeding basics
Cat grass grown indoors with organic, untreated seeds in plain potting soil is one of the safer things you can offer your cat. After you have the right seeds, the next question is what to grow cat grass in, so it stays safe and avoids mold. After you have the right seeds, the next question is what to grow cat grass in, so it stays safe and avoids mold. If you keep seeing mold, focus on the right growing medium and airflow, and consider soil-free methods avoid mold. The big risks come from using the wrong inputs. Never grow cat grass from seeds treated with fungicides or pesticides, and avoid potting soils with added chemical fertilizers, synthetic wetting agents, or slow-release pellets. The American Humane Society specifically contrasts safe indoor-grown grass with outdoor grass that can carry pesticide and fertilizer residue. Your indoor setup avoids all of that if you stick to organic seeds and a plain growing medium.
When it comes to feeding, most cats self-regulate and nibble a bit rather than gorging. You can let your cat graze directly from the tray, or cut a small handful and put it in a shallow dish. Either approach works. Just keep the tray clean: remove any yellowing or dead grass regularly so it doesn't sit and become a mold risk. Wash the tray thoroughly between growing cycles.
If you ever see any mold on a tray your cat has already grazed from, watch for signs of illness and contact your vet. Mold that produces mycotoxins can cause vomiting, lethargy, and more serious symptoms. The ASPCA Poison Control hotline (888-426-4435) is available 24 hours a day if you're concerned about any possible exposure. In practice, catching mold early and replacing the tray quickly eliminates the risk.
Your indoor cat grass setup checklist
- Organic, untreated cat grass seeds (wheat, barley, oat, or rye blend)
- Shallow tray or pot (2 to 4 inches deep) with drainage holes
- Organic potting soil or seed-starting mix, no chemical additives
- Spray bottle for misting during germination
- Saucer to catch drainage (empty it after watering)
- Bright windowsill (south or east-facing) or LED grow light
- Optional clear plastic lid or plastic wrap for germination phase
- Two or three additional trays for rotating successive plantings
What to expect from start to finish
Soak your seeds the night before you plan to plant. The next day, sow them thick, cover lightly with soil, mist, cover with plastic, and find a warm spot. Within 3 to 5 days you'll see green shoots. Pull the cover, move to the light. By day 7 to 10, you should have 4 to 6 inches of bright green grass. That's when your cat gets to eat. Start your second tray around day 5 to 7 of the first one so there's no gap in supply. Rotate every 1 to 2 weeks and you're set up for year-round grass without any complicated equipment or ongoing effort.
If you want to go deeper on specific variations of this setup, things like growing cat grass without any soil, using water or hydroponic methods, or tackling recurring mold problems, those topics each have their own nuances worth exploring separately. If you want the fastest, cleanest option, follow a hydroponic cat grass approach using water and an air-friendly setup water or hydroponic methods. The core indoor method above works for most people right out of the gate, though, and once you've done one successful cycle, the second and third trays essentially run themselves.