Yes, you can grow grass on cardboard, but not by seeding directly onto the cardboard itself. The cardboard needs a proper layer of soil or compost on top before seed ever touches it. Done right, cardboard acts as a weed-smothering base layer while your grass establishes in the topdressing above it. Done wrong, it blocks water, suffocates roots, and turns your seeding project into a patchy mess. The method works, but the details matter a lot.
Can You Grow Grass on Cardboard? Yes How To
Marcus Tillwell
5 Jul 2026
Can grass actually grow through cardboard?
Grass seedlings cannot reliably push through intact corrugated cardboard. The material is too thick and dense for young roots to penetrate before they dry out or get trapped. What actually happens in a successful setup is that grass germinates and roots in the soil layer placed on top of the cardboard. Over time (usually a few months depending on your climate and soil type), the cardboard breaks down and roots eventually make it into the native soil below. So the short answer is: grass grows on top of cardboard, not through it, at least not while it's intact.
There is one scenario where grass does push through cardboard: once it has partially decomposed. If you're seeding an area where cardboard was laid weeks or months earlier and is starting to soften and break apart, germinating grass roots can sometimes find their way through. But you shouldn't rely on that. Plan the setup so germination happens in real soil from day one.
When cardboard helps vs. when it works against you
Cardboard is genuinely useful as a weed barrier beneath a new lawn. It smothers existing grass and weeds by cutting off the light they need to survive, and it breaks down over several months without leaving permanent material in the soil the way landscape fabric or plastic does. That decomposition is actually part of what makes it appealing for lawn work.
But there are real situations where cardboard causes more problems than it solves. UC IPM and OSU Extension both flag the same core issue: cardboard can restrict air and water movement, and once it's buried under soil or mulch, it's hard to know whether the ground underneath is staying moist enough. If cardboard dries out completely, it can become almost hydrophobic, and water will bead off or run sideways instead of soaking through. That means the native soil beneath might be bone dry while your seedbed on top looks fine.
Cardboard type matters more than most people think
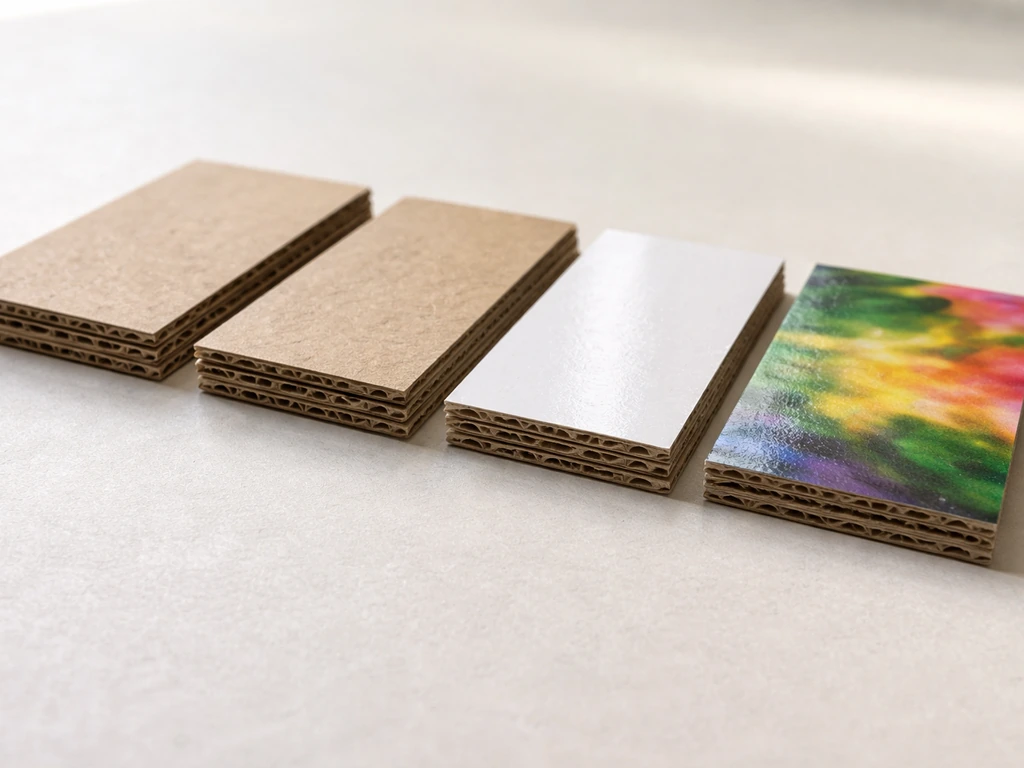
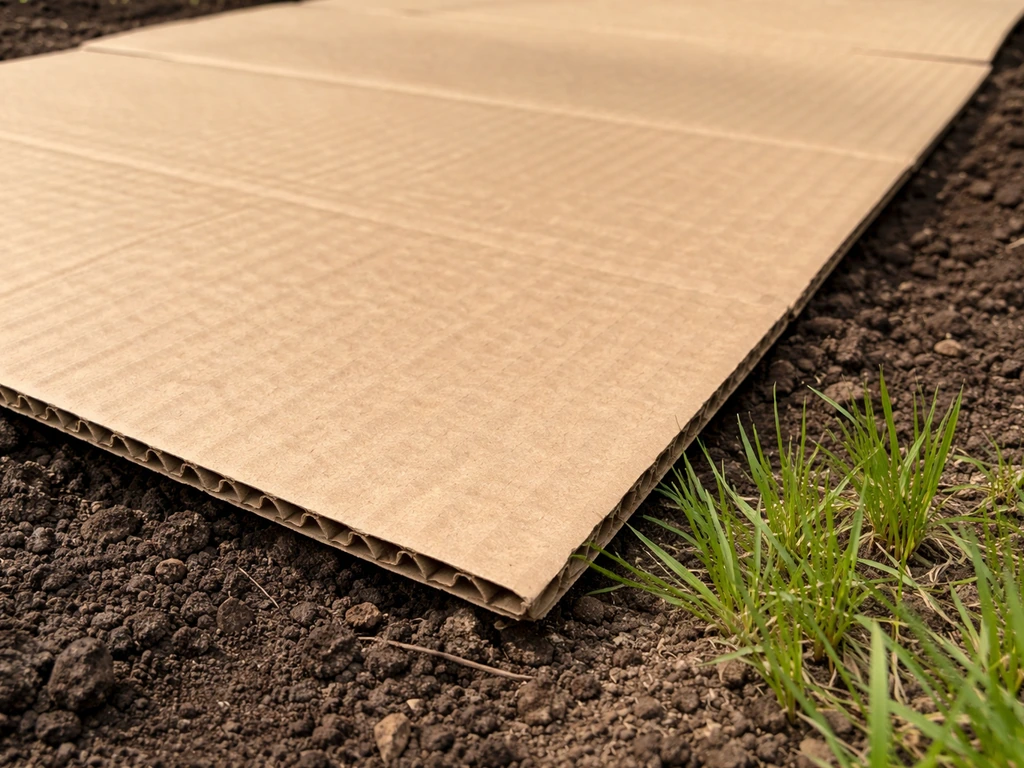
Use plain brown corrugated cardboard only. OSU Extension is clear on this: shiny, glossy, or heavily printed cardboard contains coatings and inks that you don't want breaking down in your lawn. Remove all tape and staples before laying anything down. Large sheets are better than small ones because they mean fewer overlaps and fewer gaps where weeds can sneak through. When you do overlap, go at least 8 to 10 inches, as Penn State Extension recommends, so there are no light pathways at the seams.
Thickness and moisture: the two variables that make or break it
Single-layer corrugated cardboard is usually the right call for lawn seeding. Stacking multiple layers gives you better weed control but makes the water and air restriction problem significantly worse. If you do use multiple layers, OSU Extension suggests poking holes through the upper layers to help water move through without creating wide-open gaps that weeds exploit. Wet the cardboard thoroughly while you're laying it and keep it moist as you work. Dry cardboard is stiff, shifts in the wind, and resists water penetration later on.
Step-by-step: how to seed grass over cardboard
- Mow or trim existing grass and weeds as short as possible. You don't need to kill everything first, but the shorter the existing growth, the faster the cardboard smothers it.
- Collect plain brown corrugated cardboard. Break down boxes flat and strip off all tape and staples.
- Wet the cardboard thoroughly before laying it. Soaked cardboard is easier to handle, conforms better to uneven ground, and won't catch wind.
- Lay the cardboard directly over the soil with at least 8 to 10 inches of overlap at every seam. Tuck edges together tightly and anchor corners with rocks or stakes immediately.
- If using multiple layers, poke a grid of holes roughly every 6 inches with a garden fork to help water penetrate without opening up large light gaps.
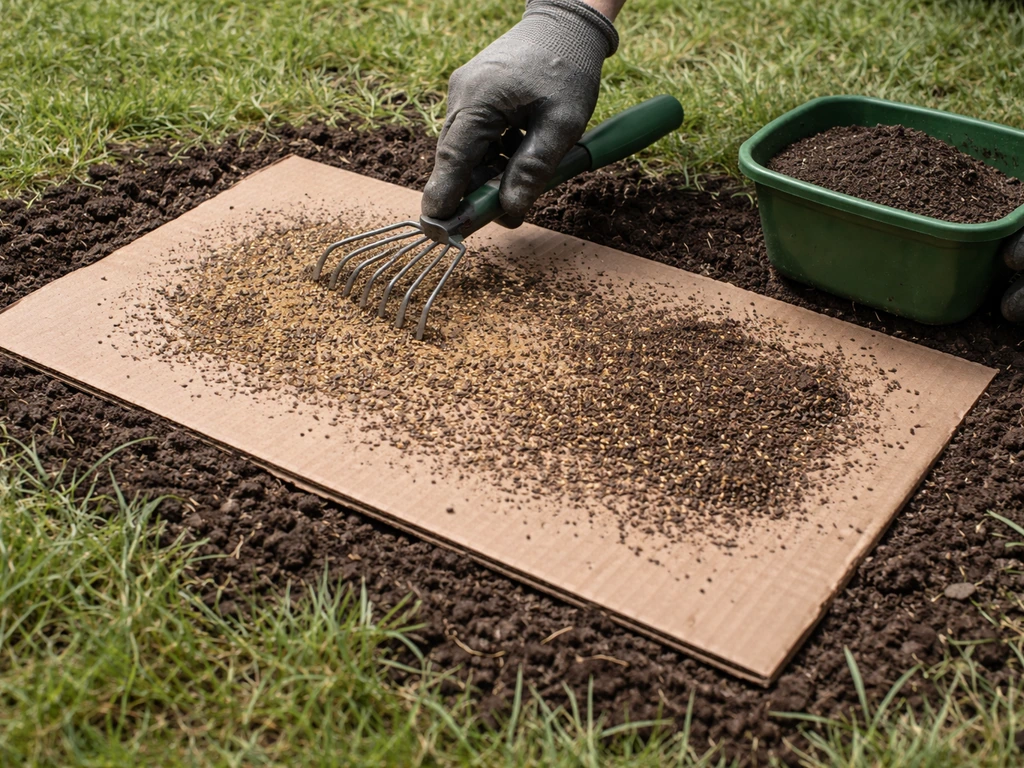
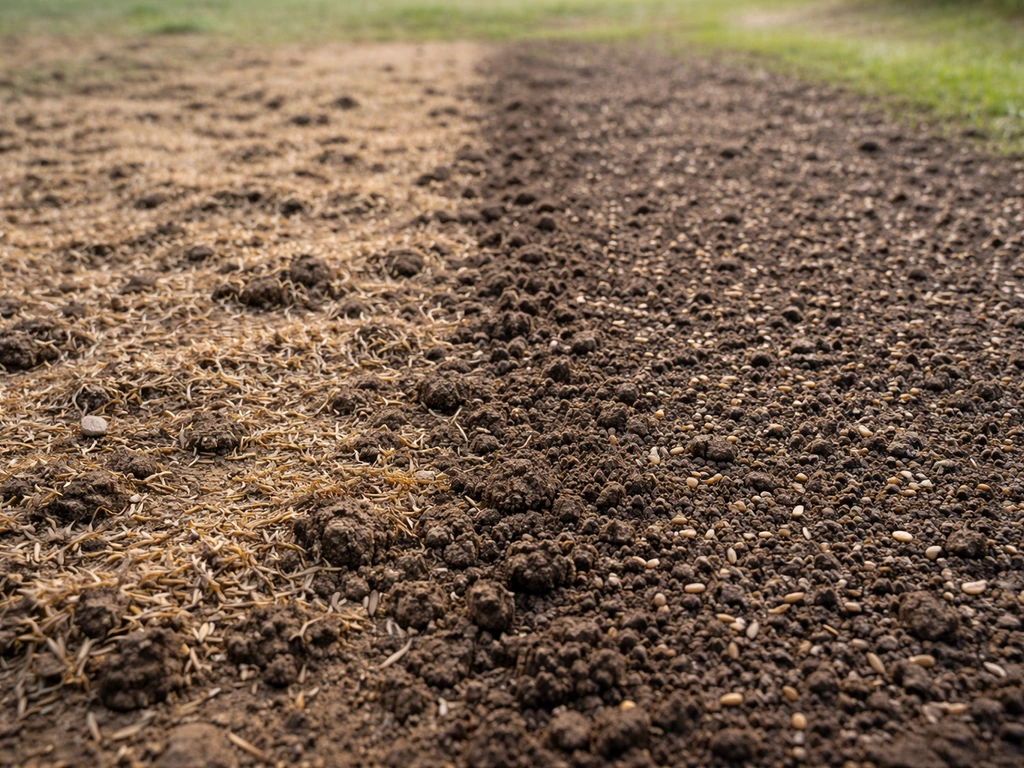
- Spread a minimum of 3 to 4 inches of topsoil or a topsoil-compost blend on top of the cardboard. This is your actual seedbed. Do not skimp here; anything less and roots will hit the cardboard before they have a real foothold.
- Rake the topdressing layer smooth and firm it lightly by walking on it or using a lawn roller if you have one. You want a reasonably compacted, level surface.
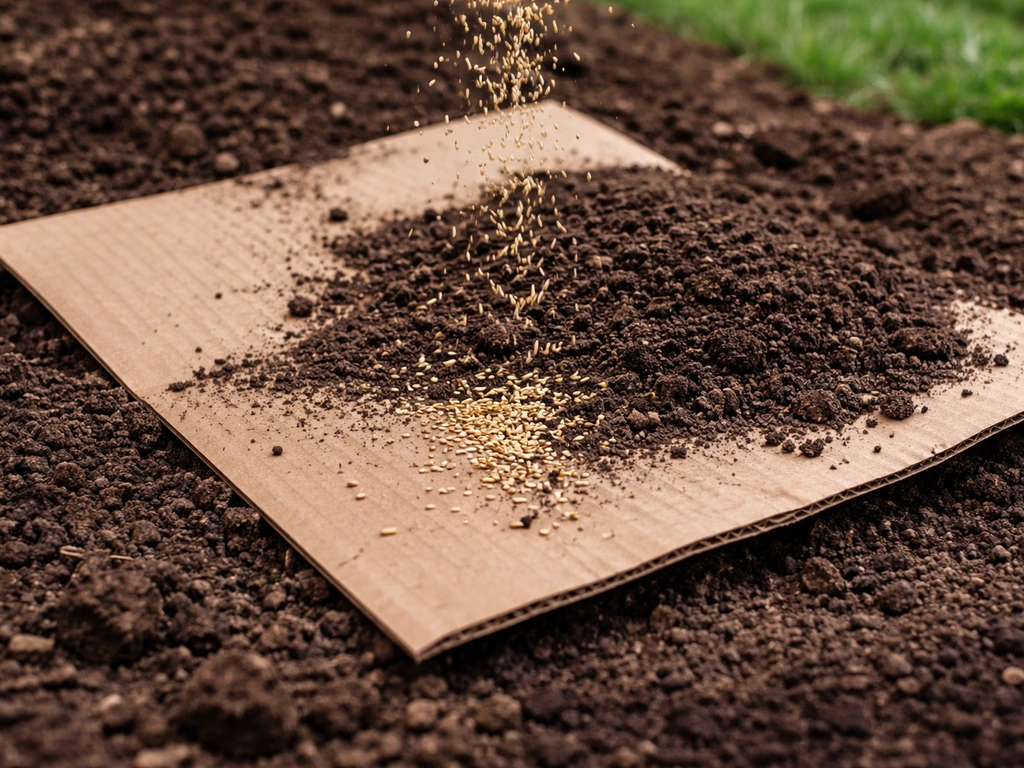
- Seed at the appropriate rate for your grass type (see the section below). Broadcast evenly by hand or spreader.
- Rake seed very lightly into the top quarter inch of the topdressing. Good seed-to-soil contact is non-negotiable for germination. Seed sitting loose on top of the surface fails. MSU Extension is explicit on this point.
- Cover with a thin layer of straw or additional compost (no more than a quarter inch) to hold moisture without blocking light.
- Water immediately and keep the surface consistently moist until germination.
If you're worried about moisture reaching the soil below the cardboard, especially in a clay soil area where standing water is already a concern, consider running a soaker hose or drip line under the cardboard before you lay your topdressing. OSU Extension recommends exactly this approach when drip irrigation is available, and it solves the biggest failure mode in the whole method. Once you have the cardboard and irrigation sorted, follow the same seeding, watering, and timing steps you would for how to grow grass in pot to get steady establishment drip irrigation.
Seed choice and timing by grass type
The cardboard-and-topdress method works with any grass type, but your timing and seed selection need to match your region and the season. If you’re asking can you grow turf in a tray, the same idea of starting with a prepared seedbed and consistent moisture still applies The cardboard-and-topdress method works with any grass type. Getting this wrong is one of the most common reasons a well-executed seeding still fails.
| Grass Type | Best Seeding Window | Germination Time | Seeding Rate (per 1,000 sq ft) | Notes |
|---|---|---|---|---|
| Bermudagrass | Late spring to early summer (soil temps 65°F+) | 7 to 21 days | 1 to 2 lb (hulled seed) | Needs warm soil and full sun. Germination fastest when soil temps are consistently high. No green in 21 days means something is wrong. |
| Zoysiagrass | Late spring to early summer | 14 to 21 days | 1 to 2 lb | Slow to establish from seed. More commonly sodded or plugged, but seeding works with patience. |
| Tall Fescue | Late summer to early fall (soil temps 50–65°F) | 5 to 10 days | 6 to 8 lb | Cool-season workhorse. Spring germination is slow if soil is below 50°F. Fall seeding strongly preferred. |
| Fine Fescue | Early August to late September | 5 to 12 days | 3 to 6 lb | Tolerates shade and low-fertility soil better than most. Good choice for difficult spots. |
| Perennial Ryegrass | Late summer to early fall | 3 to 7 days | 4 to 6 lb | Fastest germinator on this list. Good for quick cover or overseeding in transition zones. |
For cool-season grasses like fescue and ryegrass, Purdue Extension and Virginia Cooperative Extension both point to late summer through early fall as the best establishment window. The soil is still warm enough to drive germination, but cooling air temperatures reduce heat stress on new seedlings. Bermuda and zoysia are warm-season grasses that need the opposite: you want to seed after your last frost when soil temperatures are climbing through the 60s and staying there.
Watering and what to expect during germination
Consistent moisture is the single most important thing you can control after seeding. The top layer of your topdressing needs to stay damp, not soggy, at all times until germination. For most grass types that means light watering at least once or twice a day in hot or windy weather. You're not trying to drench the area. You're trying to keep the surface from drying out between the seed coat and the soil.
Expect germination at these rough timelines: perennial ryegrass shows in 3 to 7 days, fescues in 5 to 12 days, bermudagrass in 7 to 21 days depending on soil temperature, and zoysia in 14 to 21 days. Purdue Extension reports bermudagrass germination should occur within 7 to 14 days depending on soil temperature and moisture bermudagrass in 7 to 21 days depending on soil temperature. Once you see consistent green growth across most of the seeded area, you can back off to deeper, less frequent watering to encourage roots to go down. If you are growing grass seed in trays, keep the soil mix evenly moist and make sure the seedlings are hardened off before moving outdoors seeded area. With the cardboard method, those roots are heading down into your topdressing layer first, so you want that layer to stay moist long enough for roots to reach it fully before the surface dries between waterings.
Hold off on the first mow until grass reaches about 3 to 4 inches and you've had several mowing-height growths. For fine fescues specifically, Purdue Extension puts the first mow at roughly 40 to 70 days after seeding depending on weather, which gives you a useful mental benchmark for the whole establishment phase.
How your soil and site conditions change the game
Clay soil
Clay is the trickiest combination with cardboard. Clay already drains slowly, and adding a cardboard layer on top of it can create a perched water table situation where water sits between the cardboard and the clay and never quite moves. If you're on clay, keep your topdressing layer on the thicker side (4 to 6 inches rather than 3), use a compost-heavy blend to improve drainage in the seedbed, and watch for standing water after rain. Poking holes in the cardboard helps here more than in any other soil type.
Sandy soil
Sandy soil drains fast, which means the cardboard dries out more quickly and the topdressing above it dries out faster too. You'll need to water more frequently, especially in the first two weeks. A compost-rich topdressing helps retain moisture longer. In sandy conditions, the cardboard barrier actually provides a modest benefit by slowing drainage slightly at the interface layer.
Shade
Shaded areas call for shade-tolerant seed, period. Fine fescues (creeping red, chewings, hard fescue) are your best option in low-light spots. Bermuda and zoysia are full-sun grasses and will fail in shade regardless of how good your cardboard setup is. If you're dealing with a shaded area, go with fine fescue and accept that it will establish more slowly than it would in full sun.
Yards with pets
Dogs are a real problem for this setup. A dog digging, running, or even sniffing at a fresh seedbed can destroy seed-to-soil contact and expose or shift the cardboard layer. If pets are a factor, fence off the seeded area for at least 3 to 4 weeks, or until you have a genuinely established turf that can take some traffic. If you're wondering how to grow grass in a box, treat the process like a contained seedbed and focus on moisture, soil contact, and a suitable grass type. Perennial ryegrass is your fastest-establishing option if you need something that closes in quickly before the fence comes down.
Troubleshooting: when grass won't take
If you're past the expected germination window and not seeing results, here's how to diagnose what went wrong.
- Patchy or zero germination: The most common cause is poor seed-to-soil contact. If seed was broadcast onto a fluffy topdressing without being lightly raked in or rolled, it's essentially sitting on air. Scratch the surface, re-seed, and tamp down firmly.
- Dry, crispy topdressing: You didn't water often enough. In hot weather, a thin topdressing layer can dry out within hours. Increase watering frequency. If the cardboard below has also dried out, it may be shedding water rather than absorbing it. Spike the area with a garden fork to improve penetration.
- Good germination then sudden die-off: Roots hit the cardboard layer and stalled. This usually means your topdressing was too thin. Seedlings that can't root deeper than an inch or two will wilt as soon as temperatures rise. Top-dress again with another inch of compost and overseed.
- Weeds coming up through gaps: Your cardboard overlaps weren't tight enough, or the edges weren't anchored. Pull the weeds, add a patch of cardboard over the gap with a fresh overlap, and re-cover with topdressing.
- Standing water or soggy spots: Cardboard on clay is causing drainage problems. Spike aggressively with a fork through the whole area to break through the cardboard and let water escape. You may also need to add drainage amendments to the topdressing.
- Uneven germination: Usually means uneven watering or uneven topdressing depth. Hit thin spots with a light additional layer of compost and keep watering consistently.
- Nothing works: If you've tried two rounds of seeding with good technique and still can't get grass to establish, the cardboard-on-top method may not suit your site. Consider removing the cardboard entirely, tilling the existing soil lightly, and seeding directly into prepared ground. The cardboard method is a useful shortcut, not the only path to a new lawn.
It's also worth knowing that the cardboard-and-topdress approach is just one of several unconventional seeding setups. People try growing grass seed in trays, raised beds, planter boxes, and containers with varying success, and many of the same principles apply: seed-to-soil contact, moisture consistency, and appropriate soil depth are the non-negotiables no matter what the container or base layer is. If you're wondering whether you can grow grass in a raised bed, you can apply these same basics of seed-to-soil contact and consistent moisture in the right soil depth raised beds.
If you're establishing a lawn from scratch rather than patching, give yourself at least one full growing season before evaluating whether the method worked. If you're wondering can you grow grass in a planter box, the same moisture and soil-depth principles apply even though you are working in a container. The cardboard will continue decomposing underground, roots will push deeper as the barrier softens, and thin areas that look discouraging at week four often fill in significantly by week ten. Stick with it, keep watering, and troubleshoot the specifics rather than scrapping the whole approach at the first sign of trouble.
FAQ
Can you plant grass seed directly on cardboard without adding soil or compost first?
You should not. Seedlings need immediate contact with a real growing medium, the cardboard layer is mainly for weed suppression and breaks down later. If you place seed on intact cardboard, germination may be slow or fail because roots cannot reach usable moisture and nutrients quickly enough.
How thick should the topdressing layer be if I’m using cardboard under it?
Most lawns do best with a topdressing thick enough to hold moisture through germination, typically about 3 to 4 inches for general cases. On clay or areas that puddle, go thicker (around 4 to 6 inches) and use a compost-forward mix to reduce the chance of a perched water table.
Should I poke holes in the cardboard, and when does it matter?
Poking holes helps most when water movement is already a concern, especially on clay soils. If you’re using only one layer of cardboard and have good drainage, it may be less critical, but holes can still improve airflow and reduce the risk of water staying trapped at the interface.
What happens if the cardboard overlaps, will weeds grow through the seams?
Yes, seams are a common weak spot. Plan larger sheets when possible, and where you must overlap, extend the overlap enough to eliminate light pathways, if not, weeds can colonize right under the seam even if the rest of the area is smothered.
How long should I keep the cardboard in place before I can expect it to be mostly gone?
Cardboard typically breaks down over several months, but the timing depends on weather, moisture level, and how much microbial activity exists in your soil. Expect it to still be partially intact during the early establishment phase, and don’t use “fully gone” as a prerequisite for mowing or normal care.
Can I use this method under mulch or wood chips instead of topdressing?
Avoid putting thick mulch directly over cardboard right after seeding, because mulch can block light and make it harder to keep the seedbed uniformly moist. If you want mulch later, wait until seedlings are established and adjust the layer thickness so water and air can still reach the topdressing.
Why does my seedbed look wet on top, but nothing is growing underneath?
This is often the “trapped moisture” failure mode, especially on clay or when cardboard is buried under soil that doesn’t communicate well with the native ground. You may get runoff or a perched water layer that does not hydrate the deeper soil. Poking holes, using a compost-heavy topdressing, and improving irrigation coverage under the barrier can fix it.
How should I water when using cardboard so I do not wash seed away or drown it?
Keep the topdressing surface damp, not saturated. In hot or windy conditions, that usually means short, frequent waterings, then gradually shift to deeper, less frequent watering once you see widespread green up. If you see pooling or algae, reduce frequency and check for uneven water penetration.
Is this approach safe for existing lawns, or should I remove the grass first?
You can smother existing vegetation, but you still need good contact between your topdressing and the cardboard base. If the area has heavy thatch, consider mowing low and clearing loose debris so the topdressing settles without big air pockets, which can dry out and create patchy germination.
What grass types work best in shade with the cardboard method?
Fine fescues generally have the best chance in low-light conditions, while sun-loving warm-season grasses are likely to thin out even if the cardboard setup is perfect. Choose seed based on your light level first, then tune watering and establishment timing for that species.
Can dogs or heavy foot traffic ruin a cardboard-seeded lawn before it establishes?
Yes. Digging, stepping, or even persistent sniffing can break seed-to-soil contact and shift the cardboard layer. If pets are present, fence off the seeded area for at least 3 to 4 weeks, or until the turf shows real resistance to disturbances.
If my germination is late, how do I troubleshoot without tearing everything up?
Check three things in order: surface moisture consistency, seed-to-topdressing contact (look for dry crust or gaps), and whether the seed species matches your season and soil temperature. If the first window has passed, look for dry spots, seam exposure, or poor water distribution, and adjust irrigation before re-seeding if possible.
Next Article
How to Grow Grass in a Cup: Step-by-Step Guide
Step-by-step how to grow grass in a cup, choose seed, prep soil, water and light, fix mold or no sprout, and transplant.