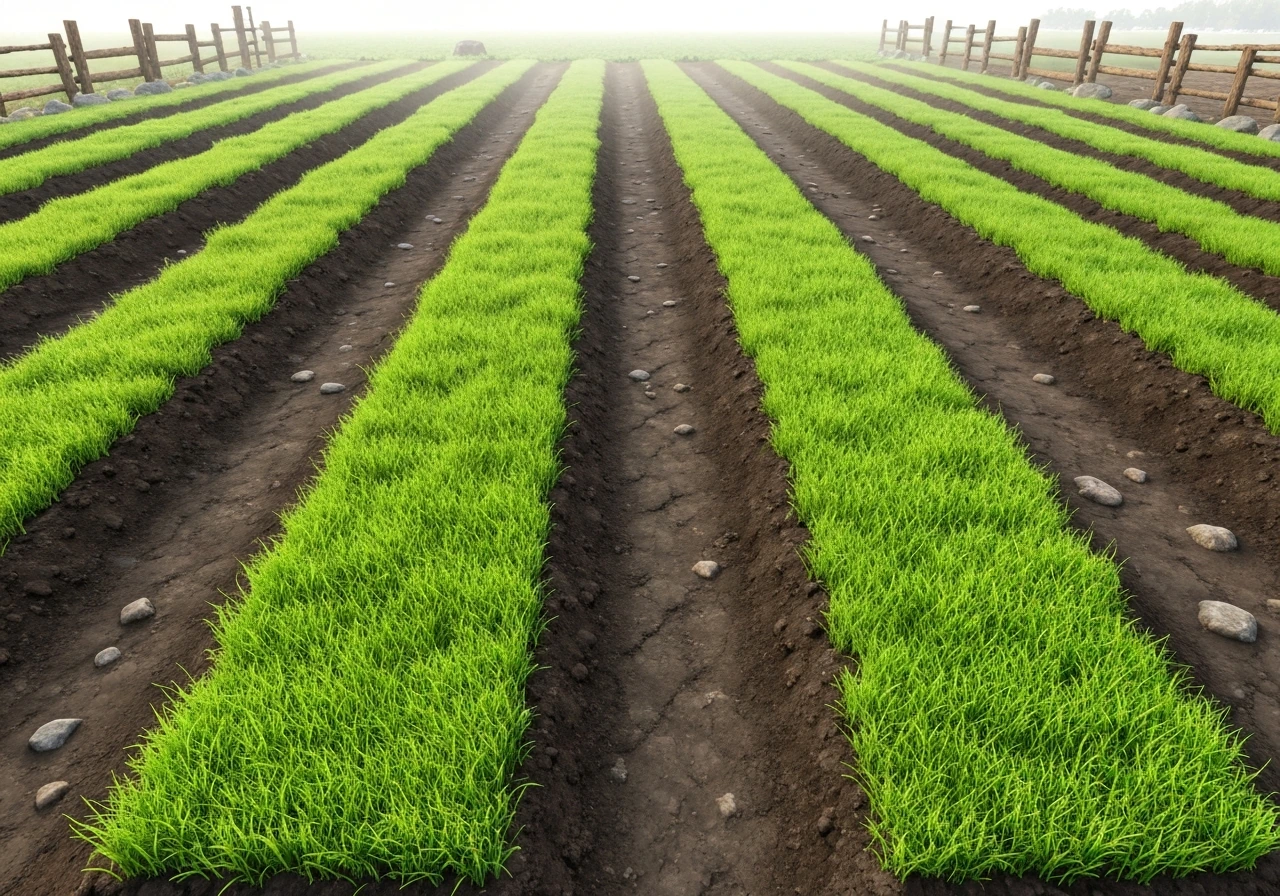
Grass in Valheim does not regrow on its own after terrain edits or building placement. If your ground looks bare, the fix is straightforward: craft a Cultivator (5 corewood and 5 bronze), select its Grass mode, and click the bare dirt to replant it manually. That is the only vanilla, no-mod way to restore grass in the game. If you landed here as a homeowner looking to grow actual grass from seed, scroll past the Valheim section for a full step-by-step lawn establishment guide covering Bermuda, Zoysia, Fescue, Ryegrass, timing, soil prep, and troubleshooting. If you actually meant growing long grass in Ark, see our guide on how to grow long grass in Ark for species-specific tips and methods.
How to Grow Grass Valheim: In-Game Fixes & Real Lawn Guide
Marcus Tillwell
16 Jul 2026
Can you grow grass in Valheim? (Quick answer)
Yes, but it is entirely manual. Valheim does not have a passive regrowth system where bare ground slowly fills back in over time. The game's vegetation is controlled by world spawners and rendered through a LOD (level of detail) system, not by a living ecosystem simulation. When you flatten terrain with the Hoe or place buildings, the grass mesh under that area is removed and stays removed until you put it back. The Cultivator tool is the vanilla solution. Equip it, select Grass from the build menu, and left-click cultivated dirt to restore ground cover. The game tracks this as a Farming skill activity, so you earn Farming XP while doing it, which is a small bonus. The Valheim Wiki's Farming (skill), Valheim Wiki (Fandom) documents that using a Cultivator and growing grass are tracked Farming activities that yield Farming XP blank" rel="noopener noreferrer">Farming (skill) — Valheim Wiki (Fandom)). There is no global console command in vanilla Valheim to regrow all grass at once. Admin commands added in Patch 0.217.22 (October 2023) include world modifier tools like setworldmodifier and resetworldkeys, but none of them specifically trigger a grass-regrowth pass across the map.
Why grass disappears in Valheim
Players report grass loss from several different causes, and it helps to know which one you are dealing with before you try to fix it.
- Terrain edits with the Hoe or Pickaxe: Raising, leveling, or lowering ground removes the grass mesh from those tiles permanently until the Cultivator restores it. This is the most common cause.
- Building placement: Placing floors, foundations, or pathing objects removes grass underneath and in the immediate footprint area. Even after removing the structure, the ground stays bare.
- Vegetation quality setting: Valheim includes a vegetation quality slider. Setting it to Low (or using the optimized low-vegetation mode introduced in 2023 patches) reduces or eliminates visible grass client-side. Your grass is not really gone from the world, you are just not rendering it. Switching the setting back and reloading the area restores the appearance.
- LOD and renderer bugs: Official patch notes from IronGate (including Patches 0.216.9 and 0.217.x) mention specific fixes for LOD terrain mesh distortion near modified terrain and vegetation shader issues. If grass looks wrong or missing near a build without any editing, a LOD/renderer glitch is likely the cause. Reloading the world chunk by walking away and returning often resolves it.
- Server cache and world save interactions: On multiplayer servers, vegetation spawner state is saved per world chunk. If a chunk saves while grass is absent (due to a mod, a setting, or a terrain edit), that state persists until something actively changes it.
- Mods disabling grass globally: If you have the No Grass mod (by VentureValheim on Thunderstore) installed or any modpack that includes it, grass is suppressed by design. Check your mod list before blaming the base game.
In-game workarounds and immediate fixes
Before reaching for mods, try these vanilla approaches in order. They cover most situations players actually encounter.
- Check your vegetation quality setting first. Go to Settings, Graphics, and make sure the vegetation slider is not set to its lowest position. Raise it and reload the area by fast-traveling or simply walking a couple of loaded chunks away and back.
- Craft a Cultivator if you do not have one. You need 5 corewood (from Core Wood logs) and 5 bronze (smelted from copper and tin). The Cultivator is available once you have a Forge and bronze tools.
- Use the Cultivator's Grass mode on every bare dirt tile you want to restore. You must be standing on or very near the tile. The action costs nothing beyond the tool durability and gives you Farming XP.
- For areas around structures where terrain was leveled: remove the structure temporarily if possible, use the Cultivator to seed grass across the footprint, then rebuild. Grass placed under a structure will not be visible but does restore the ground state for when the structure is eventually removed.
- If grass is missing but you made no terrain edits, walk a full loaded-chunk distance away (roughly 64 meters), wait 10 seconds, and walk back. This forces a chunk reload that often resolves shader or LOD glitches.
- On a dedicated server, have an admin verify that no spawner-tweak mods (SpawnThat, AzuRe-SpawnerTweaks, ExpandWorldPrefabs) are suppressing vegetation prefabs in that biome zone.
Mods and console options for changing grass behavior
If vanilla tools are not enough, the Valheim modding community has solid options. The main mod hosting platforms are Thunderstore (thunderstore.io/c/valheim) and Nexus Mods (nexusmods.com/valheim). For installation, nearly every Valheim mod requires BepInEx as the mod loader, and many additionally depend on Jötunn or ValheimLib as framework libraries. For step-by-step installation and dependency guidance, see Valheim‑Modding Wiki, Best Practices (BepInEx/Jötunn guidance) Valheim‑Modding Wiki — Best Practices (BepInEx/Jötunn guidance). Install BepInEx first, then add any mod's required dependencies before the mod itself. The Valheim-Modding Wiki (valheim-modding.github.io) has best-practice installation guides.
Here are the most relevant community mods for grass and vegetation control, based on what players actively use and recommend on the r/valheim subreddit and Thunderstore changelogs.
| Mod name | What it does | Platform | Key dependency |
|---|---|---|---|
| No Grass (VentureValheim) | Suppresses grass client-side via a quality slider option; useful for builders who want no ground clutter | Thunderstore | BepInEx |
| Plant Everything | Expands cultivator planting options; lets you replant more vegetation types including biome-specific ground cover | Nexus / Thunderstore | BepInEx, Jötunn |
| Plant Easily | Removes placement restrictions on the cultivator so you can seed grass in tighter spots or on slopes | Nexus / Thunderstore | BepInEx |
| Expand World Prefabs | Lets server admins add or modify world object/prefab rules including vegetation spawns per biome zone | Thunderstore | BepInEx, Jötunn |
| Spawn_That | Rewrites spawner rules globally; can be used to re-enable or remove specific vegetation spawners | Thunderstore | BepInEx |
| AzuRe-Spawner_Tweaks | Server-side spawner adjustments including pickable and ground-cover prefabs | Thunderstore | BepInEx |
For console commands: vanilla Valheim's developer console (enabled by adding -console to launch options, then pressing F5 in-game) includes a spawn command. Grass prefab IDs are present in the game data (the item class names include 'grass' variants visible in datamined item lists on the Valheim Wiki). An admin can use 'spawn [prefabname]' to place specific vegetation objects, though this is point-by-point and not a bulk regrowth tool. The r/valheim wiki and the official Valheim Wiki (valheim.fandom.com) both maintain up-to-date item ID lists worth bookmarking.
When to accept the game's limits and when to reach for mods
Use this checklist to decide whether you need mods or whether the vanilla Cultivator fix is enough.
- Is the bare area small (under a building footprint or a leveled path)? Use the Cultivator. No mod needed.
- Is grass missing game-wide or in large outdoor zones you never touched? Check your vegetation quality slider and mod list first. A setting or existing mod is almost certainly the cause.
- Are you running a dedicated server and want consistent grass rules for all players? Use SpawnThat or AzuRe-SpawnerTweaks, both are server-side and do not require all clients to install them.
- Do you want to expand what the Cultivator can plant (more biome ground cover, replanting options)? Plant Everything is the community's go-to.
- Do you want to completely remove grass for a cleaner base-building experience? No Grass handles that cleanly.
- Are you on a vanilla server without admin access? You are limited to the Cultivator and your own graphics settings. Accept that limitation or switch to a server that allows mods.
- Is the issue a visual glitch near a build (distorted mesh, clipping, z-fighting)? This is an LOD/renderer issue, not a regrowth problem. Reload the chunk, update to the latest patch, and check IronGate's Steam patch notes for known LOD fixes.
Now, for the other reason you might be here: growing real grass
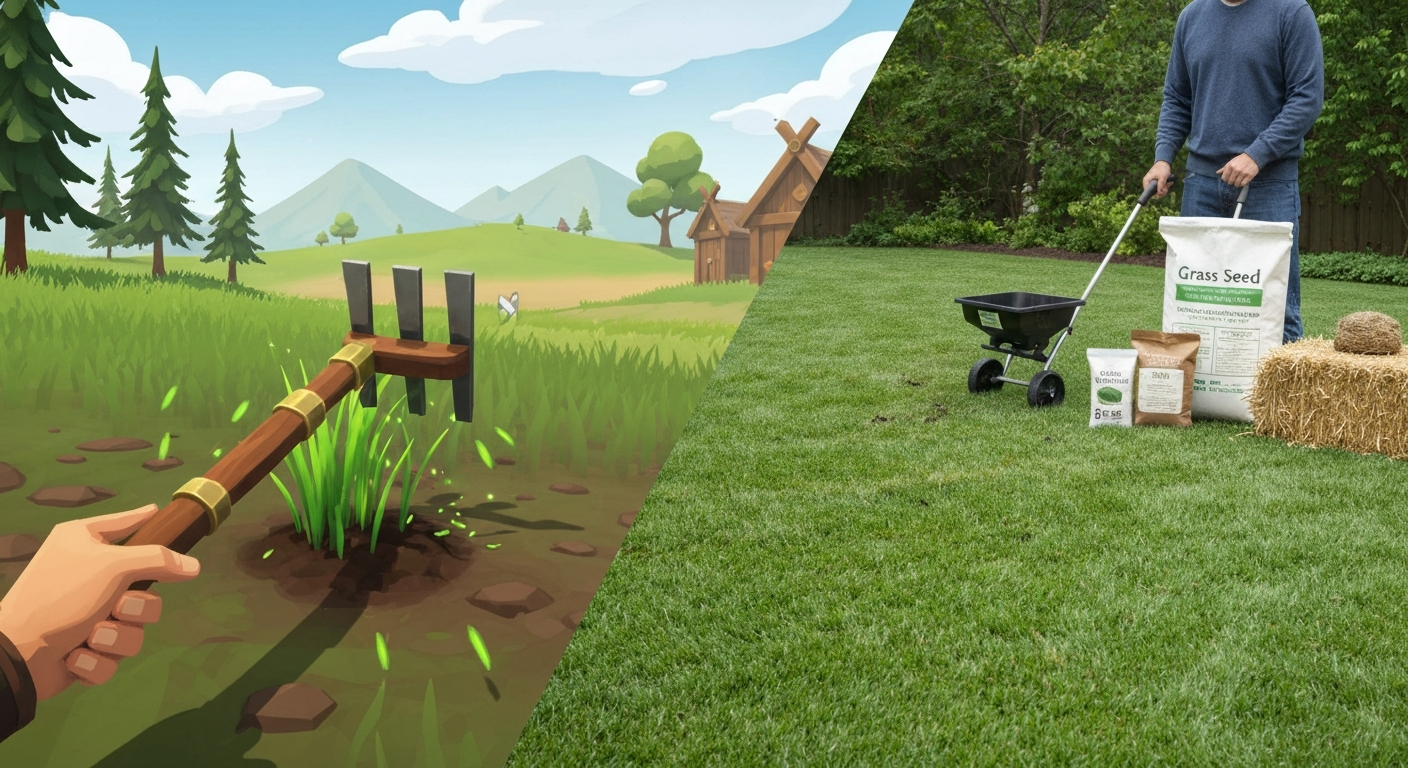
Search data shows that a significant portion of people searching 'how to grow grass Valheim' are actually homeowners who typed the wrong thing, or who started with the game query and realized they also want lawn advice. If that is you, the rest of this article is a complete, practical guide to establishing a real lawn from seed. If you're specifically searching for how to grow star grass, see our dedicated guide on how to grow star grass for species-specific planting, watering, and care tips. If you’re looking specifically for instructions on growing grass on floating or raft-style installations, see our guide on how to grow grass raft for step-by-step details. If you meant the game Don't Starve, see the guide on how to grow grass don't starve for game-specific instructions. The core difference between the two topics is straightforward: in Valheim, you use a tool in a menu and grass appears in seconds; in real life, grass germination takes 5 to 30 days depending on species, soil temperature needs to be right, moisture management is critical for the first six weeks, and the wrong seed choice for your climate can mean starting over entirely. The game version skips all of that complexity. The real-world version rewards attention to a few key details.
If you enjoy the process of building and managing outdoor environments in other games, you might also find similar mechanics in titles like Stardew Valley or Animal Crossing, which each handle grass and ground cover differently. If you actually meant Animal Crossing: Wild World, see a short guide on animal crossing wild world how to grow grass for specific planting, regrowth, and trampling mechanics in that game. For step-by-step instructions on how to grow grass in Stardew Valley, see our guide on how to grow grass in Stardew Valley. But let's get into the actual lawn work.
Seed, sod, or plugs: which method makes sense for your yard
Before you pick a grass species, decide how you want to establish it. Each method has a genuinely different cost, labor requirement, and timeline, and the right choice depends on your budget, how quickly you need coverage, and whether you are dealing with slopes or erosion risk.
| Method | Cost per 1,000 sq ft (approx.) | Time to usable lawn | Best for | Biggest drawback |
|---|---|---|---|---|
| Seed | $20–$100 | 6–12 weeks (cool-season), 8–16 weeks (warm-season) | Large areas, budget installs, full lawn renovations | High failure risk if watering is inconsistent in first 3 weeks |
| Sod | $250–$600 installed | 2–3 weeks to root | Instant coverage, erosion-prone slopes, high-traffic areas | Expensive, heavy labor, must be laid and watered within 24–48 hrs of delivery |
| Plugs | $50–$200 | 3–6 months to fill in | Warm-season grasses (Zoysia, Bermuda), overcoming bare spots gradually | Slow, looks patchy during establishment, requires supplemental watering |
My honest recommendation: if you have a reasonable budget and can commit to watering daily for three weeks, seed is almost always the right call for a full lawn installation. The cost difference between seed and sod is enormous, the grass you grow from seed develops deeper roots because it adapts to your specific soil from day one, and you have access to far more variety in species and cultivar options. Sod makes sense for a front yard you need to look good immediately, a slope where seed would wash away, or a small repair area. Plugs are mainly for Zoysia and Bermuda lawns in the South where you want to spread the cost over a season.
Choosing the right grass for your yard
The single biggest mistake homeowners make is buying the wrong grass for their climate. A cool-season grass planted in Georgia summer will struggle and likely die. A warm-season grass planted in Minnesota will not survive the first winter. The United States is broadly split into warm-season zones (the South, roughly USDA zones 7 and above) and cool-season zones (the North and Pacific Northwest), with a transition zone in the middle where both types can work with the right management.
Bermuda grass
Bermuda is a warm-season grass that thrives in full sun and heat. It is aggressive, spreads by stolons and rhizomes, handles heavy foot traffic well, and recovers quickly from damage. Germination from seed takes 10 to 30 days at soil temperatures above 65°F (ideally 70 to 80°F). Seeding rate is typically 1 to 1.5 lbs of hulled seed per 1,000 sq ft. It goes dormant and turns brown in cool weather, which bothers some homeowners. Bermuda needs at least 6 to 8 hours of direct sun and does not tolerate shade. If you have dogs that wear down a path across the yard, Bermuda is one of the best options for recovery.
Zoysia grass
Zoysia is also warm-season but grows more slowly than Bermuda. The payoff is better shade tolerance (3 to 4 hours of sun is workable for some cultivars), excellent drought resistance once established, and a dense, carpet-like texture. Seed germination takes 14 to 21 days at soil temperatures above 70°F. Because Zoysia spreads slowly, it is often installed as plugs or sod rather than seed. If you go the seed route, expect a full season before you have real coverage. Seeding rate is around 1 to 2 lbs per 1,000 sq ft for improved cultivars.
Tall Fescue (and fine fescues)
Tall Fescue is the workhorse cool-season grass for homeowners in the transition zone and cooler northern climates who want something that handles heat and drought better than Kentucky Bluegrass. It germinates in 7 to 14 days at soil temperatures between 50 and 65°F, making fall the ideal planting window. Seeding rate is 6 to 8 lbs per 1,000 sq ft for new lawns, 3 to 4 lbs for overseeding. It is a bunch-type grass (does not spread laterally), so bare spots need to be reseeded rather than waiting for the grass to fill in on its own. Fine fescues (creeping red, chewings, hard fescue) are the shade specialists of the cool-season world and work well under trees where other grasses fail.
Perennial Ryegrass
Perennial ryegrass germinates faster than almost anything else, often in 5 to 7 days under good conditions. That speed makes it useful for overseeding bare spots, mixing with slower-germinating species as a nurse grass, and establishing quick cover on erosion-prone areas. It prefers cool weather and full sun, performs well in the northern half of the country, and has good wear tolerance. Seeding rate for a standalone lawn is 6 to 9 lbs per 1,000 sq ft, or 2 to 3 lbs when used as an overseeding component in a mix. It is not drought-tolerant once summer heat arrives, so in the transition zone it often thins out during summer and recovers in fall.
Side-by-side comparison
| Grass type | Season | Germination (days) | Min. sun needed | Drought tolerance | Shade tolerance | Seeding rate (lbs/1,000 sq ft) |
|---|---|---|---|---|---|---|
| Bermuda | Warm | 10–30 | 6–8 hrs | High | Low | 1–1.5 (hulled seed) |
| Zoysia | Warm | 14–21 | 3–6 hrs (cultivar-dependent) | High | Moderate | 1–2 |
| Tall Fescue | Cool | 7–14 | 4–6 hrs | Moderate | Moderate–Good | 6–8 (new), 3–4 (overseed) |
| Perennial Ryegrass | Cool | 5–7 | 4–6 hrs | Low–Moderate | Low–Moderate | 6–9 (new), 2–3 (overseed) |
When to plant: timing by grass type and region
Timing is not optional. Plant too early or too late and germination fails regardless of how well you prepared the soil. The rule is simple: match your planting window to when soil temperatures are naturally in the right range for your grass type.
- Cool-season grasses (Fescue, Ryegrass): plant in early fall (late August through October in most northern states). Soil is still warm from summer, air temperatures are dropping, and fall rains reduce your watering burden. Spring planting (March to April) works but competes with weed germination and summer heat stress.
- Warm-season grasses (Bermuda, Zoysia): plant in late spring to early summer (May through July) once soil temperatures are consistently above 65°F. In the Deep South (Georgia, Alabama, Texas), this can be as early as April. In the transition zone (Tennessee, North Carolina, Virginia), wait until late May.
- Check soil temperature, not air temperature: air can be warm while soil is still cold. A cheap soil thermometer (under $15 at most garden centers) takes the guesswork out. Measure at a 2-inch depth in the morning.
- Avoid planting in summer heat (July and August in the North) for cool-season grasses: the seed may germinate but seedlings will stress immediately and thin out.
Step-by-step: how to establish a lawn from seed
This is the part most guides rush. Soil prep is where the majority of failures happen. Do not skip steps 1 through 3.
- Test your soil before you do anything else. A basic soil test (available through your county extension office for $15 to $25, or with a home test kit) tells you your pH, phosphorus, potassium, and sometimes nitrogen levels. Grass prefers a pH between 6.0 and 7.0. If your soil is outside that range, no amount of good seed or careful watering will fully compensate.
- Adjust pH if needed. If your soil is acidic (below 6.0), apply pelletized lime at the rate recommended by your soil test, typically 40 to 100 lbs per 1,000 sq ft for significant corrections. If it is alkaline (above 7.2), elemental sulfur brings it down. Both amendments work slowly (4 to 6 weeks), so apply before seeding if possible.
- Address soil structure. If your soil is heavy clay, till in 2 to 3 inches of compost across the entire area before seeding. Clay compacts and drains poorly, which suffocates seedling roots. Sandy soil holds almost no moisture or nutrients; work in compost here too (3 to 4 inches) to improve water retention. I have seen homeowners skip this step and wonder why seed fails three years in a row.
- Kill existing weeds. For a full renovation, use a non-selective herbicide (glyphosate) two to three weeks before seeding. Wait the full label period before disturbing the soil. For a smaller overseeding job, remove visible weeds by hand.
- Prepare a seedbed. For new lawns: till or rototill 4 to 6 inches deep, remove rocks and debris, then rake smooth. For overseeding into an existing lawn: mow short (1 to 1.5 inches), dethatch if thatch exceeds 0.5 inches, and core aerate before spreading seed.
- Apply starter fertilizer. Use a starter fertilizer with a high phosphorus middle number (something like 10-20-10 or 6-24-24) at 0.5 to 1 lb of nitrogen per 1,000 sq ft. Phosphorus drives root development in new seedlings. Do not use a fertilizer with weed-preventer or crabgrass preventer mixed in — it will also prevent your grass seed from germinating.
- Spread seed evenly. Use a broadcast or drop spreader, not hand-spreading (which creates uneven coverage). Divide your seed quantity in half and make two passes at right angles to each other for uniform distribution. Check your spreader's calibration against the bag's settings.
- Lightly rake seed into the top quarter-inch of soil. Seed needs soil contact to germinate. Raking it in lightly (do not bury it deep) improves germination rates significantly versus leaving seed sitting on the surface.
- Apply a light straw mulch or seed blanket on slopes and bare areas. A thin layer of straw (one bale per 1,000 sq ft) retains moisture and reduces erosion without blocking light. Avoid thick layers that smother seedlings.
- Water immediately, lightly, and consistently. The goal for the first three weeks is to keep the top inch of soil moist at all times without saturating it. This usually means two to three light waterings per day (5 to 10 minutes each) rather than one long deep soak. Deep watering before roots establish just moves water past where seedlings can reach it.
Watering schedule after germination
Once you see germination (the first tiny green shoots), shift your watering gradually toward less-frequent but deeper sessions. This trains roots to grow downward looking for water rather than staying shallow.
- Weeks 1 to 3 (germination phase): Water 2 to 3 times daily for short periods. Keep soil surface visibly moist but not muddy.
- Weeks 3 to 6 (seedling establishment): Reduce to once daily, watering deeply enough to wet the top 2 to 3 inches. This is roughly 0.25 inches of water per session.
- Week 6 and beyond (established lawn): Move to 1 to 2 times per week, watering to a depth of 4 to 6 inches. For most lawns, this means 0.5 to 1 inch of water per week total (rain counts).
- Use a tuna can or rain gauge to measure output from your sprinklers. Place it in the spray zone and time how long it takes to collect 0.5 inches. This tells you exactly how long to run your system.
- In clay soil, water in two shorter cycles with a 30-minute pause between them to allow absorption and prevent runoff.
First mowing and ongoing care
Do not mow until your new grass reaches 3 to 4 inches tall and you can tug on a handful without pulling seedlings out of the ground (meaning roots are anchored). For most grasses this is around 4 to 6 weeks after germination. When you do mow, follow the one-third rule: never remove more than one-third of the blade height in a single mowing. Cutting too short too soon is one of the most common reasons new lawns thin out after a promising start. Keep mower blades sharp and mow when the grass is dry to avoid tearing and disease spread.
Troubleshooting: why your grass is not germinating or is thinning
Here are the most common problems and their actual fixes, based on the patterns that come up repeatedly in real lawns.
| Problem | Likely cause | Fix |
|---|---|---|
| No germination after 3 weeks | Soil temperature too low, seed buried too deep, or seed dried out | Check soil temp (must be in correct range for species), reseed at correct depth (1/4 inch), water more frequently |
| Patchy germination | Uneven seed coverage or inconsistent moisture | Overseed thin areas, adjust sprinkler coverage, use mulch to retain moisture |
| Seedlings appear then die | Watered too infrequently during week 2–4, or surface dried out between waterings | Increase watering frequency (not volume), check for afternoon drying in full sun areas |
| Moss or algae instead of grass | Shade, compacted wet soil, low pH | Test and correct pH, improve drainage, overseed with shade-tolerant fine fescue |
| Bare spots that never fill in | Bunch-type grass (fescue, rye) that does not spread laterally | Reseed bare spots directly; they will not fill on their own |
| Yellowing seedlings | Nitrogen deficiency or over-watering causing root suffocation | Apply light application of quick-release nitrogen; check drainage |
| Weed takeover during establishment | Broad-leaf or grassy weeds germinating alongside seed | Avoid pre-emergent herbicides during seeding; spot-treat post-emergent after 3 mowings |
Dealing with specific challenges
Clay soil
Clay soil holds nutrients well but compacts easily and drains slowly. Before seeding, work in 3 inches of compost and core aerate after establishment. Tall Fescue performs better in clay than most grasses because its deep root system tolerates wet-dry cycles. Water clay soil in shorter, more frequent cycles to avoid pooling.
Sandy soil
Sandy soil drains too fast and holds almost no water or nutrients. Amend heavily with compost before seeding (3 to 4 inches tilled in). Bermuda actually handles sandy, well-drained soils better than most grasses once established, but during germination you will need to water more frequently than the standard schedule.
Shade areas
Under trees with less than 4 hours of direct sun, fine fescue blends (creeping red, hard, chewings) are your best option. They will never look as thick as a full-sun lawn, and that is okay. Rake up leaf litter promptly to prevent smothering, raise your mowing height by 0.5 to 1 inch compared to the rest of your yard, and avoid high-nitrogen fertilizers that push lush, disease-prone growth in low-light conditions. If you get under 2 hours of sun, accept that ground cover alternatives (mulch, shade-tolerant perennials) will perform better than any grass.
Pets and high-traffic areas
Dogs cause two kinds of lawn damage: urine burn (nitrogen overload from concentrated urine, showing up as brown spots with green rings) and compaction from repeated running along fence lines or paths. For urine spots, water the area immediately after the dog uses it to dilute the nitrogen concentration. Tall Fescue and Bermuda are the most wear-tolerant grasses. For compaction, core aerate annually and consider a gravel or mulch path along the dog's regular route rather than fighting a losing battle with grass.
Overseeding vs. starting from scratch
Overseeding (spreading seed into an existing, thinning lawn) is usually the right call if your lawn still has 50% or more desirable grass coverage. Mow short, dethatch, aerate, spread seed, and fertilize as described above. The existing grass provides some weed competition and erosion control while the new seed fills in. If your lawn is more than 50% weeds, bare dirt, or undesirable grass types, a full renovation (kill everything, prep soil, start fresh) is faster and gives better results over the long run, even though it feels more drastic.
When to call a professional
Most lawn establishment work is genuinely DIY-able. A few situations make professional help worth the cost. If your soil test shows severe pH imbalance (below 5.5 or above 7.5) combined with compaction and drainage problems, a landscape contractor who can grade and amend large volumes of soil will save you multiple failed attempts. Similarly, if you have a significant slope (more than 15% grade) where erosion will wash seed away before it germinates, a professional hydroseed application or erosion-control blanket installation is more reliable than hand-seeding. For large areas (over 10,000 sq ft), a professional aerator and slit-seeder rental or service can deliver far better seed-to-soil contact than hand-raking.
FAQ
Can you plant or grow grass in Valheim like in real life?
Yes and no. In vanilla Valheim there is no natural ecological regrowth mechanic for grass the way real lawns regrow. Grass is placed by world vegetation spawners and by player tools: the Cultivator (crafted with corewood and bronze) has a 'Grass' mode that lets you manually reapply grass to cultivated soil tiles. Vegetation also depends on client/server vegetation settings, LOD and world spawners, so grass can appear/miss due to rendering or spawner behavior rather than 'growing' on its own.
What causes grass to disappear or clip around my Valheim build?
Common causes are terrain editing (hoe/flattening), LOD/terrain mesh updates, vegetation shader/LOD interactions, and changes to vegetation quality settings. Save/cache inconsistencies or removed spawners (mods or admin tools) also lead to missing grass. Official patches have targeted LOD and vegetation shader fixes, but in many cases the result is that modified ground remains visually bare until you reapply grass with a cultivator or use a modded solution.
How do I restore grass in Valheim (vanilla in‑game method)?
Craft a Cultivator (requires corewood + bronze) and use its 'Grass' placement mode on cultivated dirt. The cultivator tracks Farming XP for actions including replanting grass. Manually placing grass is the canonical vanilla method to reapply ground vegetation after terrain edits.
Can I use console/admin commands to regrow grass globally?
There is no single built‑in console command that globally 'regrows' grass. Recent admin/console additions let hosts change world modifiers and reset some world keys, but vegetation is controlled by spawners and runtime behavior. Admin tools can help by changing world presets or using mods that expose spawner controls, but vanilla console commands do not offer a one‑button global grass regrow.
What mods or modding frameworks let me control grass/vegetation in Valheim?
Popular options include 'No_Grass' (restores a no‑grass option), Spawn_That, Expand_World_Prefabs and AzuRe‑Spawner_Tweaks to adjust spawner rules. These mods typically require BepInEx as a loader and libraries like Jötunn or ValheimLib. Use mod pages on Thunderstore or Nexus to check compatibility, dependencies and installation instructions; follow each mod’s notes for server/client sync.
What are practical in‑game workarounds when building to avoid grass loss or clipping?
Common practices: (1) Build with vegetation quality set low/no‑grass to reduce clipping while constructing, then restore settings or replant grass later; (2) keep a Cultivator to reapply grass around builds; (3) on servers use spawner‑tweak mods to remove or restore spawners deliberately; (4) if grass disappears unexpectedly, try a local vegetation quality toggle or reloading the area/save to refresh spawners.
Next Article
How to Grow Grass in Stardew Valley Fast: Guide
Step-by-step guide to grow and spread grass fast in Stardew Valley, plus placement, timing, and troubleshooting.