Switchgrass (Panicum virgatum) is one of the most forgiving native grasses you can plant, but it has a reputation for slow establishment that trips up a lot of homeowners. If you go in knowing what to expect, it's actually pretty straightforward. This guide walks you through everything: picking the right variety for your region, prepping the soil, sowing or plugging correctly, and nursing your stand through that tricky first season.
How to Grow Switchgrass: Step-by-Step Planting Guide
Marcus Tillwell
16 Apr 2026
What switchgrass is and why it's worth planting
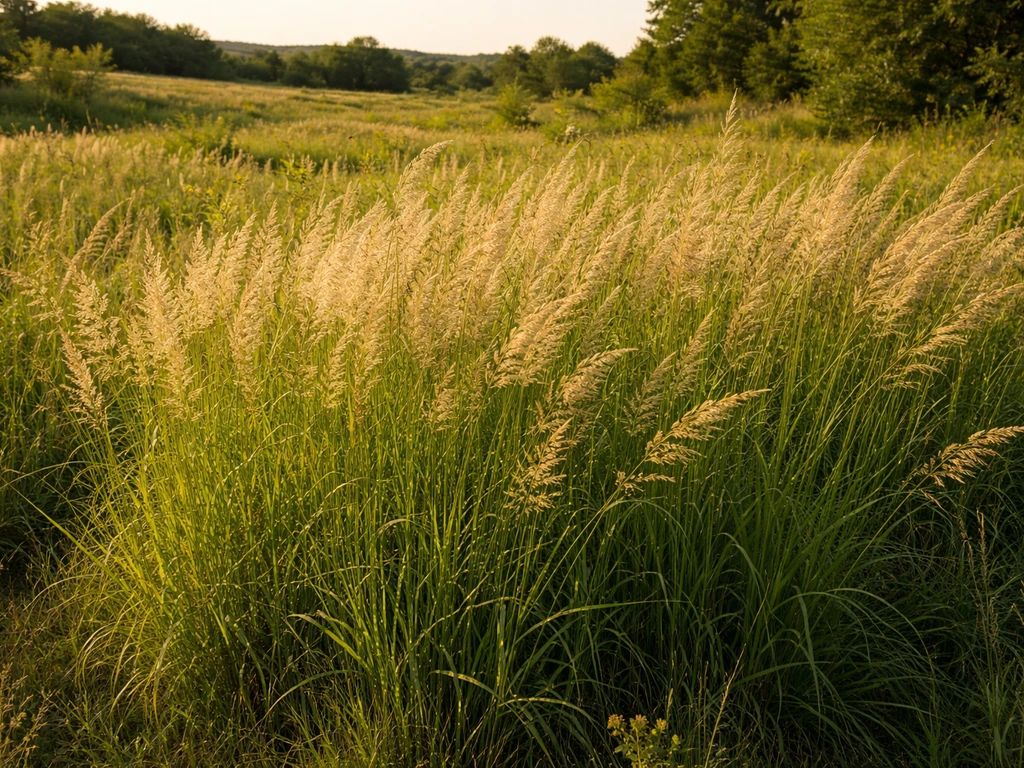
Switchgrass is a native North American warm-season perennial that has been growing across prairies, roadsides, and riverbanks long before anyone called it a landscape plant. It typically stays dormant until mid-to-late spring as temperatures climb, then shoots up fast through summer. Mature clumps range from about 3 to 8 feet tall depending on the variety and site conditions, so this is not a turf-replacement grass. It's a statement plant or a habitat planting.
People grow it for a few different reasons. Erosion control is a big one: its root system anchors soil aggressively, which is why conservation programs have used it for decades. It also provides wildlife cover and habitat as a classic prairie grass, and once established, it handles drought and heat without much help from you. Ornamental varieties have made it popular in residential landscapes too, where its airy seed heads and fall color are genuine selling points.
It's worth noting that switchgrass spreads via short underground rhizomes in some ecotypes, which is great for revegetation and erosion control but means it can gradually colonize an area over time. If you're planting for habitat or a naturalized meadow, that's a feature. If you want a tight, contained ornamental clump, stick to upland cultivars and be selective about which one you pick.
Picking the right variety for your region and goals
Before you buy anything, understand that switchgrass comes in two broad ecotype groups: upland types and lowland types. Upland types tend to be shorter, more cold-tolerant, and better suited to drier sites. Lowland types produce more biomass, tolerate wet or poorly drained soils, and are typically taller and more robust. Getting this wrong is one of the quieter ways people end up with a disappointing stand.
'Kanlow' is a well-known lowland-adapted cultivar that performs best on lowland soils but can persist on marginal upland sites too. It's a good pick if your site stays wet or you're planting along a drainage swale. For ornamental landscape use, the Prairie Winds collection from Proven Winners offers compact options that are more garden-friendly. 'Cheyenne Sky' tops out around 3 feet tall by 1.5 feet wide, making it manageable in a mixed border. 'Apache Rose' reaches about 4 feet tall by 2.5 feet wide and is listed as hardy to Zone 5. 'Totem Pole' is the tall one in that group, reaching around 6 feet with a narrow, upright habit about 2.5 feet wide.
| Cultivar / Type | Height | Best For | Site Preference |
|---|---|---|---|
| 'Kanlow' (lowland) | 5–8 ft | Erosion control, wet sites, habitat | Lowland, wet or moist soils |
| 'Cheyenne Sky' (ornamental) | ~3 ft | Small gardens, borders | Well-drained, full sun |
| 'Apache Rose' (ornamental) | ~4 ft | Landscape, prairie borders | Well-drained, full sun, Zone 5+ |
| 'Totem Pole' (ornamental) | ~6 ft | Large borders, privacy screens | Well-drained, full sun |
| Generic upland types (seeded) | 3–6 ft | Meadows, erosion control, habitat | Drier, well-drained soils |
If you're seeding a large area for wildlife habitat or erosion control and you're not sure which named cultivar to use, ask your local NRCS office or a native seed supplier what ecotype is local to your region. Using locally sourced seed almost always results in better establishment.
Getting your site ready
Sun and drainage
Switchgrass wants full sun, meaning at least 6 hours of direct sunlight per day. It will tolerate partial shade but becomes floppy and weak, and the stand thins out over time. If your site is shaded more than half the day, this is the wrong plant. On drainage, switchgrass is more flexible than most grasses. Well-drained sites are ideal for upland types, but lowland types genuinely tolerate poorly drained soils and can even handle periodic flooding. The key is matching the ecotype to your drainage conditions rather than fighting your site.
Soil type and pH
Switchgrass is not picky about soil texture. It grows in clay, sand, rocky loam, and everything in between. If your soil is heavy clay, loosen the top 2 to 3 inches with a tiller or garden fork before seeding to improve seed-to-soil contact and early root penetration. Sandy soils dry out quickly, which matters most in the first 4 to 6 weeks before roots are established.
In that case, plan to water more frequently early on. Switchgrass generally tolerates a wide pH range, roughly 5. 0 to 7. 5, so unless your soil is extremely acidic or alkaline, you probably don't need to amend it.
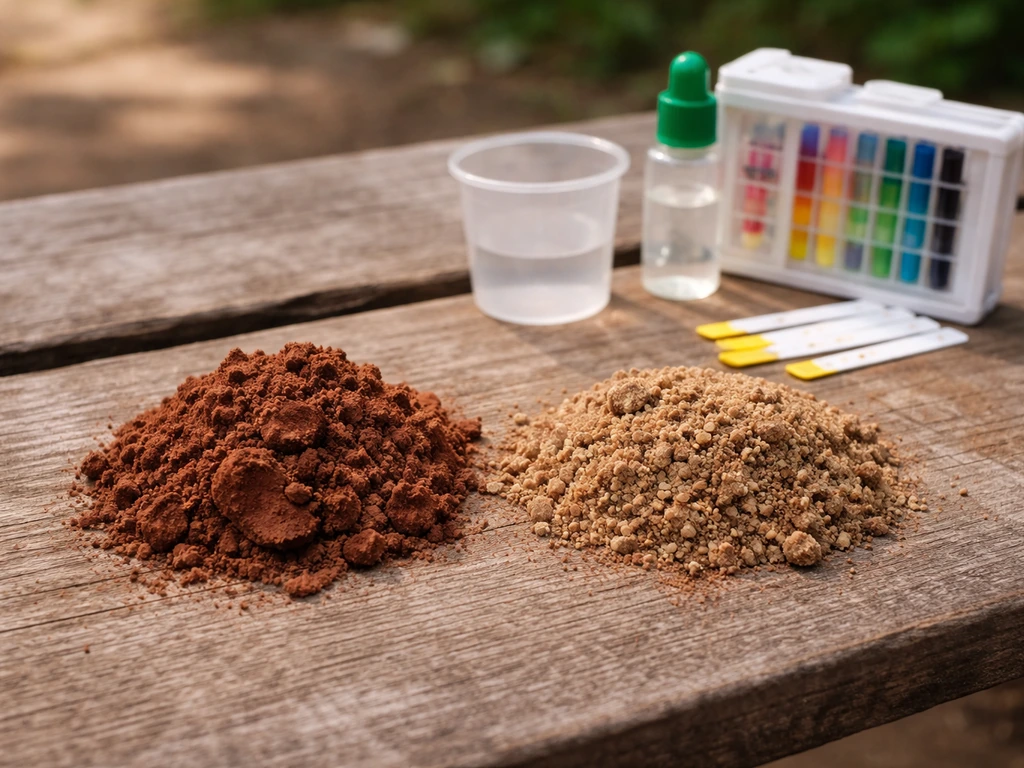
A basic soil test from your local extension office is worth $15 and will confirm whether you need lime or sulfur.
Resist the urge to add a heavy dose of nitrogen fertilizer before planting. Switchgrass is adapted to low-fertility soils, and loading up nitrogen early is one of the best ways to grow a lush crop of weeds that outcompetes your seedlings. This is a common mistake and it matters a lot.
Seed vs. plugs vs. rhizomes: what to buy and when
You have three realistic starting options: seed, container plugs, or bare-root divisions with rhizomes attached. Each has tradeoffs.
Seed is the cheapest option and the right choice for large areas or habitat plantings. The catch is slow establishment: switchgrass seedlings are notoriously slow in year one, and weed pressure can wipe out a seeded stand if you're not on top of it.
Penn State Extension’s case study of switchgrass seed establishment highlights that weed management during establishment is crucial to getting stands established successfully weed pressure can wipe out a seeded stand if you're not on top of it. Buy seed labeled with a pure live seed (PLS) percentage, not just weight, and factor that into your seeding rate calculations.
USDA-NRCS plant materials provide an example establishment seed-rate line using pure live seed (PLS), including “Seed rate , 6 lb/ac pure live …” for one context [pure live seed (PLS) percentage](https://www. nrcs. usda. gov/plantmaterials/nypmspo7530.
pdf). Switchgrass seed averages around 370,000 seeds per pound, which is quite small.
Container plugs are the better choice for ornamental plantings or for homeowners who want more reliable establishment without waiting through a slow seeding year. You plant them like any perennial, and they establish much faster than seed. They cost more per square foot but save a lot of frustration.
Bare-root divisions or rhizome sections from an established clump are a free option if you have access to existing switchgrass. Divide in early spring before new growth takes off, keeping a few inches of root and rhizome attached. Plant immediately so they don't dry out. This works well for a handful of plants but isn't practical for large areas.
For seed, look for suppliers that specialize in native seed and can tell you the ecotype origin. Seed dormancy can be an issue with freshly harvested switchgrass seed, so ask about stratification requirements. Some lots need cold stratification to germinate well; others are ready to go. If you're seeding a meadow or restoration area and want to compare different native warm-season grass options, it's worth reading about how to grow sudangrass for comparison since sudangrass establishes much faster but lacks the perennial persistence switchgrass offers.
When to plant and how to do it right
Timing
For seed, plant in late spring through early summer once soil temperatures are consistently above 60°F. Switchgrass is a warm-season grass and cold soil is one of the main reasons for poor germination. Germination rates are highest between 68 and 86°F (20 to 30°C), with good seed achieving 70 to 90% germination under those conditions. Planting too early into cold soil dramatically drops those numbers. In most of the Midwest and Mid-Atlantic, late May through mid-June is the sweet spot. In the South, you can push into early summer. Emergence typically takes around 21 days under good conditions, but expect some variability.
For plugs and divisions, aim for spring (late April through May) or early fall (September). Spring gives them a full growing season to root in. Fall planting works but gives less establishment time before dormancy.
Seeding step by step
- Kill existing vegetation completely. Switchgrass seedlings cannot compete with established weeds or grass. Spray with a non-selective herbicide or smother the area with black plastic for 4 to 6 weeks. Do not skip this step.
- Prepare a firm seedbed. Till or rake the top 2 to 3 inches, then firm it with a roller or by walking it down. You want a surface that's settled, not fluffy. Fluffy soil causes seeds to bury too deep.
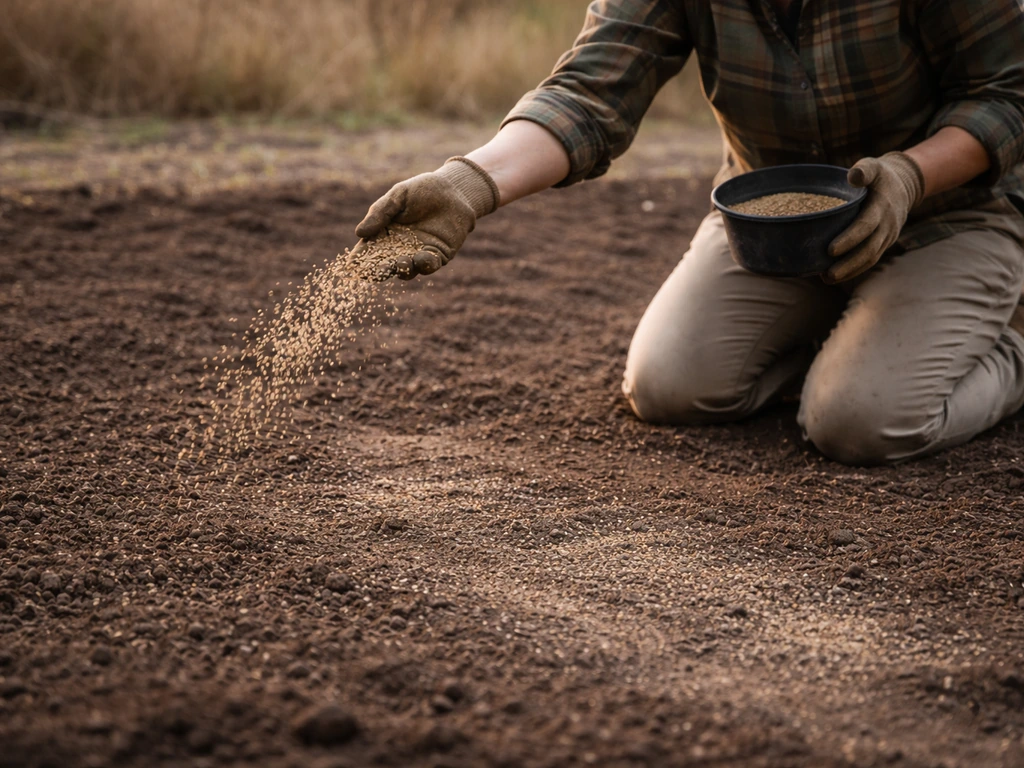
- Calibrate your seeding rate. For broadcast seeding, use 7 to 10 lb of pure live seed (PLS) per acre. For a smaller residential area, that works out to roughly 0.16 to 0.23 lb PLS per 1,000 square feet. Divide the seed into two passes and broadcast in perpendicular directions for even coverage.
- Seed shallow. Do not plant switchgrass seed deeper than 1/2 inch. The target is 1/4 to 1/2 inch. Deeper than that and germination drops sharply. On a firm, raked bed you can often just broadcast the seed and rake lightly to cover.
- Cultipack or firm the seedbed after sowing. A lawn roller, cultipacker, or even foot traffic presses seed into contact with soil, which dramatically improves germination. This step makes a real difference.
- Water gently immediately after planting to settle the seed without washing it away.
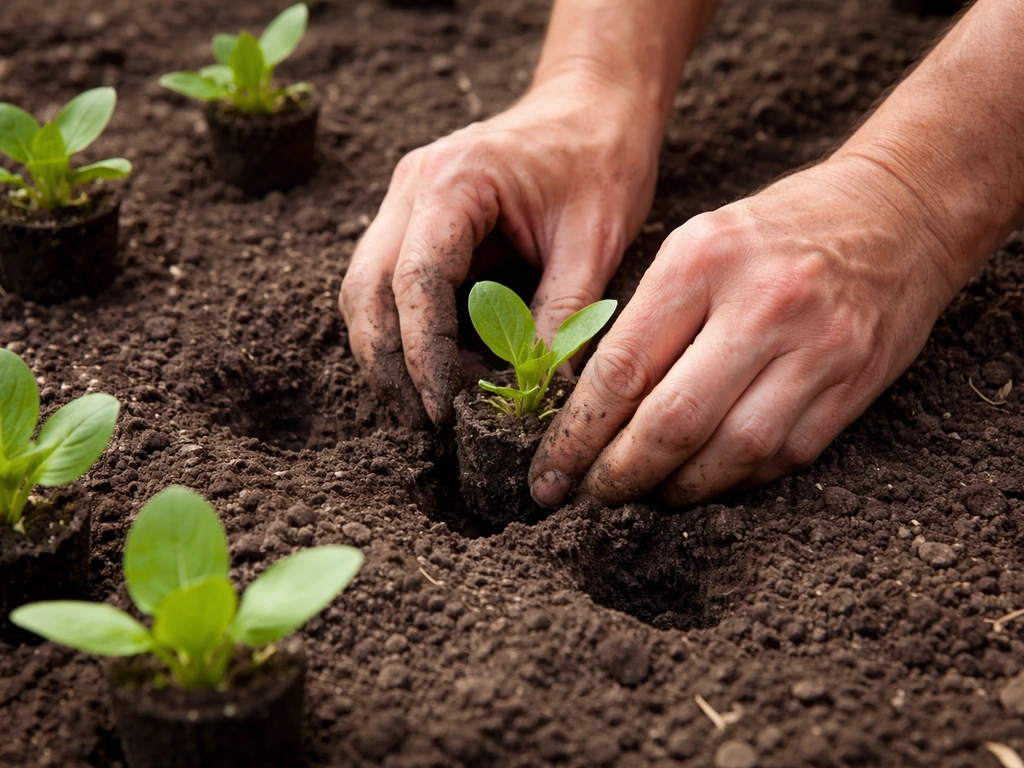
Planting plugs
Space ornamental plugs 18 to 24 inches apart for individual clumps. For a mass planting or erosion control, 12 to 18 inches on center fills in faster. Dig the hole to match the root ball depth, set the plug so the crown is at or just above soil level, firm the soil around it, and water in thoroughly. Avoid planting too deep: burying the crown invites rot.
Watering, weed control, and establishment care
The first 4 to 6 weeks after seeding are the most critical. Keep the seedbed consistently moist but not waterlogged. Light, frequent watering (every 1 to 2 days in dry weather) is better than occasional heavy soaks during germination. Once seedlings reach 2 to 3 inches, you can back off to watering every few days. By the end of the first season, established plants are largely on their own.
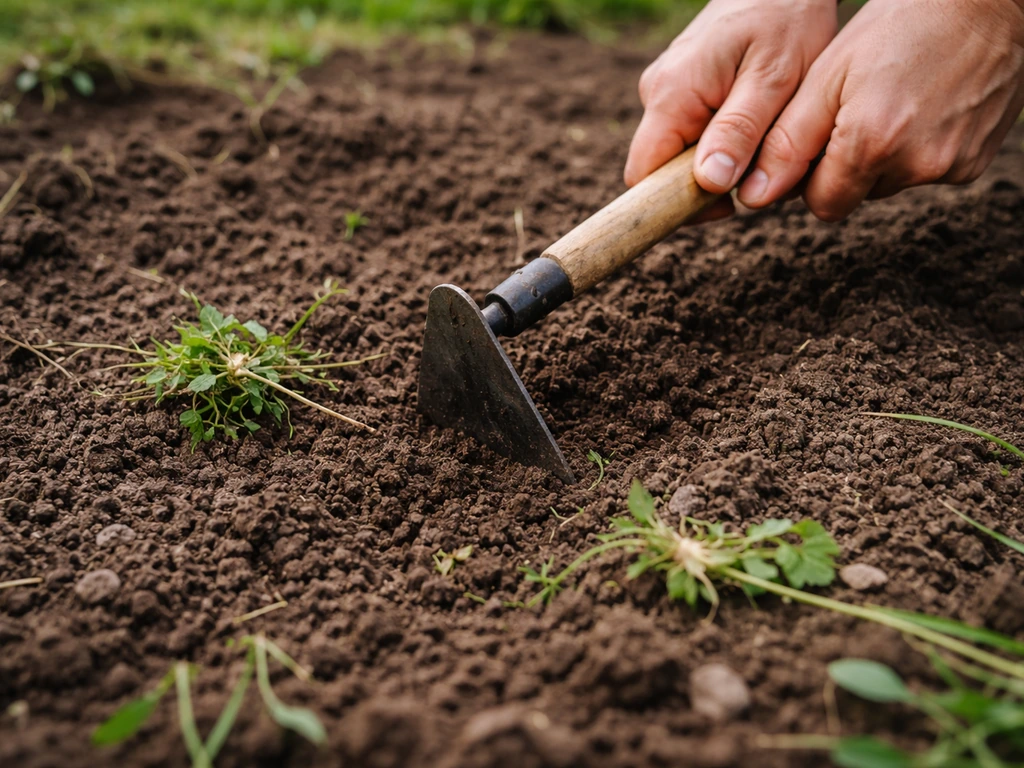
Weed control during establishment is the single most important thing you can do. This is not an exaggeration. Weed competition is the leading cause of switchgrass stand failure. If you see annual weeds germinating alongside your seedlings, you need to act. For broadleaf weeds, you can apply a broadleaf herbicide once your switchgrass seedlings reach the 4 to 5 leaf stage. Some homeowners use atrazine where it's locally permitted as part of their establishment plan, but check your local regulations first. If you want to stay chemical-free, hand-pulling or shallow hoeing works for small areas.
Do not fertilize during the establishment year. Switchgrass is adapted to low-nutrient conditions, and extra fertility feeds the weeds more than the switchgrass.
Mowing for weed control is allowed during the establishment year, but with strict rules: never mow lower than 6 inches, and only mow if weeds are clearly overtopping your switchgrass seedlings. The goal is to clip the weeds without damaging the switchgrass crowns. If you mow too low you set the seedlings back significantly.
If your site has particularly challenging soil conditions, you're not alone. Heavy clay compaction and sandy drought stress are the two most common issues homeowners deal with when establishing native grasses. Approaches that work well in those conditions, including improving drainage and working with soil structure, are also useful when thinking about how to grow carex grass in similar difficult spots, since both plants can coexist in naturalized plantings.
What to expect in year one and beyond
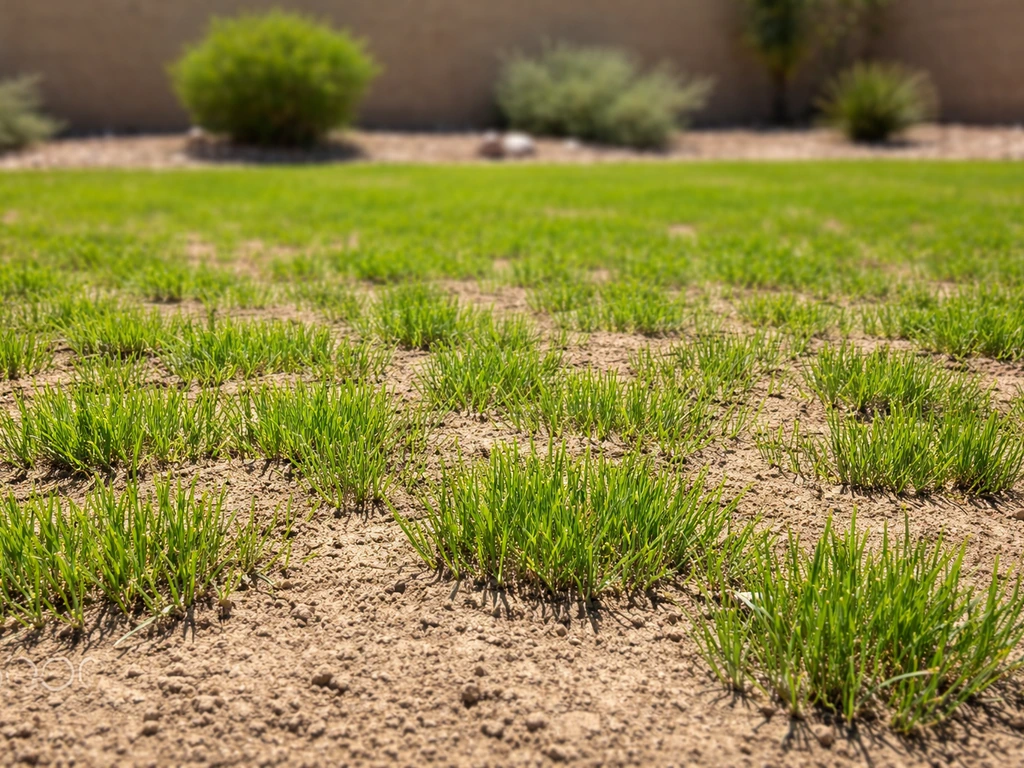
Be honest with yourself about year one: switchgrass establishment is slow. Most seeded plantings look discouraging in the first season. You'll see small, thin grass seedlings that barely resemble the tall, stately clumps in catalog photos. That's normal. The plant is investing heavily in root development underground, and the above-ground growth reflects that. By the end of summer in year one, you might have plants that are only 12 to 18 inches tall. That's a success.
By year two, you'll see a big jump. Plants establish more root mass over winter and come back stronger in spring. Year two plants often reach 3 to 4 feet or more and start showing the characteristic seed heads in late summer. Year three is when you usually have a full, mature stand that looks like what you were imagining when you planted.
Long-term maintenance is minimal. Cut switchgrass back to about 4 to 6 inches in late winter or early spring before new growth emerges. This is the main annual chore. Some gardeners burn their switchgrass planting instead of cutting if local fire codes allow it, which replicates the natural prairie disturbance cycle and keeps the stand vigorous. Beyond that, established switchgrass generally doesn't need irrigation, fertilizer, or much attention.
Switchgrass pairs well in meadow and prairie plantings with other native warm-season grasses. If you're building out a larger native grass planting, it's worth also looking at how to grow feather reed grass, which offers a cooler-season complement and a different texture in mixed plantings.
Troubleshooting: why your switchgrass isn't working and how to fix it
Poor or no germination
If you see little to no germination after 4 weeks, start by ruling out the most common causes. Planting too early into cold soil is the top offender. If soil temperatures were below 60°F when you planted, the seed may still be viable and waiting for warmth. Give it more time. If the seedbed dried out after planting, germination stalls. Seeds that sprout and then dry out die quickly. Check that your watering schedule is keeping the surface consistently moist. If you planted too deep (more than 1/2 inch), seedlings may not have the energy to push through. In that case, your only fix is replanting.
Seed dormancy is a real variable with switchgrass. Some seed lots have high dormancy and need a period of cold stratification to break it. If you're buying seed in spring from a supplier and the lot wasn't pre-stratified, this can be a problem. Ask your supplier about the lot's germination test results before buying.
Weeds taking over
If your site is thick with annual weeds and your switchgrass is barely visible, the weeds are winning the light competition. First, assess whether your switchgrass is still alive by looking carefully at the base of the planting for green switchgrass crowns. If it's there but small, take action immediately: mow to 6 inches to set the weeds back, and then consider a targeted herbicide application appropriate for your weed species. Annual weeds typically die off in fall, at which point your switchgrass gets a chance to recover and gain ground before winter.
This is also why site prep before planting is so critical. If you cut corners on killing existing vegetation, you pay for it throughout the establishment period. It's worth considering how neighboring plantings interact with your stand. For example, invasive spreading grasses can creep into a switchgrass planting from adjacent areas. Understanding management approaches for aggressive spreaders, like the techniques covered when learning how to grow scutch grass (useful if you're dealing with it as a neighbor grass), can help you contain boundary problems.
Thin or uneven stand
Uneven germination or patchy spots are common in broadcast seedings. The usual cause is inconsistent seed-to-soil contact or uneven seed distribution. In the second spring, you can overseed thin areas after cutting the stand back. Prep the thin spots with light raking to expose soil, broadcast seed, and firm the surface again. Do this early enough in late spring to catch the warm soil window.
Plants are there but aren't growing well
Stunted, pale, or sparse plants in year two usually point to shade, waterlogging in a spot not suited to lowland types, or compacted soil limiting root expansion. Assess your sun exposure first since shade is the most common reason for poor performance. If you're planting in an area that also gets foot traffic or has hardpan soil, try aerating around the clumps to loosen things up. Switchgrass can also look poor if it was mowed too short during year one and the crowns were damaged.
Stand fails completely
If you get to fall of year one and have essentially nothing to show, don't give up immediately. Check whether any crowns survived at soil level even if the above-ground growth is minimal. Switchgrass invests heavily in root development in year one, and sometimes what looks like failure is actually a plant that will come back strongly in spring. If the crowns are truly dead, plan a fresh start the following spring with better site prep and weed control in place from day one.
It also helps to study how other native and ornamental grasses establish in similar conditions. For example, how to grow muhly grass shares some overlapping site requirements with switchgrass and can be a useful reference point for warm-season native grass management in general. Similarly, if you're working on a large-scale habitat or prairie restoration and want to understand how other warm-season grasses behave during establishment, the approach for how to grow reed canary grass offers useful contrasts in terms of establishment speed and site tolerance.
For homeowners who are also managing a broader lawn seeding project alongside a native grass planting, the general principles around seed-to-soil contact, timing, and weed suppression apply across the board. Resources like guidance on how to grow grass with Scotts products can help with the turf portions of your yard while you establish your switchgrass sections separately.
Your next steps right now
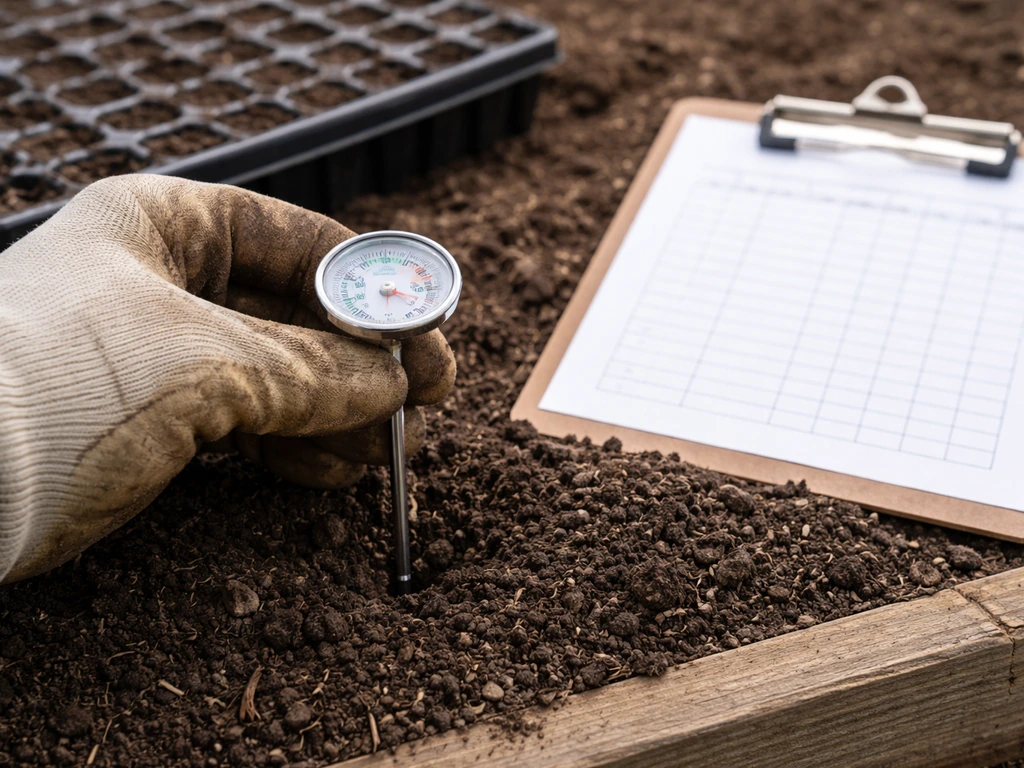
If it's late April or May and you're in the Midwest or Mid-Atlantic, you're right at the start of the ideal seeding window. Get your soil temperature confirmed (a cheap soil thermometer does it in seconds), order locally sourced PLS-rated seed, and kill the existing vegetation in your target area this week if you haven't already. Give the dead vegetation 2 to 3 weeks before tilling and seeding.
If you're in the South, you likely have a bit more flexibility through early June. If you're in the northern tier (Minnesota, Wisconsin, Montana), watch your soil temps carefully and don't rush it. Cold soil is not worth the gamble.
If you're going the plug route, you can plant almost any time the weather is mild and plants are available. Spring is ideal. Buy from a reputable native plant nursery, ask about the ecotype, and get them in the ground within a day or two of purchase so they don't dry out in their containers.
The bottom line is this: switchgrass is forgiving once it's established, but it demands patience and solid site prep upfront. Nail those two things and you'll have a low-maintenance, drought-tough native grass planting that looks better every year. Skimp on either one and you'll be fighting weeds and replanting for two seasons. Put the time in now and future you will be glad you did. If you're curious how switchgrass fits into a broader native grass palette, reading about how to grow couch grass can help you understand how different grass types occupy different ecological niches and complement a switchgrass planting rather than competing with it.
FAQ
Can I mow switchgrass while it is still establishing to control weeds?
For weed control, the key timing is when switchgrass seedlings are clearly established enough to tolerate clipping. If you mow, do it only when weeds are visibly overtopping and keep the cutting height at or above 6 inches. You can also do one pass early, then rely on spot-targeted herbicide only in patches where broadleaf weeds are dominating, since mowing alone often regrows weeds and extends the competition window.
Is it okay to cut switchgrass in the first year beyond mowing for weed control?
You can cut back year one, but you should avoid heavy, frequent cutting. If you do any mowing, keep it high and only for weed suppression, then stop once weeds are under control so seedlings can keep accumulating energy for winter root growth. A good rule is to avoid cutting in late summer and early fall, because switchgrass needs to finish its growth and harden off before dormancy.
What depth is best when planting switchgrass plugs or divisions?
Switchgrass crowns should sit at soil level or slightly above, not buried. A quick check after planting is to look for the crown position relative to the soil line, and firm the soil so there are no deep pockets around the crown. If you suspect you buried crowns, do not “dig and adjust” repeatedly, the better fix is to leave them and manage weeds and moisture carefully while you evaluate survival in spring.
Can switchgrass handle soggy soil or periodic flooding?
Yes, especially in low areas where lowland cultivars are a fit, but switchgrass is not ideal for standing water that stays for long stretches. If waterlogged conditions persist through much of the warm season, root oxygen drops and you can lose smaller plants even if mature clumps survive. Match the ecotype to drainage, and if you have frequent pooling, improve drainage or raise the planting spot rather than assuming switchgrass can handle any wet site.
How long should I keep the seedbed moist after seeding switchgrass?
For seedings, focus on consistent moisture rather than daily watering forever. A practical approach is to water lightly and frequently until you see consistent emergence, then stretch intervals gradually as seedlings harden. If you keep the top layer constantly wet after emergence, you can encourage fungal issues and surface crusting, which makes it harder for new seedlings to emerge in uneven spots.
Can I overseed switchgrass into thin spots the second spring?
Yes, but plan for a multi-year weed strategy. If you overseed thin areas in spring, first cut the existing stand back to your usual maintenance height range, then rake only the surface lightly to expose soil and improve seed-to-soil contact. Avoid aggressive tilling because you can disrupt crowns and increase weed seed germination by bringing buried weed seeds up.
What should I do if my switchgrass seed does not germinate after a month?
If germination is low after 3 to 4 weeks, do not replant immediately unless you find a clear problem like seed depth (too deep) or a persistently dry seedbed. First confirm soil temperature was above 60°F at planting, then check moisture and whether seeds sprouted and died. If you truly see no viable crowns at soil level later in the season, replant in the next warm-season window with better weed suppression from day one.
If my switchgrass looks pale or stunted in year two, should I fertilize?
Switchgrass is a warm-season grass, so you generally should not expect meaningful growth until soil warms. In year two, pale growth usually ties back to either too little sun, roots restricted by compaction, or water saturation mismatches. Instead of adding nitrogen, address the likely cause first, then consider a targeted soil amendment only if your soil test shows a deficiency or extreme pH issue.
What are common mistakes when planting switchgrass plugs from a nursery?
In container-plug plantings, the highest risk is letting roots dry out between purchase and planting. Keep plugs shaded, water the container lightly if you must hold them briefly, and get them into the ground within a day or two. Also, firm the soil around the plug and water in thoroughly at planting, since air gaps around the crown can lead to drought stress even if the area looks moist.
How do I decide whether to re-seed or just manage weeds and wait?
Re-seeding strategy depends on whether you have surviving crowns. If you have green crowns at soil level, protect and suppress weeds and wait for spring regrowth rather than replanting the whole area. If there are no crowns and you are sure the stand failed, restart next season but consider stronger pre-plant weed control and, if weeds are the main issue, use a higher-density approach or plugs instead of seed to shorten the vulnerable first year.
Next Article
How to Grow Grass in El Paso TX: Seed, Plant, and Care
Step-by-step guide to grow grass in El Paso: pick Bermuda, Zoysia or fescue, prepare soil, seed timing, watering, fixes.