St. Augustine grass blank" rel="noopener noreferrer">plugs are one of the most reliable ways to establish a warm-season lawn without paying full sod prices. If you plant them at the right time, prep the soil properly, and keep them moist through the first few weeks, you'll have a thick lawn filling in within 60 to 90 days. Here's exactly how to do it from start to finish. If you specifically want to start from seed instead of plugs, the process and timing are different, so plan around seed germination and early growth needs how to grow st augustine grass from seed.
How to Grow St Augustine Grass Plugs: Step-by-Step Guide
Marcus Tillwell
8 Apr 2026
What St. Augustine grass plugs are and when to plant them
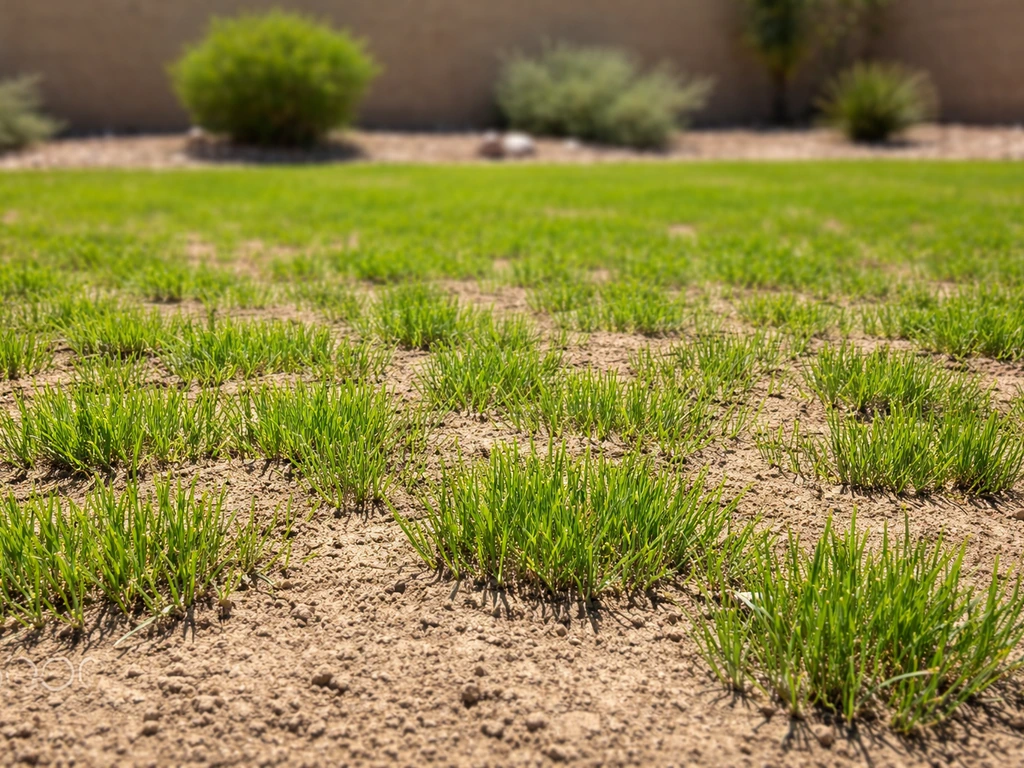
Plugs are small pieces of live St. Augustine turf, sometimes called sod plugs or starter pieces, that you install individually across bare or thin ground. They're not seed. Each plug is a chunk of living grass with roots, soil, and stolons attached. Once a plug roots into your soil, those stolons creep outward and eventually knit the whole lawn together. A single tray typically holds about 18 plugs and covers roughly 50 square feet when planted 12 to 16 inches apart. If you need denser coverage faster, you can tighten that spacing to 12 inches on center, where 36 plugs can cover 64 square feet.
Timing is everything with St. Augustine plugs. This is a warm-season grass, which means it grows actively in heat and goes dormant when it's cold. You want soil temperatures at or above 65°F before you plant, because below that threshold root development stalls and plugs tend to just sit there and rot or dry out without ever establishing.
In practice, that means planting from late spring through early summer, roughly May through July across most of the South. In South Florida, you have a wider window. In the upper South or transition zone areas like Georgia or the Carolinas, aim for late May or June to give plugs maximum warm weeks before fall arrives. Avoid planting in fall.
Plugs started in September rarely establish before the first cool spell slows growth.
Sun, shade, and soil basics before you buy a single plug

St. Augustine is more shade-tolerant than most warm-season grasses, but "more tolerant" doesn't mean it loves shade. It still needs a minimum of 4 to 6 hours of direct sun daily for decent establishment. Varieties like Seville and Palmetto handle partial shade better than Floratam, which is a full-sun variety and struggles badly under trees. If your yard gets heavy canopy shade for most of the day, plugs will root slowly, grow thin, and eventually lose to weeds and moss. Be honest about your light conditions before you invest in plugs.
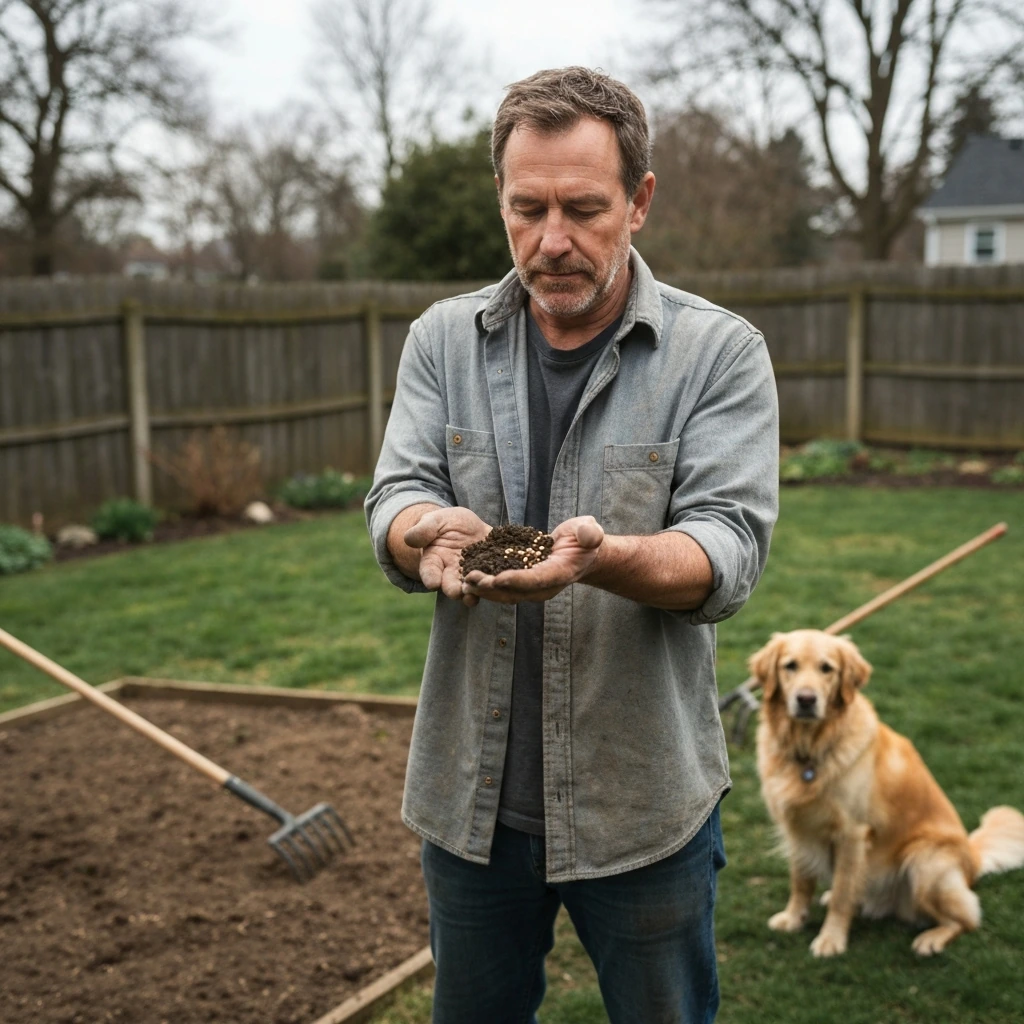
Soil pH matters more than most people expect. St. Augustine does best in slightly acidic soil, right in the 6. UGA Extension AESL crop sheet guidance for St. Augustine lawn management lists a recommended pH range of 5.5 to 6.5. 0 to 6.5 range. Outside that window, nutrients become less available even if you're fertilizing regularly, and plugs will look pale, grow slowly, and never really fill in. A basic soil test from your county extension office costs under $20 and tells you exactly where your pH sits and whether you need lime to raise it or sulfur to lower it. Get this done before you plant, not after you've already spent money on plugs.
For drainage, St. Augustine doesn't tolerate standing water. If your yard has areas where water pools for more than a few hours after rain, plugs planted there will rot at the base. Sandy soils drain too fast and dry out quickly, which stresses young plugs. Clay soils hold water well but can suffocate roots if compacted. Know what you're working with so you can adjust before planting day.
How to prepare your yard so plugs actually take
Good soil preparation is the single biggest factor in whether plugs succeed or fail. Most plug failures I've seen come down to one thing: poor soil contact. If a plug is sitting on top of hard, compacted dirt with weeds growing up around it, it's not going to root well. Do this prep work in the week before you plant.
- Kill existing weeds and grass. Use a non-selective herbicide like glyphosate on any existing vegetation. Wait at least 7 to 10 days before disturbing the soil so the herbicide finishes working. If you have thick sod to remove, rent a sod cutter rather than tilling it under.
- Loosen the soil. Till or rake the top 2 to 4 inches of soil, especially if it's compacted. You don't need to go deep, but you need the surface layer broken up so plug roots can penetrate easily.
- Amend based on your soil type. For clay soil, work in a 1- to 2-inch layer of coarse sand and compost to improve drainage and loosen structure. For sandy soil, work in compost to help retain moisture around plug roots during those critical first weeks.
- Adjust pH if needed. Based on your soil test results, add lime to raise pH or sulfur to lower it, then work it in with a rake. If you're short on time, at least get the amendment into the soil 2 to 3 weeks before planting.
- Level the surface. Rake the area smooth and firm, eliminating low spots where water will pool and high spots where plugs will dry out faster. You want a consistent, mostly flat planting bed.
- Plan your irrigation. Before you plant, know how you're going to water. Plugs need consistent moisture for 3 to 4 weeks. If you're relying on a hose and sprinkler, walk the area and confirm coverage. Skipping this step causes more plug failures than any other preparation mistake.
Planting the plugs: spacing, depth, layout, and edges
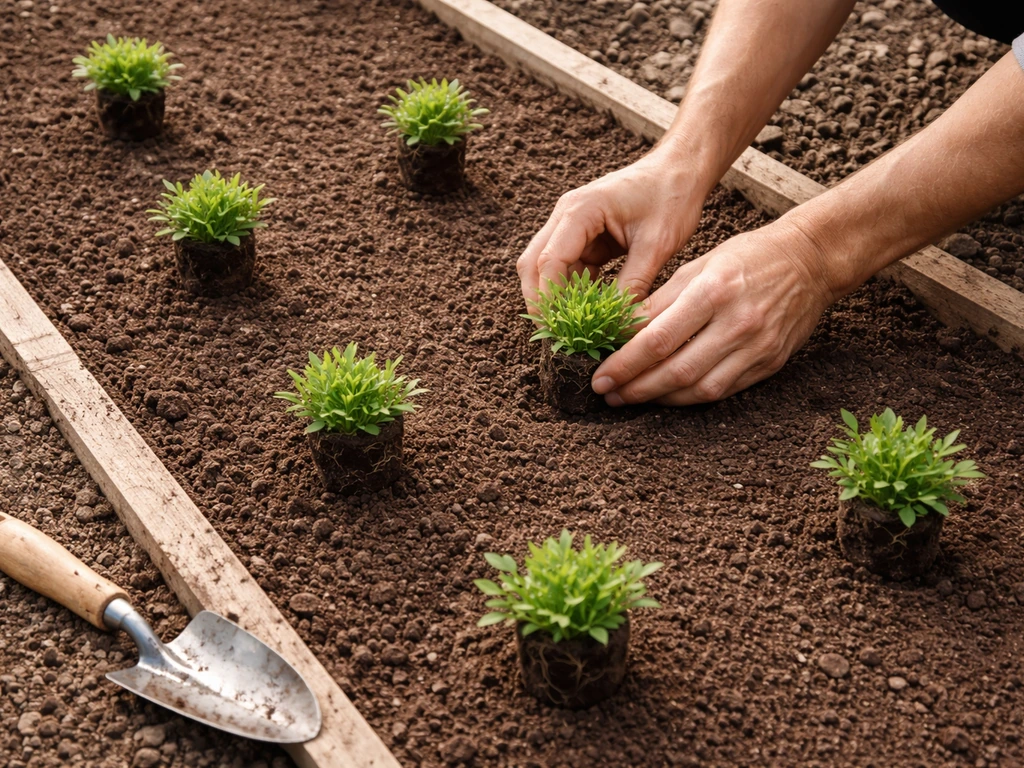
The general rule for spacing is 1 to 2 feet on center. Tighter spacing (12 inches) means faster fill-in but higher cost since you need more plugs. Wider spacing (18 to 24 inches) saves money but means you're waiting longer for the lawn to close up, typically 4 to 6 months instead of 60 to 90 days. For a full lawn establishment, I'd recommend starting at 12 to 15 inches on center. For spot repairs or filling thin areas in an existing lawn, 12-inch spacing gets you visible results faster.
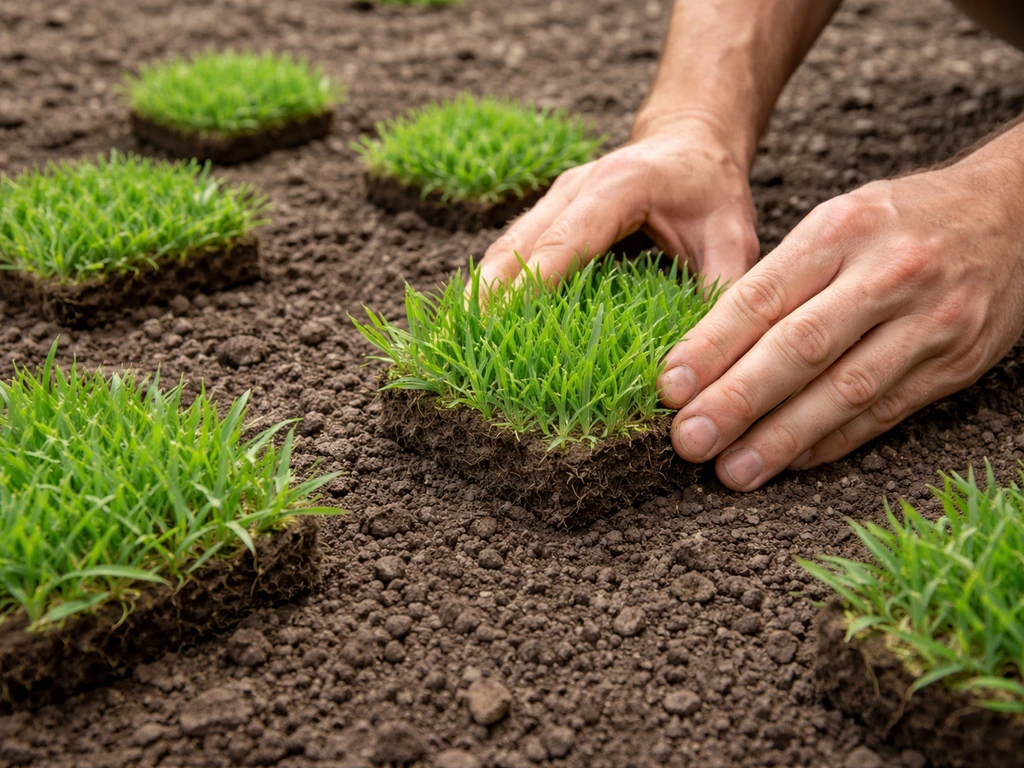
Depth matters. Each plug should sit with its crown (the base where the grass blades emerge) at or just slightly above the surrounding soil surface. If you plant plugs too deep, the crown gets buried and the grass smothers. Too shallow, and roots are exposed to air and dry out before they can anchor. A good rule of thumb: the plug should sit the same way it did in the tray, with soil level matching the surrounding grade as closely as possible.
For layout, work in a grid pattern or staggered rows, depending on what your area shape allows. A staggered pattern (like a checkerboard offset) gives better overall coverage because the stolons spreading from each plug have fewer gaps to bridge. For irregular areas, curved beds, or slopes, just maintain consistent spacing and adjust the grid to fit the shape. On slopes, plant in rows running across the slope (perpendicular to the direction water flows) so plugs don't get washed out by irrigation runoff. Along edges and borders, plant plugs a few inches inside the edge line rather than right at it, since those areas dry out faster and plugs at the very edge are more vulnerable until they root.
Once a plug is in place, press it firmly into the soil so there's solid contact between the plug's root zone and your prepared soil. Air pockets underneath a plug will kill it. Use your foot or a tamper to press each plug down so it's snug and stable. Don't leave them loose. If you're working in a large area and it's hot out, keep your plugs covered with a damp burlap sack or old towel while you work through the tray, because even an hour of direct sun exposure on bare roots before planting can stress them.
Watering schedule from day one through full rooting
Water immediately after planting. Don't wait until the next morning. Get out there with a hose or run your irrigation system the same day you finish planting, and soak the entire area so water penetrates at least 3 to 4 inches deep into the soil below each plug. That initial deep soak is critical for closing the air gap between plug roots and native soil.
For the first two weeks, the goal is to keep the plugs consistently moist, not soaking wet, but never dry. A good target is about 1/4 to 1/2 inch of water daily. In practice, that means watering once or twice a day in hot weather, particularly during the heat of the day in the first few days to prevent plugs from drying out. Morning watering is ideal because it gives the grass time to dry before evening, reducing disease risk. If you see plugs starting to wilt or the edges of the grass blades curling, water immediately, even if it's not your scheduled time.
After the first two weeks, back off to watering 2 to 3 times per week. By this point, the plugs should be showing new growth, which is your sign that rooting is happening. The new green shoots emerging from the edges of the plugs are the stolons starting to spread. Once you see that, your irrigation goal shifts from survival watering to encouraging deeper root growth.
Watering less frequently but more deeply (about 1/2 to 3/4 inch per session) pushes roots deeper into the soil rather than keeping them shallow and dependent on frequent surface moisture. By weeks 4 to 6, you should be able to transition to a normal watering schedule of about 1 inch per week, applied in 1 or 2 sessions depending on your soil type and weather.
Fertilizing, mowing, and weed control during establishment
Fertilizing
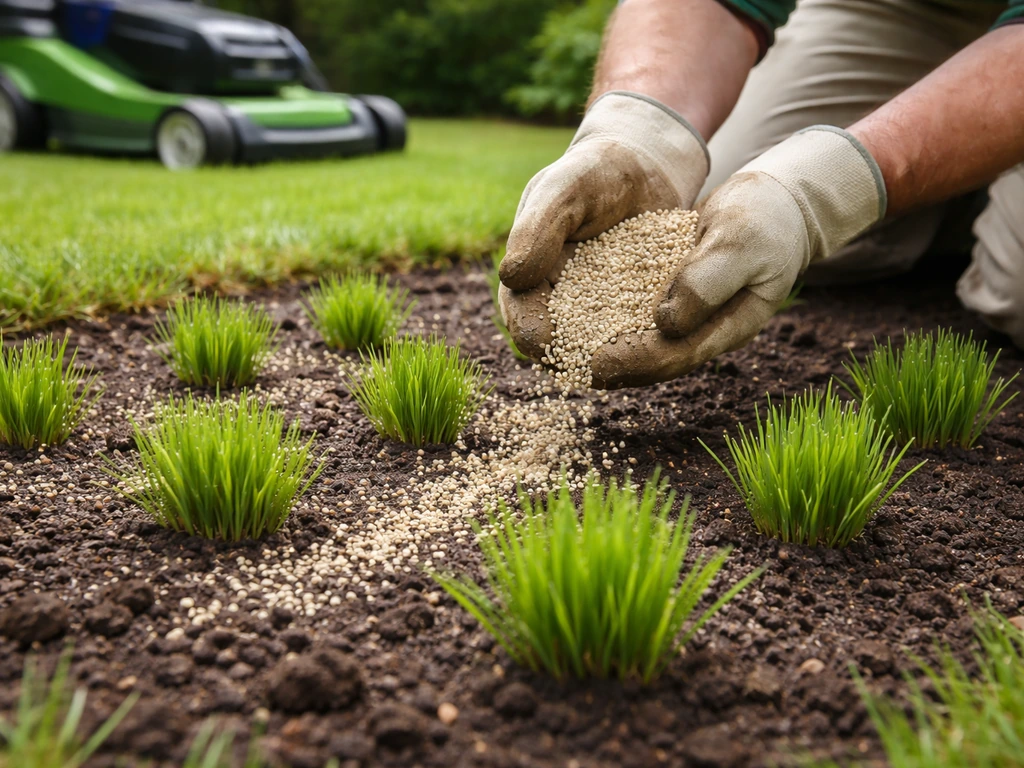
Fertilization during the first three months after planting is critical for getting plugs to spread and fill in. Don't skip it and don't delay it. About 30 days after planting, once you can see new stolon growth spreading out from your plugs, apply a starter fertilizer with a higher phosphorus ratio, since phosphorus supports root development during early establishment.
One research-backed approach is using a fertilizer with roughly a 2-to-1 phosphorus-to-nitrogen ratio monthly during establishment, which has been shown to produce faster cover rates. Apply no more than 1 lb of actual nitrogen per 1,000 square feet per application. In Florida, local county rules may limit your fertilizer timing or nitrogen rate, so check with your county extension office before applying. If you're in Texas or Georgia, a balanced fertilizer applied monthly for the first 3 months works well.
Mowing
Don't mow until your plugs have clearly rooted and new stolon growth is visible, typically 3 to 4 weeks after planting. When you do start mowing, keep the height at 2 to 2.5 inches. Cutting lower than that during establishment, especially in the first few months, can scalp young growth and set back your fill-in timeline by weeks. Your mower blades should be sharp so you're cutting cleanly rather than tearing young stolons. Don't mow if the soil is still soft and wet from recent watering; mower wheels can dislodge plugs that haven't fully anchored yet.
Weed control
Weeds will try to move into the bare soil between your plugs, and how you handle this matters. Pre-emergent herbicides applied too early or at too high a rate can inhibit young plug root growth, so be careful here. Wait at least 60 days after planting before applying any pre-emergent, and read up on the best approach for your region before reaching for the herbicide sprayer.
In the meantime, hand-pull weeds between plugs during the first 6 to 8 weeks. It's tedious but safer than risking chemical damage to plugs that are still in active rooting. Post-emergent herbicides labeled for St. Augustine can be used once the grass is well-established, but always read the label carefully for timing restrictions relative to new plantings.
Troubleshooting: when plugs fail, look thin, or won't spread
Plugs are dying or turning brown
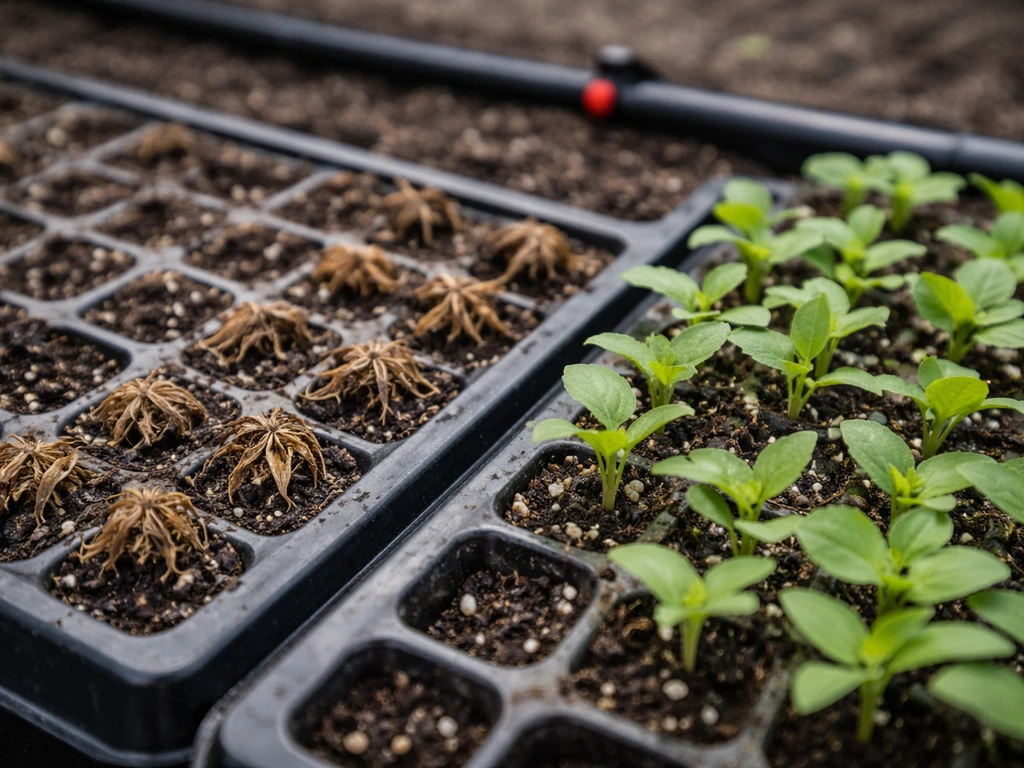
The most common reason plugs die in the first two weeks is drying out. If you checked irrigation coverage before planting, look for dry spots in the pattern where water isn't reaching. Feel the soil 2 inches down; it should feel damp but not waterlogged. If plugs are turning slimy and brown with a foul smell, that's rot from overwatering or poor drainage rather than drying out. For clay soil situations, you may need to water less frequently while still watering deeply. If individual plugs are dead, pull them out cleanly, loosen the soil in that spot, and replant fresh plugs.
Plugs rooted but fill-in is very slow
Slow fill-in after 6 to 8 weeks usually comes down to one of three things: low soil temperature (meaning you planted too early in spring), insufficient fertilization, or a shaded location that's limiting stolon growth. Check whether you're fertilizing on a monthly schedule and whether your nitrogen rate is adequate. In shaded areas, St. Augustine naturally spreads more slowly, and you may need to accept a longer timeline or consider whether a shade-tolerant variety would have been a better fit. For the nutrient angle, a soil test can reveal deficiencies that are limiting growth even if you're fertilizing regularly.
Clay soil challenges
In heavy clay, the main risks are compaction and poor drainage. If you didn't amend with sand and compost before planting, you can still top-dress around established plugs with a thin layer (1/4 inch) of coarse sand and compost mix to improve the surface zone as plugs spread. Avoid overwatering in clay since standing moisture creates anaerobic conditions at the root zone. Water deeply but infrequently once plugs start rooting. Also watch for thatch buildup in clay soils, which can become a problem once St. Augustine is established.
Sandy soil challenges
Sandy soil drains very fast, which means plugs dry out more quickly and nutrients leach out rapidly. If you're dealing with sandy soil (common in Florida and coastal areas), water more frequently in the first two weeks, possibly twice daily during hot dry weather, and accept that you'll need to fertilize more often to compensate for nutrient leaching. Adding compost to the planting area before installation helps retain moisture around plug roots long enough for them to anchor. A light layer of compost top-dressing between plugs can also help conserve moisture during establishment.
Heat stress during summer planting
Planting plugs when temperatures are consistently above 95°F puts serious stress on young grass. The soil dries out faster, plugs wilting between waterings, and establishment slows down. If you're dealing with extreme summer heat, plant in the early morning or late afternoon to avoid exposing bare-rooted plugs to the hottest part of the day. Keep the plugs shaded and moist while you work through the tray, and prioritize getting your irrigation system running immediately after planting. A light cover of straw mulch over the bare soil between plugs can significantly reduce surface temperature and slow evaporation during the first two weeks.
Comparing plug installation to other St. Augustine establishment methods
Plugs aren't the only way to establish St. Augustine. It helps to know where plugs fit in the broader picture so you can be confident you picked the right approach, or decide if a different method might serve you better.
| Method | Cost | Time to full lawn | Best for | Main risk |
|---|---|---|---|---|
| Plugs | Low to moderate | 60–90 days (tight spacing) | Large bare areas, budget installs | Drying out before rooting |
| Sod | High | 2–4 weeks | Instant coverage, erosion control | Higher cost, heavy labor |
| Runners/stolons | Very low | 90–120+ days | Spreading from an existing lawn | Slow establishment, more labor |
| Seed | Low | Very limited (most varieties sterile) | Not practical for most St. Augustine varieties | Most named varieties don't produce viable seed |
If you want the fastest full coverage, laying St. Augustine sod is the most reliable option, but it costs significantly more than plugs. If you're working with a tight budget and have time on your side, plugs are the practical middle ground. They're more forgiving than planting St. Augustine from runners, which require even more careful handling to prevent drying out before establishment. And while you might wonder about growing St. Augustine from seed, most improved St. Augustine varieties like Floratam and Palmetto are vegetatively propagated and don't produce reliably viable seed, so plugs remain the go-to DIY approach.
What to expect week by week
| Timeframe | What you should see | What you should do |
|---|---|---|
| Day 0–3 | Plugs look the same as when installed; some minor wilting possible | Water daily, 1/4 to 1/2 inch; check for dry spots in irrigation |
| Week 1–2 | Plugs firm up in the soil; color stabilizes; possible slight yellowing | Continue daily watering; hand-pull any weeds; no mowing |
| Week 3–4 | New green stolon tips emerging from plug edges | Reduce to 2–3x weekly watering; apply first light fertilizer application |
| Week 5–8 | Visible spread between plugs; stolons reaching toward each other | Mow for first time at 2–2.5 inches; continue fertilizing monthly |
| Month 2–3 | Lawn closing in at 12-inch spacing; gaps shrinking noticeably | Transition to normal watering schedule; manage weeds carefully |
| Month 3–4 | Near-full coverage at tight spacing; wider-spaced plugs still filling | Normal lawn maintenance; evaluate thin spots for additional plugs |
If you followed tight 12-inch spacing and kept up with watering and fertilizing, you should have a lawn that looks continuous and full by the end of month three. Wider spacing means pushing that timeline out another 4 to 8 weeks. Either way, the work you put in during weeks one and two, keeping those plugs alive and rooted, is what determines everything that comes after.
FAQ
How long do St. Augustine plug roots take to really anchor, not just green up?
New shoots can appear quickly, but true anchoring usually comes later. Plan on waiting about 4 to 6 weeks before heavy foot traffic, and avoid aerating or aggressive dethatching until well after visible stolon spread because early disturbance can dislodge plugs even if they look alive.
What should I do if I planted plugs and a rainstorm flooded the area for several hours?
Standing water is the main plug-killer. If the area stays saturated more than a few hours, stop irrigation immediately and let it dry back. In heavy clay, consider gently probing under a few plugs after 24 to 48 hours to check for sour-smelling rot, then replace any dead plugs promptly.
Can I plant St. Augustine plugs in shaded yards if I use mulch or extra fertilizer?
Mulch and fertilizer help with moisture and nutrients, but they cannot replace the need for sunlight. If your yard gets less than 4 to 6 hours of direct sun, expect slower fill-in, thinner density, and more weed pressure. In very low-light spots, choose a variety known for better shade performance and focus on weed control over faster growth tricks.
Do I need to remove weeds before planting plugs, or can I mow them down and plant?
You should remove existing weeds and loosen the area so plugs make solid soil contact. Mowing down only reduces tops, it does not eliminate competition or the physical gap problem that prevents rooting. Pull or dig tough weeds first, then break up compacted soil before setting plugs.
Should I add sand, compost, or topsoil when the plugs go in?
Avoid creating a loose “cap” layer that can dry out or keep the crown too high. The goal is firm contact between plug root zone and the native grade. If you amend, mix it into the top several inches before planting rather than dumping amendments only on top of the planting holes.
How do I know I planted at the correct depth, especially if the ground is uneven?
On slopes and uneven yards, depth errors are common. Use the crown reference from the plug tray, and adjust grade so the crown ends up level with surrounding soil or just slightly above it. If a plug sits in a depression, backfill and firm so the crown is not buried when irrigation settles the soil.
How often should I water if the weather is cooler than expected during the first two weeks?
Watering targets depend on temperature and soil texture. If days are cooler and plugging remains damp 2 inches down, you may need to reduce frequency rather than follow a strict schedule. Always base adjustments on soil moisture, aiming for consistently moist (not waterlogged) conditions.
Is it better to water in the middle of the day during heat waves or stick to mornings only?
Morning watering is generally safer for disease control, but in extreme heat you may need midday to prevent wilt. If you see plugs wilting or blades curling, add a short second watering window, then resume a morning-first routine once temperatures ease.
Can I apply herbicides between plugs to stop weeds right away?
Pre-emergent products can interfere with early rooting if used too soon. Wait at least 60 days after planting before using pre-emergents, and rely on hand-pulling in the first 6 to 8 weeks. For any chemical, verify the label specifically allows use on newly established St. Augustine and confirms timing for plug establishment.
What if only some plugs die, can I patch without redoing the whole area?
Yes, spot repair is usually best. Remove dead plugs cleanly, loosen the soil in those spots, and replant fresh plugs at correct depth and tight spacing. Then adjust watering locally for 1 to 2 weeks, because patches often sit in slightly different soil moisture zones than the original plugs.
Should I fertilize again right after the starter application if growth looks weak?
Do not increase nitrogen simply because color is light. Use a soil test and follow a scheduled establishment plan, because too much nitrogen early can stress plugs or worsen weed competition. If stolons are not spreading by around a month, confirm you planted in the right season and that moisture and sunlight are adequate before adding more fertilizer.
When is it safe to mow, and what if my plugs look ready but the soil is still soft?
Wait until you see clear stolon growth and the plugs are rooted, typically 3 to 4 weeks. Even if growth looks fine, only mow when the soil is firm enough that mower wheels do not shift plugs. When in doubt, delay mowing, use sharp blades, and cut high at about 2 to 2.5 inches.
Will plugs survive if I can only water every other day due to limited irrigation?
Often, they will struggle because early establishment needs consistent moisture. If you must stretch watering, focus on deep soak sessions that keep the 2-inch zone damp, but expect higher risk for drying and uneven rooting. The safer approach is to arrange temporary coverage, such as short-term irrigation runs or supplemental watering during hot, windy periods.
How can I reduce plug stress while planting a large area?
Keep plugs shaded and moist while you work through trays. Work in small sections, and avoid long breaks where plug soil or roots dry out. If possible, stage only a limited number of plugs at one time, then set and water that section immediately to minimize time in bare conditions.
Next Article
How to Grow Grass in El Paso TX: Seed, Plant, and Care
Step-by-step guide to grow grass in El Paso: pick Bermuda, Zoysia or fescue, prepare soil, seed timing, watering, fixes.